Are you ready to infuse a dose of contemporary style and personalized charm into your home decor? Look no further than the humble cushion! While store-bought options are plentiful, there’s an unmatched satisfaction that comes from creating something truly unique with your own hands. Today, Sara from HomeReadyHub is thrilled to guide you through the process of crafting a stunning geometric painted textile cushion. This project is a fantastic way to experiment with color, pattern, and fabric, resulting in a bespoke accent piece that perfectly reflects your personal aesthetic.
Geometric designs are timeless, versatile, and surprisingly easy to achieve with the right techniques. Whether your style leans minimalist, bohemian, or ultra-modern, a geometric cushion can be the perfect focal point or subtle addition. This tutorial is designed for crafters of all skill levels – from beginners eager to try fabric painting to seasoned DIYers looking for a fresh project. We’ll cover everything from selecting your materials and planning your design to the painting process and final assembly, ensuring your finished cushion is not only beautiful but durable. Let's gather our supplies and unleash our inner textile artist!
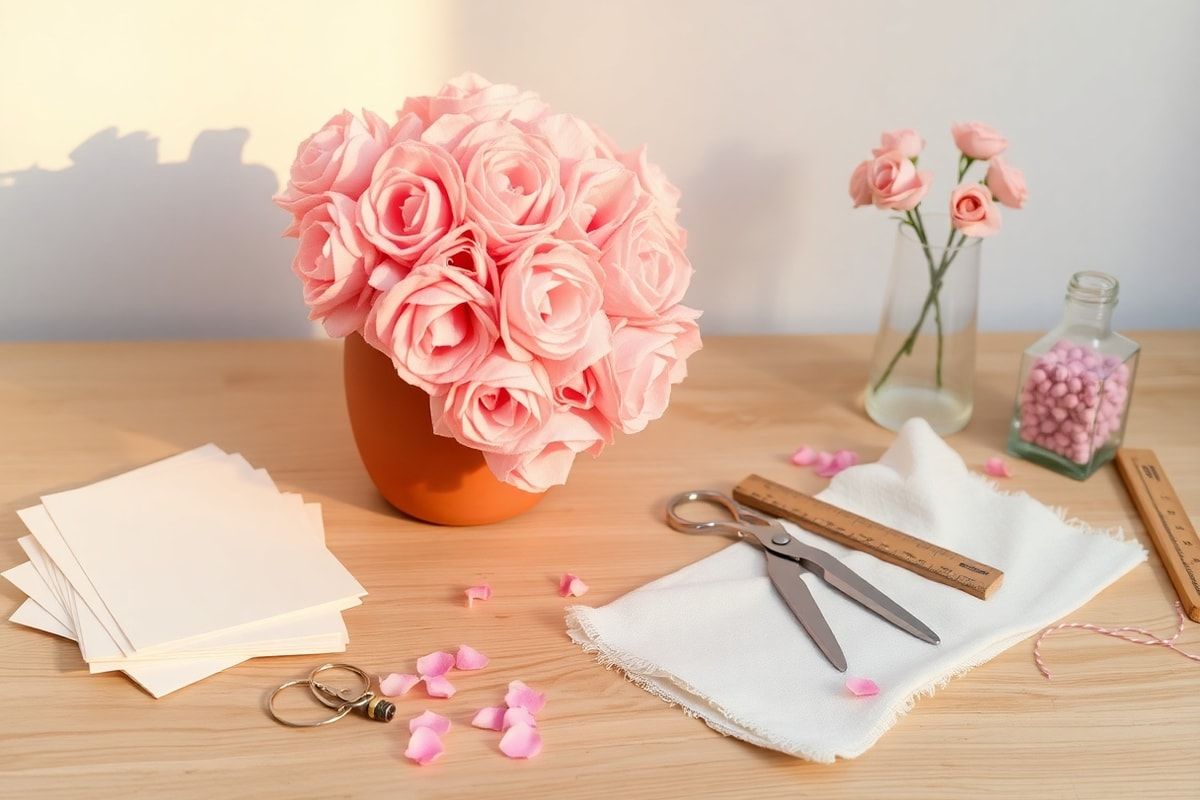
Materials Needed
- Plain Fabric: Approximately 1 yard (or two 20x20 inch pieces for a standard cushion cover). Look for natural fibers like cotton canvas, duck cloth, linen, or a linen blend. Pre-washed and un-dyed fabric is ideal.
- Fabric Paints: Choose a selection of textile paints in your desired color palette. Brands like Jacquard, Tulip, or FolkArt Fabric Paints work wonderfully. Ensure they are permanent and washable once heat-set.
- Textile Medium (Optional): If you prefer to use regular acrylic paints, a textile medium will make them suitable for fabric, ensuring flexibility and washability.
- Assorted Paint Brushes: Flat brushes for larger areas, smaller angled or round brushes for details and edges.
- Painter's Tape: High-quality painter's tape (like FrogTape or ScotchBlue) is crucial for crisp lines. Delicate surface tape might be best for some fabrics.
- Ruler or Yardstick: For measuring and creating straight lines.
- Pencil: A light lead pencil (2H or HB) for sketching your design on fabric.
- Iron and Ironing Board: Essential for pre-treating fabric and heat-setting paint.
- Sewing Machine (or Needle and Thread): For assembling the cushion cover.
- Matching Thread: Polyester all-purpose thread.
- Fabric Scissors: Sharp scissors for clean cuts.
- Pins: For holding fabric pieces together during sewing.
- Cushion Insert: A standard cushion insert (e.g., 18x18 or 20x20 inches) or fiberfill stuffing.
- Cardboard or Plastic Sheet: To protect your work surface from paint bleed-through.
- Paper Towels or Rags: For cleaning brushes and blotting excess paint.
- Water Container: For rinsing brushes.
Preparation Steps
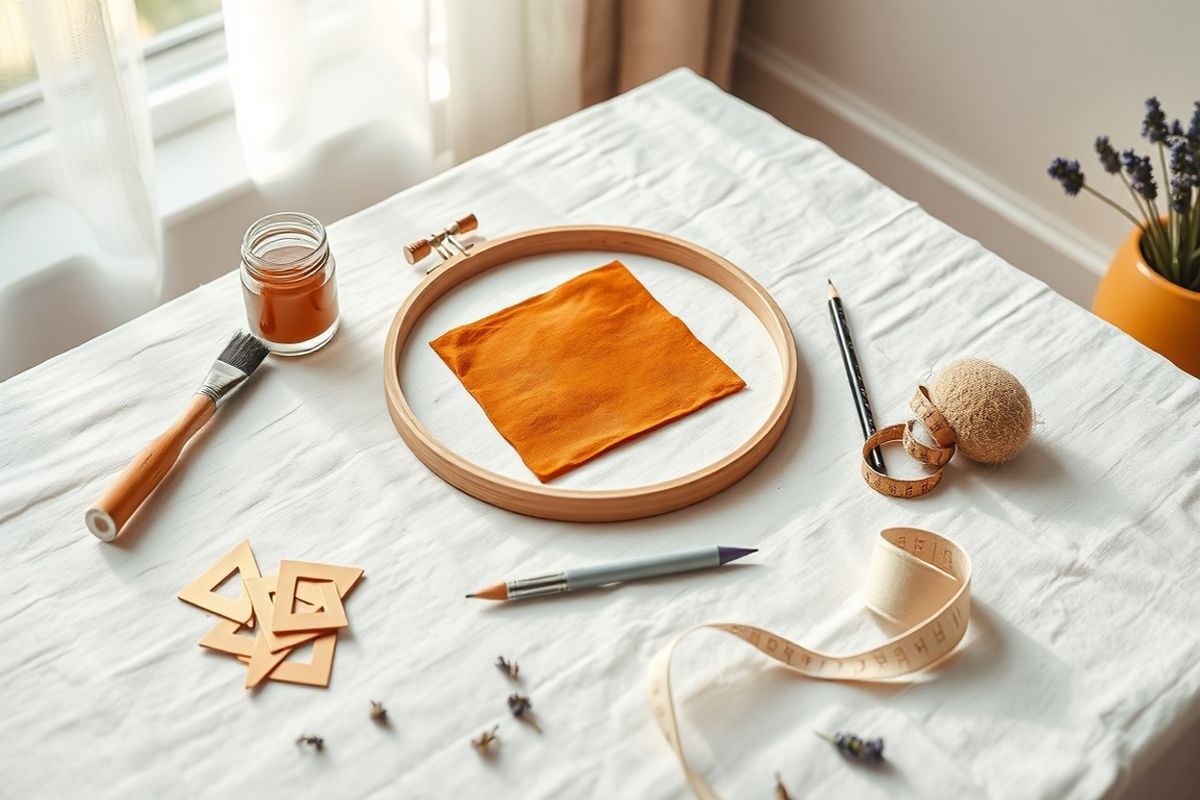
Step 1: Fabric Pre-Treatment & Design Planning
The first step to a successful fabric painting project is proper preparation. Begin by washing your chosen fabric according to its care instructions. This removes any sizing, finishes, or potential shrinkage that could affect your painted design later on. Once dry, iron the fabric thoroughly to remove all wrinkles and create a smooth, flat surface for painting. For a standard 20x20 inch cushion, you'll need two pieces of fabric cut to approximately 21x21 inches (this allows for a 1/2-inch seam allowance on all sides). Place one of your cut fabric pieces onto your protected work surface, making sure it’s completely flat and taut.
Now comes the fun part: design planning! Geometric patterns offer endless possibilities. You might consider simple stripes, bold chevrons, tessellating triangles, or an abstract mosaic. Sketch out a few ideas on paper first to visualize your pattern and color scheme. Consider the overall feel you want for your space. Once you have a design in mind, use your ruler and a light pencil to gently mark out your primary lines and shapes directly onto your prepped fabric. Remember, these lines are just guides for your tape, so keep them faint.
Step 2: Taping Your Geometric Masterpiece
With your design lightly sketched, it’s time to apply the painter's tape. This is where precision pays off! Carefully place strips of painter's tape along your pencil lines, creating the crisp edges of your geometric shapes. For straight lines, align your ruler and press the tape firmly against it. Take your time to ensure the tape is perfectly straight and that all edges are securely pressed down. Use your fingernail or a credit card to really burnish the edges of the tape, sealing them against the fabric. This crucial step prevents paint from bleeding underneath, giving you those coveted sharp lines.
Think about which areas you want to paint first. Typically, you'll tape off the areas you want to remain unpainted (or a base color) and paint the exposed sections. If you plan to use multiple colors in adjacent shapes, you might need to paint one color, let it dry, remove the tape, and then re-tape for the next color. For a multi-color design, it’s often easiest to paint the lightest colors first, allowing them to dry completely before taping over them for darker shades. Double-check all your tape edges before reaching for your paint!
Assembly
Step 3: The Art of Painting
Now for the most exciting part – adding color! Shake your fabric paints well before use. Squeeze a small amount onto a palette or a disposable plate. Using your chosen brushes, apply thin, even coats of paint to the exposed areas of your fabric. It’s always better to apply two thin coats rather than one thick coat, as thick paint can make the fabric stiff and prone to cracking, and also increases the risk of bleeding. Ensure each coat is dry to the touch before applying the next.
When applying paint near the tape edges, brush away from the tape to minimize the chance of pushing paint underneath. Once you've applied all your desired colors and the paint is still slightly damp (but not wet and smudgy), carefully peel back the painter's tape. Pull it slowly and at a 45-degree angle. Removing the tape while the paint is still slightly damp helps prevent the paint from peeling up with the tape, ensuring those beautifully sharp lines. If you wait until the paint is completely dry, you might find the paint tears or creates jagged edges. Allow your painted fabric to dry completely, ideally for 24-72 hours, depending on the paint brand's instructions.
Once the paint is thoroughly dry, it's time to heat-set it. This step is absolutely essential for making your cushion washable and durable. Place a clean cloth or parchment paper over your painted design and iron on a medium-high setting, without steam, for 3-5 minutes, continuously moving the iron. Follow the specific heat-setting instructions on your fabric paint bottle, as times and temperatures can vary. This process permanently bonds the paint to the fabric fibers.
Step 4: Sewing Your Cushion Cover
With your painted fabric completely dry and heat-set, you're ready to assemble your cushion cover. Place your painted fabric piece right side up, and then place your second, unpainted fabric piece (also cut to 21x21 inches) on top, right side down. Pin the two pieces together along all four edges, ensuring they are perfectly aligned. You now have the right sides of the fabric facing each other.
Using your sewing machine (or needle and thread for hand sewing), stitch around three and a half sides of the cushion cover, leaving an opening of about 8-10 inches along one edge. This opening is where you'll insert your cushion form. Use a straight stitch with a 1/2-inch seam allowance. When you reach the corners, pivot your fabric with the needle down to create neat, crisp corners. Backstitch at the beginning and end of your stitches to secure them.
Once sewn, trim the corners diagonally close to the stitching (being careful not to cut the stitches) to reduce bulk. Turn the cushion cover right side out through the opening. Use a blunt tool, like a chopstick or the back of a pencil, to gently push out the corners until they are sharp. Press the seams flat with an iron. Now, insert your cushion form or fiberfill stuffing into the cover. Once the cushion is plump and evenly filled, carefully hand-stitch the opening closed using a ladder stitch (also known as an invisible stitch) for a clean, professional finish. And just like that, your custom geometric painted textile cushion is complete!
Mistakes to Avoid
- Skipping Fabric Pre-Treatment: Not washing and ironing your fabric can lead to uneven paint application, poor adhesion, and shrinkage after washing.
- Using Too Much Paint: Overloading your brush or applying thick coats will make the fabric stiff, prone to cracking, and can cause paint to bleed under the tape.
- Not Pressing Tape Firmly: This is the number one cause of blurry, bleeding lines. Always burnish tape edges thoroughly.
- Removing Tape Too Late: Waiting until paint is completely dry can cause the paint to peel or tear along with the tape. Remove it when slightly damp.
- Forgetting to Heat-Set: Without heat-setting, your beautiful design will likely wash off or fade significantly after the first wash.
- Incorrect Seam Allowance: Not accounting for seam allowance when cutting your fabric can result in a cushion cover that's too small for your insert.
- Not Protecting Your Work Surface: Fabric paint can seep through, so always use cardboard or a plastic sheet underneath.
- Using the Wrong Type of Paint: Regular acrylics without textile medium will crack and wash out. Always use fabric-specific paints or mix with a textile medium.
Pro Tips
- Practice on Scraps: Before committing to your main fabric, test your paint colors, brush strokes, and taping technique on a small scrap piece of the same fabric.
- Layering Colors: For a multi-dimensional look, consider layering lighter colors first, allowing them to dry, and then applying darker shades or adding details on top.
- Stencils for Precision: If freehand taping feels daunting, use pre-made geometric stencils for intricate patterns. Secure them with temporary fabric adhesive.
- Add Metallic Accents: A touch of metallic fabric paint (gold, silver, copper) can elevate your geometric design, adding a chic, modern sparkle.
- Consider Fabric Texture: Smooth, tightly woven fabrics will give you the sharpest lines, while looser weaves might absorb more paint and result in slightly softer edges.
- Zipper Closure: For a removable and washable cushion cover, consider adding a zipper to one of the seams instead of hand-stitching the opening closed.
- Mix Your Own Shades: Don't be afraid to mix different fabric paint colors to achieve custom shades that perfectly match your decor.
- Use a Brayer: A rubber brayer can be used to firmly press down painter's tape, ensuring maximum adhesion and preventing bleeds.
- Abstract Geometrics: Don't feel confined to perfect symmetry. Experiment with more abstract, irregular geometric shapes for a unique, artistic touch.
And there you have it – a beautifully customized geometric painted textile cushion, crafted by your own hands! This project is not just about creating a decorative item; it's about the joy of personal expression and the satisfaction of bringing a vision to life. Each line, each color choice, reflects a part of your unique style, transforming a simple piece of fabric into a statement of comfort and creativity. Your new cushion will undoubtedly become a conversation starter and a testament to your DIY prowess. We hope this tutorial has inspired you to dive into the world of fabric painting and custom home decor. Don't forget to share your amazing creations with us on social media using #HomeReadyHubDIY. Happy crafting!