Introduction
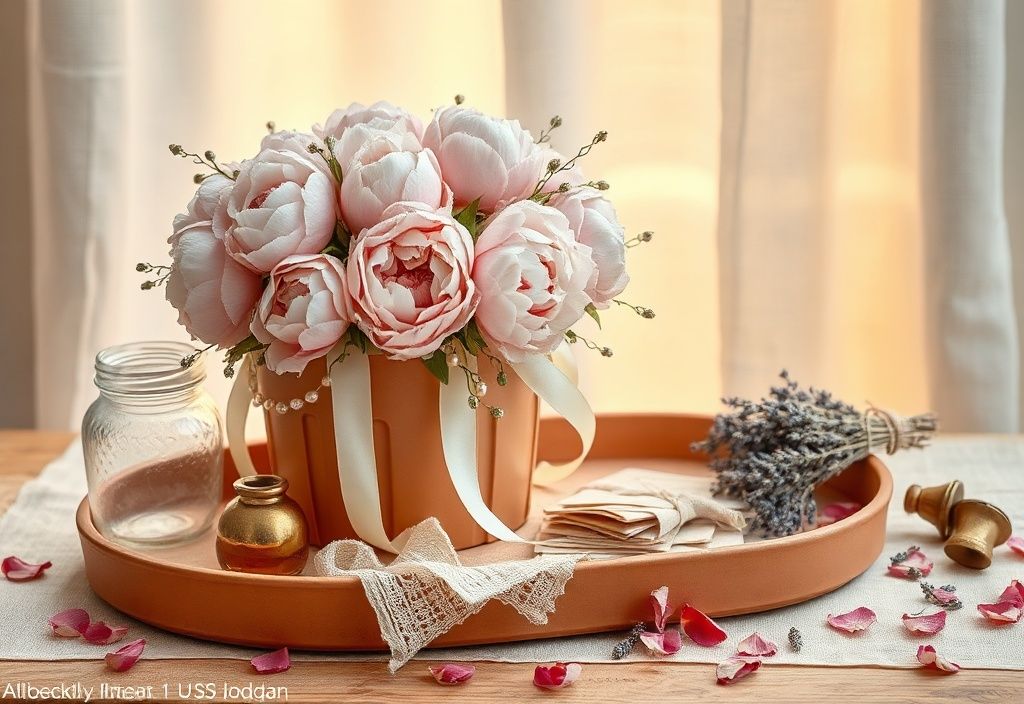
A corbeille porte-alliance, or vintage wedding ring basket, is a charming and elegant way to present wedding rings during the ceremony. Whether you're crafting it for a special occasion or as a decorative piece, this DIY project combines simplicity with rustic charm. In this tutorial, we’ll guide you through creating your own vintage-style corbeille porte-alliance using accessible materials and easy techniques. Perfect for adding a personal touch to your wedding décor or as a sentimental keepsake!
Materials Needed
To get started, gather the following materials:
- Basket: Choose a small, shallow woven basket with a vintage look. Options include:
- Seagrass or rattan basket (approx. 6-8 inches in diameter)
- Vintage lace or fabric-covered basket for a softer aesthetic
- Decorative Elements:
- Lace doily or vintage fabric scraps (for lining)
- Pearl beads or small faux pearls
- Lace trim or ribbon (silk, satin, or lace, approx. 1/2 inch wide)
- Vintage-style buttons or brooches
- Miniature roses, baby’s breath, or silk flowers
- Adhesives:
- Fabric glue or hot glue gun (for securing lace and decorations)
- Clear-drying craft glue (for delicate materials)
- Tools:
- Scissors
- Needle and thread (optional, for stitching fabric)
- Pencil and ruler
- Pins (to hold lace in place)
- Optional Extras:
- Gold or silver spray paint (for spraying basket or embellishments)
- Acrylic gems or rhinestones
- Vintage jewelry pieces (e.g., cameos, lockets)
Preparation Steps
Step 1: Choose and Clean Your Basket
Select a basket that fits your vision—whether it’s a natural seagrass look or a more refined lace-covered piece. If using a basket with a rough texture, consider lining it with fabric for comfort and aesthetics. Clean the basket gently with a soft cloth to remove any dust or debris.
Step 2: Prepare Your Fabric or Lace Lining (Optional)
If you’d like to line your basket with fabric or lace, measure the interior diameter and cut a circle of lace or fabric to fit snugly. For a gathered look, slightly larger than the basket’s interior is ideal. Secure the lining with fabric glue or a few stitches along the rim, ensuring it lays flat and smooth.
Pro tip: Use a vintage lace doily instead of cutting fabric for an instant vintage feel!
Assembly
Step 3: Add Ribbon or Trim Around the Rim
To give your corbeille a finished, elegant look, wrap a ribbon or lace trim around the outer rim. Start at the back, apply a dab of glue to the underside, and press the trim firmly around the edge. Overlap the ends slightly and trim any excess. Use pins to hold the trim in place while the glue dries.
Step 4: Embellish the Basket
Now for the creative part! Arrange your decorative elements on the basket before gluing to plan your design. Start with larger embellishments like a brooch or flower at the center front. Secure each piece with fabric glue or hot glue, holding in place for 10-15 seconds to set. Be mindful not to overcrowd—vintage style is about subtle elegance.
Ideas for embellishing:
- Pearl Bead Strand: Glue a strand of pearls along the rim or in a curved pattern inside the basket.
- Miniature Florals: Tuck small silk flowers or baby’s breath around the base or at the front.
- Lace Accents: Cut small lace shapes (hearts, flowers) and glue them to the basket’s sides or base.
- Vintage Charms: Add a small cameo, locket, or even a tiny key as a centerpiece.
Let the glue dry completely before handling the basket.
Mistakes to Avoid
- Overcrowding the Design: Less is more. A cluttered basket looks busy. Focus on 2-3 main embellishments.
- Using the Wrong Glue: Avoid regular white glue—it dries stiff and may not hold well on fabric or lace. Use fabric glue or a hot glue gun for stronger bonds.
- Skipping the Lining: If using a rough basket, lining it prevents snagging and adds a polished finish.
- Rushing the Drying Process: Let glue set fully to avoid decorations shifting or falling off.
- Ignoring Proportions: Keep embellishments proportional to the basket size. A tiny basket can’t support large flowers.
Pro Tips
For an extra-vintage touch, lightly spray paint parts of the basket or embellishments with gold or silver spray paint before decorating. This adds a subtle metallic sheen that screams vintage glamour.
Consider the color palette of your wedding or décor theme. Soft pastels (ivory, blush, sage) enhance a romantic feel, while deep jewel tones (emerald, ruby, sapphire) offer a bold, vintage statement.
If you're crafting this for a wedding, include a small card or tag with the phrase “Porte-Alliance” and the couple’s names for a personalized touch.
Keep spare embellishments on hand in case you change your mind during assembly—vintage design is all about intuition!
Store your corbeille in a cool, dry place when not in use to preserve its beauty and prevent fraying.
For a lasting keepsake, consider using real pearls or a small jewelry piece as a centerpiece. These can be safely removed and preserved after the event.
If you’re new to crafting, practice on a small wooden ring holder or a thrifted basket to build confidence before working on your final piece.
Don’t be afraid to mix textures—lace and silk flowers combined with wooden beads create a rich, tactile vintage feel.
Use a photograph of an antique corbeille as inspiration. Pinterest is a great resource for vintage ring basket ideas from the early 20th century.
Conclusion
Creating a vintage corbeille porte-alliance is a rewarding DIY project that adds a touch of timeless romance to any wedding or home décor. With a few simple materials and a bit of creativity, you can craft a one-of-a-kind piece that reflects your personal style. Whether you’re a seasoned crafter or a beginner, this project is enjoyable and customizable to suit any aesthetic.
Remember: the charm of a vintage corbeille lies in its imperfections and handmade details. Embrace the process, and don’t worry about making it perfect—just make it meaningful. Happy crafting!
