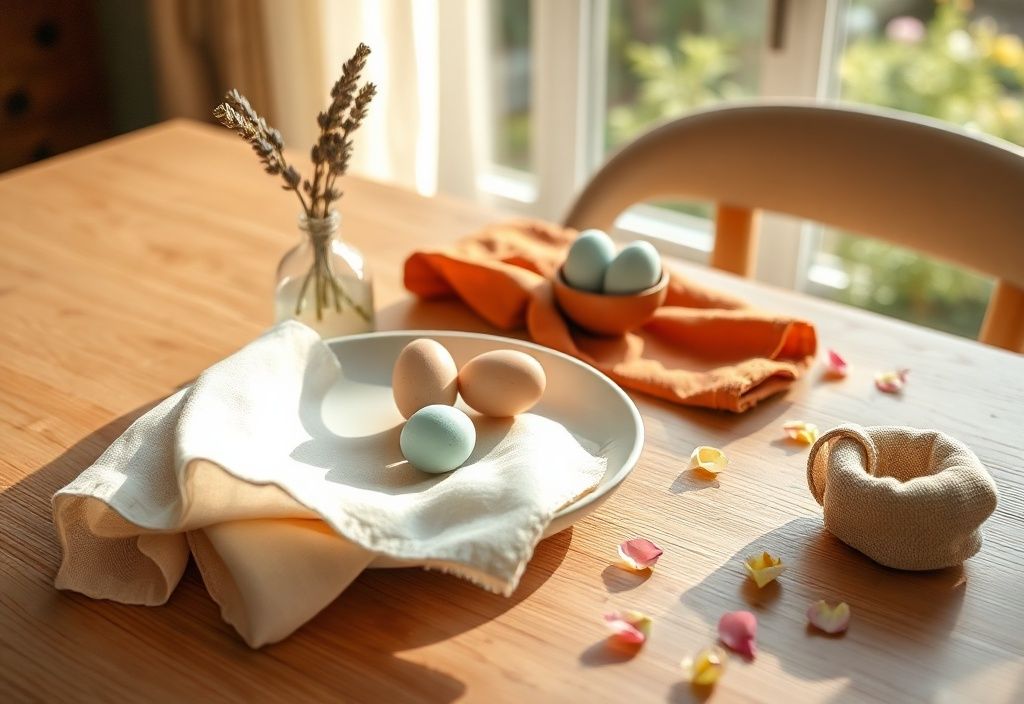
Easter is a time of celebration, family gatherings, and beautifully set tables. Whether you're hosting a brunch, a festive dinner, or a cozy afternoon tea, adding a touch of creativity to your table setting can make all the difference. One charming and easy way to elevate your Easter decor is by folding your napkins into adorable rabbit shapes. These little bunnies not only serve a practical purpose but also add a playful and festive touch to your table.
In this tutorial, we'll guide you through the process of folding napkins into rabbit shapes step by step. Whether you're a beginner or an experienced napkin folder, you'll find these instructions easy to follow. Plus, we'll share some pro tips and common mistakes to avoid to ensure your napkin rabbits turn out perfectly every time.
Materials needed
- Cloth napkins: Choose napkins that are square-shaped and preferably in pastel colors like pink, lavender, mint, or white for an Easter-themed look. The size can vary, but standard dinner napkins (around 20x20 inches) work best for folding.
- Steam iron (optional): If your napkins are wrinkled, a quick press with an iron will make folding easier and give your rabbits a crisp, polished look.
- Patience and a steady hand: Folding napkins into shapes requires a bit of precision, but don’t worry—practice makes perfect!
Preparation steps
Before you start folding, make sure your napkins are clean and pressed. Wrinkled napkins can make the folding process more difficult and may result in a less polished final product. If you're using new napkins, give them a quick wash to soften the fabric, which will make folding smoother.
Step 1: Lay the napkin flat on a clean surface
Start by placing your napkin on a flat, smooth surface like a table or countertop. Make sure the napkin is fully unfolded and lying flat without any wrinkles. If your napkin has a pattern or design, position it so that you can see it clearly as you fold. This will help you align the folds correctly.
Step 2: Fold the napkin in half diagonally
Take one corner of the napkin and fold it diagonally across to the opposite corner, creating a triangle. Press down along the fold to create a sharp crease. This will form the base of your rabbit shape. Make sure the edges are aligned neatly so that your rabbit will have a symmetrical appearance.
Assembly
Now comes the fun part—folding your napkin into an adorable bunny! Follow these steps carefully to create a cute rabbit shape that will impress your guests.
Step 3: Fold the bottom corners upward
Take the two bottom corners of the triangle (the ones that were originally the corners of the square napkin) and fold them upward toward the top point of the triangle. Fold them so that the edges meet in the middle, creating a smaller triangle at the top. This will form the rabbit's ears. Press down firmly along the folds to create sharp creases. If you want your rabbit's ears to be longer, fold the corners a bit higher up.
Step 4: Create the rabbit's face
To give your napkin rabbit a face, you'll need to make a few additional folds. Take the top point of the smaller triangle (the folded-up bottom corners) and fold it downward slightly to create the rabbit's snout. Then, fold the very top tip of the triangle backward to form the rabbit's nose. You can use a small piece of ribbon or a tiny pom-pom to create a cute nose, or simply leave it as is for a minimalist look.
For added detail, you can use a black marker to draw eyes and whiskers on the rabbit's face. If you're using colored napkins, you can also use fabric glue to attach small googly eyes or draw the details directly on the fabric.
Mistakes to avoid
- Using wrinkled napkins: Wrinkles can make it difficult to create sharp folds, resulting in a messy-looking rabbit. Always press your napkins before folding to ensure clean lines.
- Folding too quickly: Take your time with each fold to ensure the edges are aligned properly. Rushing can lead to uneven ears or a lopsided rabbit.
- Choosing the wrong napkin size: If your napkins are too small, the rabbit shape may be difficult to create. Standard dinner napkins (around 20x20 inches) are ideal for this project.
- Ignoring the fabric type: Some fabrics, like stiff linen, may not fold as easily as softer cotton or polyester blends. If your napkins are too stiff, consider using a fabric softener in the wash to make them more pliable.
Pro tips
- Practice with a paper napkin first: If you're new to napkin folding, try practicing with a paper napkin first. This will give you a chance to get the folds right without wasting fabric.
- Use contrasting colors: If you're using a single-colored napkin, consider adding a small ribbon or bow around the rabbit's neck to give it a pop of color. You can also use napkins with patterns or prints that fit the Easter theme.
- Experiment with different folds: Once you've mastered the basic rabbit shape, try experimenting with different variations. For example, you can fold the ears to point outward for a more relaxed look or fold them downward for a sleepy bunny effect.
- Add embellishments: To make your napkin rabbits even cuter, consider adding small embellishments like tiny flowers, beads, or felt cutouts. These can be glued or pinned onto the rabbit to give it a personalized touch.
- Store your folded rabbits carefully: If you're folding napkins in advance, store them in a flat, dry place to avoid crushing the folds. You can place them under a heavy book or between two flat surfaces to keep them crisp.
With these tips and techniques, you'll be able to fold napkins into adorable rabbit shapes that will delight your guests and add a festive touch to your Easter table. Whether you're hosting a large gathering or a cozy family dinner, these little bunnies are sure to bring a smile to everyone's face. Happy folding, and happy Easter!
