Introduction
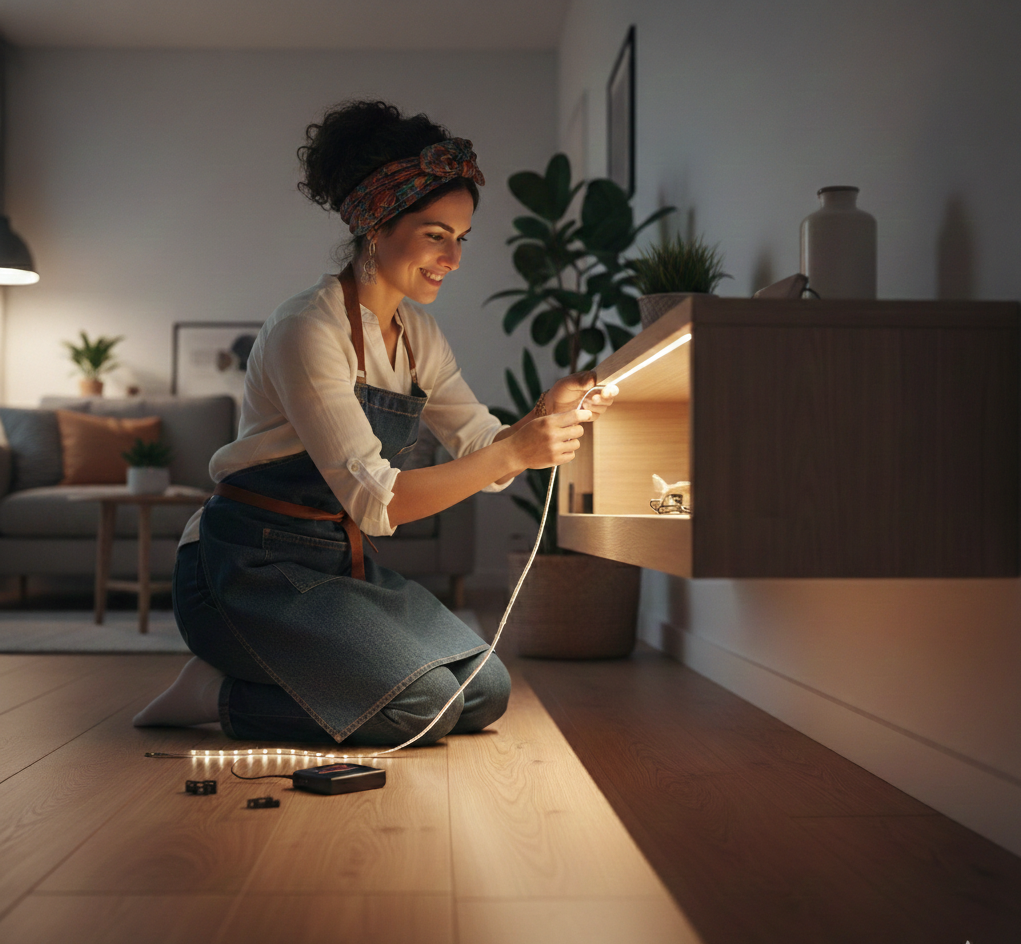
Honestly, installing LED strips under your furniture is way easier than you’d think! Trust me, it takes like 5 minutes if you follow these simple steps. Whether it’s your kitchen, office, or living room, this trick will totally transform your space in no time.
What You’ll Need
For this setup, you’ll need:
- LED strips (with adhesive or clips)
- A power adapter (if needed)
- Scissors
- Double-sided tape (optional)
How to Install
1. **Prep the area**: Just wipe down the surface under the furniture so the adhesive sticks. No need to go crazy, a quick wipe is all you need.
2. **Cut the LED strip**: Measure the length you want and snip it at the marked spots. Don’t stress, it’s right there on the strip.
3. **Stick it down**: Peel off the backing and stick it under the furniture. If the adhesive isn’t holding, just use some double-sided tape—easy.
4. **Plug it in**: Connect the LED strip to the power adapter and plug it in. If you’re going wireless, just follow the manufacturer’s instructions.
Pro Tips
For a polished look, here are some tricks:
- Get LED strips with adjustable brightness to set the mood.
- Go for warm tones (yellow, warm white) for a cozy vibe.
- If you’ve got kids or pets, make sure the strip is secure so they don’t yank it.
Wrap-Up
Boom—5 minutes, no stress, and you’ve got LED lighting under your furniture. No need to be a DIY pro. Ready to upgrade your space?