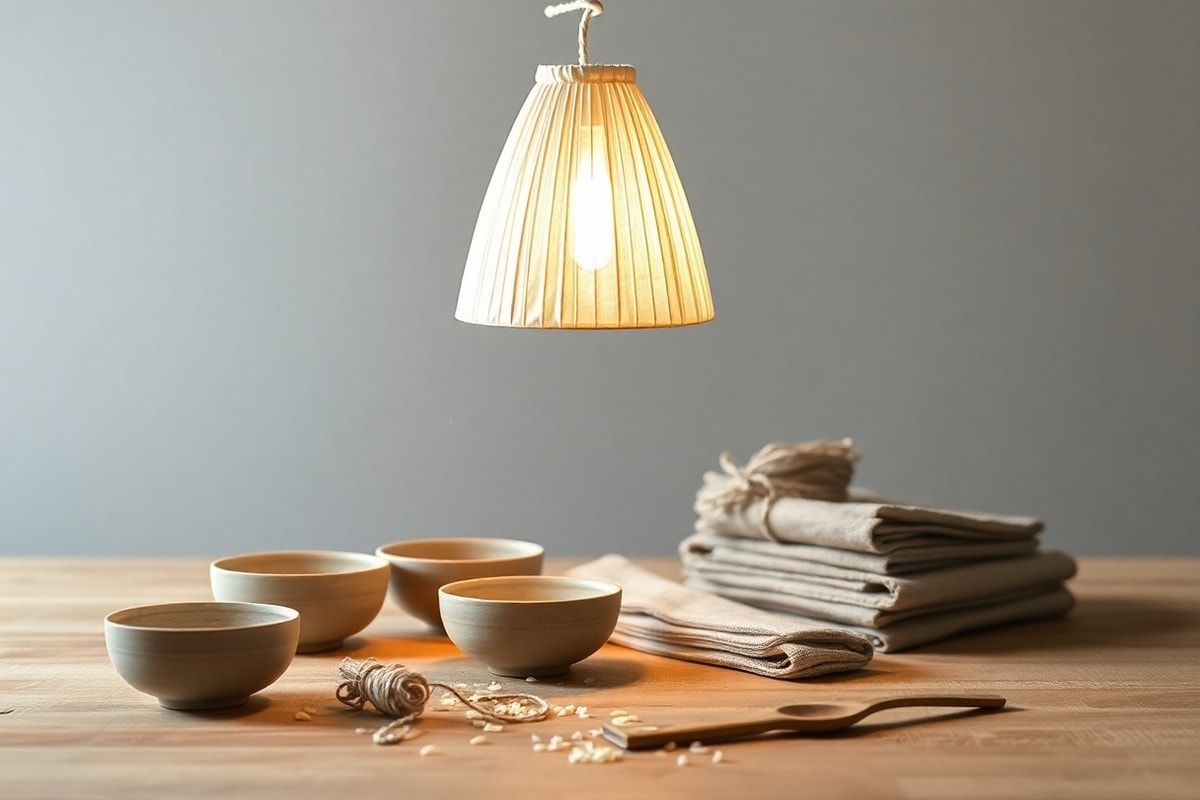
Adding a touch of Japanese elegance to your home lighting is easier than you think with a rice paper suspension lamp. These delicate, translucent lamps diffuse light beautifully, creating a warm and inviting atmosphere. Inspired by traditional Japanese design, this DIY project is both stylish and functional — perfect for over a dining table, in a reading nook, or as a statement piece in your living room.
In this step-by-step tutorial, we’ll guide you through making your own Japanese-style rice paper suspension lamp using accessible materials. Whether you're a beginner or a seasoned DIYer, you’ll find this project rewarding and surprisingly simple. Let’s get started!
Materials Needed
- Rice paper lanterns (available at craft stores or online, typically round or cylindrical, 12–16 inches in diameter)
- Bamboo or wooden rings (top and bottom frames, 12–16 inches in diameter)
- Craft glue (such as PVA or wood glue, non-toxic and clear-drying)
- Measuring tape and pencil
- Scissors or craft knife
- Sandpaper (fine grit, 120–220)
- Paint or wood stain (optional, for bamboo rings)
- Soft cloth or brush (for applying stain)
- Electric cord kit with socket and plug (UL-listed, compatible with your region)
- Light bulb (LED, 5–15 watts, warm white recommended)
- Twine or fishing line (for hanging, 2–3 meters)
- Small eye hooks or ceiling hook
Tip: Choose natural-colored bamboo rings and white or off-white rice paper for an authentic Japanese aesthetic. Avoid overly thick paper, as it may block too much light.
Preparation Steps
Before assembling the lamp, prepare your workspace and materials. This ensures a smooth process and helps avoid common mistakes.
Step 1: Select and Prepare the Bamboo Rings
Start by choosing two bamboo rings of equal diameter that match your rice paper lantern. These will serve as the top and bottom frames of your lamp. If the rings are rough or splintered, lightly sand them using fine-grit sandpaper to create a smooth surface. This prevents snagging when handling the paper and gives your lamp a polished look.
Optional: If you’d like to customize the color, apply wood stain or eco-friendly paint using a soft cloth or brush. Let it dry completely before moving to the next step. Natural tones complement the rice paper best, so consider using a light oak or natural finish.
Step 2: Cut the Rice Paper to Size
Unroll your rice paper and lay it flat on a clean, smooth surface. Place one bamboo ring on top of the paper, aligning the edges. Trace around the ring with a pencil, leaving about 2–3 cm of extra paper beyond the line to allow for folding and gluing.
Carefully cut along the traced line using sharp scissors or a craft knife. Repeat this process for the second ring. You will now have two circular rice paper panels — one for the top and one for the bottom of your lamp.
⚠️ Be gentle with the rice paper — it tears easily when wet or handled roughly. Work on a clean surface and avoid placing heavy objects on it.
Assembly
Step 3: Attach the Rice Paper to the Rings
Lay one bamboo ring face-down on your work surface. Apply a thin, even layer of craft glue around the outer edge of the ring using a small brush or your fingertip. Be careful not to apply too much glue, as excess can seep through the paper and create visible spots.
Align the cut rice paper circle over the ring, centering it carefully. Press the edges gently but firmly onto the glued ring. Smooth the paper outward to avoid bubbles or wrinkles. The paper should be taut but not stretched — rice paper expands slightly when glued.
Repeat the process with the second ring and the second rice paper panel. Allow both assemblies to dry for 10–15 minutes. The glue should be fully dry before you proceed to attach the lamp socket.
Step 4: Assemble the Lamp Structure
Once the glue is dry, stand both rings upright (open ends facing you) and insert the electric cord kit through the top ring. Some kits come with a pre-attached socket; if not, screw the socket into the lamp holder and thread the wires through the ring.
Place the top rice paper ring over the socket assembly, ensuring the socket protrudes slightly through the center hole. Secure the ring in place by gently pressing the glued edges inward if needed.
Now, slide the bottom rice paper ring onto the lamp frame. Align it with the top ring and gently press the edges together. The rice paper should form a cylindrical shape between the two rings. If the paper is slightly loose, apply a small dab of glue at the inner seam where the two rings meet (on the inside of the lamp).
Finally, insert the light bulb. Choose a low-wattage LED bulb (5–15W) with a warm white color temperature (2700K–3000K) for the most authentic, soothing glow. Avoid incandescent bulbs, as they generate too much heat and can damage the paper.
Your rice paper suspension lamp is now structurally complete!
Hanging the Lamp
To hang your lamp safely and stylishly, follow these steps:
- Attach an eye hook to your ceiling at the desired location. Make sure it’s anchored securely into a joist or use a drywall anchor rated for the lamp’s weight (typically 1–2 kg).
- Cut two 1–1.5 meter lengths of twine or fishing line. Thread one end through the top ring’s eyelet or around the bamboo ring at two opposite points for balance.
- Tie the twine securely using a double knot or a bowline knot, leaving equal lengths on both sides.
- Bring the two lines together at the top and tie them to the hanging hook using another secure knot (e.g., bowline or fisherman’s knot).
- Adjust the height so the lamp hangs 60–90 cm above a table or at a comfortable eye level for general lighting.
💡 Tip: Use a dimmer switch with your lamp to control light intensity and create different moods in your space.
Mistakes to Avoid
- Using too much glue – Excess glue can seep through the paper and leave visible marks. Use a thin, even layer.
- Stretching the paper – Rice paper expands and contracts; stretching it can cause tears. Keep it taut but relaxed.
- Choosing the wrong bulb – High-wattage bulbs generate heat that can yellow or burn the paper. Always use LED bulbs under 15W.
- Skipping the sanding step – Rough bamboo rings can tear the paper. Always sand before gluing.
- Hanging the lamp too low – Keep it at least 60 cm above surfaces to prevent accidental damage.
- Ignoring electrical safety – Use a UL-listed cord kit and never exceed the wattage rating of the socket.
Pro Tips
Want to take your lamp to the next level? Here are some expert suggestions:
- Customize the shape – Instead of a cylinder, try a hexagonal or square design by using multiple smaller rice paper panels glued at angles.
- Add decorative elements – Lightly brush gold or silver leaf along the bamboo rings for a touch of luxury.
- Layer colors – Use dyed rice paper in soft colors (ivory, blush, sage) for a modern twist.
- Use a diffuser sleeve – Place a thin, frosted plastic sleeve inside the rice paper for extra light diffusion and protection.
- Maintain your lamp – Dust gently with a dry microfiber cloth. Avoid moisture, as rice paper can warp or mold.
- Make it adjustable – Use a pulley system or chain links to raise and lower the lamp for cleaning or ambiance changes.
🌿 Pro Tip: Pair your lamp with natural materials like a wooden side table, linen curtains, or a jute rug to enhance the Japanese-inspired aesthetic.
Creating a Japanese rice paper suspension lamp is not only a rewarding DIY project but also a beautiful way to bring zen-inspired lighting into your home. The soft, diffused glow creates a calming atmosphere, perfect for unwinding after a long day or hosting a cozy dinner.
With just a few affordable materials and a bit of patience, you can craft a unique lighting fixture that reflects both your personal style and the timeless elegance of Japanese design. Whether you hang it in your bedroom, dining area, or entryway, this lamp will become a focal point that inspires and soothes.
Ready to light up your space the Japanese way? Gather your materials, follow these steps, and enjoy the warm, inviting glow of your handmade rice paper lamp. And don’t forget to share your creation with us — we’d love to see your beautiful designs!