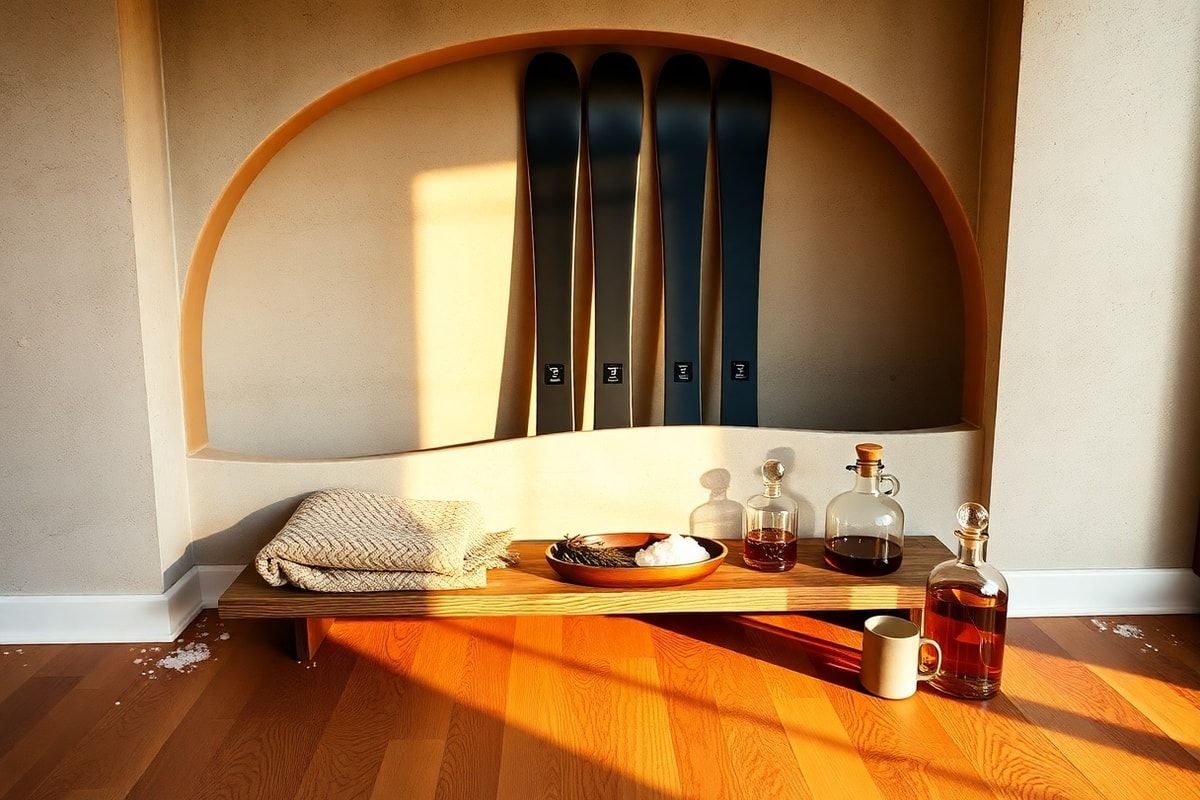
Winter sports enthusiasts know the struggle of finding a practical yet stylish way to store skis and snowboards. Cluttered garages or hallways can make it difficult to keep your gear in good condition while also maintaining a clean aesthetic. The solution? A custom ski and snowboard mural storage system that’s not only functional but also visually appealing.
In this tutorial, we’ll guide you through creating a sleek, space-efficient mural that blends seamlessly with your home’s decor while keeping your winter gear organized and easily accessible. Whether you’re a seasoned DIYer or a beginner, this project is designed to be straightforward and rewarding.
Materials Needed
- Plywood or MDF board – A large sheet for the base (size depends on your space and storage needs).
- Wood screws and wall anchors – For securing the mural to the wall.
- Paint and primer – Choose a color that matches your home’s interior or go for a bold statement with a contrasting hue.
- Stencils or painter’s tape – For creating geometric patterns or custom designs.
- Saw – Circular saw or jigsaw for cutting the board to size.
- Sandpaper – Medium and fine-grit for smoothing edges and surfaces.
- Level – To ensure the mural is straight on the wall.
- Measuring tape and pencil – For accurate measurements and markings.
- Hooks or brackets – Heavy-duty hooks for hanging skis and snowboards securely.
- Drill and driver bits – For pre-drilling holes and assembling the mural.
- Paintbrushes or rollers – For applying primer and paint smoothly.
Preparation Steps
Before diving into the assembly, proper preparation is key to ensuring your mural storage system is both functional and durable. Follow these steps to set the stage for a successful project.
Step 1: Measure Your Space
Start by measuring the wall where you plan to install the mural. Consider the following:
- Height and width: Ensure the mural fits comfortably without overwhelming the space. A common height is around 8 feet, but adjust based on your room’s ceiling height.
- Clearance: Leave enough room below the mural for easy access to stored gear. Aim for at least 2-3 feet of clearance.
- Weight capacity: Skis and snowboards can be heavy, so choose a sturdy material like plywood or MDF that can support the weight.
Sketch a rough layout on paper, noting where you’ll place hooks or brackets for hanging gear. This will help you visualize the final design and make adjustments as needed.
Step 2: Choose a Design
The design of your mural can be as simple or elaborate as you like. Here are a few ideas to inspire you:
- Minimalist: A solid-colored panel with clean lines and minimal hardware for a sleek look.
- Geometric: Use stencils to create patterns like hexagons or stripes for a modern touch.
- Nature-inspired: Paint a mountain range, pine trees, or a snowy landscape to evoke the feeling of the slopes.
- Personalized: Add your name, favorite ski resort, or a motivational quote to make the mural uniquely yours.
Once you’ve decided on a design, gather any stencils or templates you’ll need. Test your design on a small section of the board to ensure you’re happy with the look before committing to the full mural.
Assembly
With your materials ready and your space prepped, it’s time to assemble your ski and snowboard mural storage system. Follow these steps carefully for a sturdy and long-lasting result.
Step 3: Cut and Sand the Board
Start by cutting your plywood or MDF board to the dimensions you measured earlier. Use a circular saw or jigsaw for clean cuts, and always wear safety goggles to protect your eyes.
Once the board is cut to size, sand the edges and surfaces to smooth out any rough spots or splinters. Begin with medium-grit sandpaper to remove major imperfections, then switch to fine-grit for a polished finish. Wipe away any dust with a damp cloth before moving on to painting.
Step 4: Paint and Design
Now comes the fun part—adding your personal touch to the mural. Follow these steps to paint and design your storage system:
- Prime the board: Apply a coat of primer to the entire surface to help the paint adhere better and last longer. Let it dry completely according to the manufacturer’s instructions.
- Paint the base color: Use a roller for large areas and a brush for edges and details. Apply two coats of paint, allowing each coat to dry fully between applications.
- Add your design: If you’re using stencils, secure them to the board with painter’s tape and apply paint over the stencil with a sponge or brush. For hand-painted designs, sketch your design lightly with a pencil before filling it in with paint.
- Let it dry: Allow the paint to dry completely before moving on to the next steps. This may take several hours or overnight, depending on the paint type.
Once your mural is painted and dried, you can add a clear sealant to protect the design from moisture and wear. Choose a matte or glossy finish based on your preference.
Step 5: Install Hooks or Brackets
With the mural painted and sealed, it’s time to add the hardware for hanging your skis and snowboards. Follow these tips for secure installation:
- Mark the spots: Use a pencil to mark where you’ll place the hooks or brackets on the mural. Space them evenly to accommodate multiple pairs of gear.
- Pre-drill holes: Drill pilot holes at each marked spot to prevent the wood from splitting when you insert screws.
- Attach the hardware: Use heavy-duty hooks or brackets designed for hanging skis and snowboards. Secure them to the mural with screws, ensuring they’re level and evenly spaced.
For extra stability, consider adding a horizontal support beam behind the mural to distribute the weight evenly. This is especially helpful if you’re storing multiple pairs of gear.
Step 6: Mount the Mural to the Wall
With the hooks or brackets in place, it’s time to mount the mural to the wall. Follow these steps for a secure installation:
- Find the studs: Use a stud finder to locate the wall studs behind the drywall. Mounting the mural to studs will provide the strongest support.
- Mark the spots: Hold the mural against the wall and mark the locations of the studs on the mural with a pencil.
- Pre-drill holes: Drill holes in the mural at the marked spots. If you’re not mounting to studs, use wall anchors to ensure the mural stays secure.
- Attach the mural: Lift the mural into place and align it with the marked spots on the wall. Use screws to attach the mural to the studs or wall anchors. Use a level to ensure the mural is straight.
Once the mural is mounted, give it a final check to ensure it’s level and securely attached. Test the hooks or brackets by gently tugging on them to confirm they can support the weight of your gear.
Mistakes to Avoid
Even the most experienced DIYers can run into pitfalls. Here are some common mistakes to avoid when creating your ski and snowboard mural storage system:
- Skipping the primer: Priming the board ensures the paint adheres properly and lasts longer. Skipping this step can result in peeling or chipping paint over time.
- Using the wrong hardware: Lightweight hooks may not support the weight of skis or snowboards. Always use heavy-duty hardware designed for this purpose.
- Not measuring accurately: A mural that’s too large or too small can throw off the balance of your space. Double-check your measurements before cutting the board.
- Rushing the drying time: Painting in layers requires patience. Allow each coat of paint and sealant to dry fully before moving on to the next step.
- Ignoring wall anchors: If you’re not mounting the mural to studs, use wall anchors to ensure it stays securely attached to the wall.
Pro Tips
Take your ski and snowboard mural storage system to the next level with these pro tips:
- Add LED lighting: Install battery-powered LED strip lights along the edges of the mural to create a dramatic effect and highlight your design. This is especially effective for nature-inspired murals.
- Use removable hooks: If you frequently change your gear or want the flexibility to reconfigure the mural, consider using removable adhesive hooks. These hooks can support lighter gear and are easy to reposition.
- Incorporate shelves: Add floating shelves above or below the mural to store helmets, goggles, or other winter accessories. This keeps everything organized and within reach.
- Personalize with decals: If painting isn’t your forte, use removable vinyl decals to create your design. This allows for easy updates and removes the need for paint and brushes.
- Keep it modular: Design the mural in sections that can be easily removed or replaced. This is useful if you move or want to update the design in the future.
By incorporating these tips, you’ll create a storage solution that’s not only functional but also a standout feature in your home.
With your ski and snowboard mural storage system complete, you’ll enjoy a clutter-free space that showcases your love for winter sports. This project is a fantastic way to combine creativity with practicality, resulting in a storage solution that’s as stylish as it is useful.
Whether you’re an avid skier or snowboarder, this DIY mural will keep your gear organized and protected while adding a touch of personality to your home. So grab your tools, unleash your creativity, and transform your space into a winter wonderland retreat!