Introduction
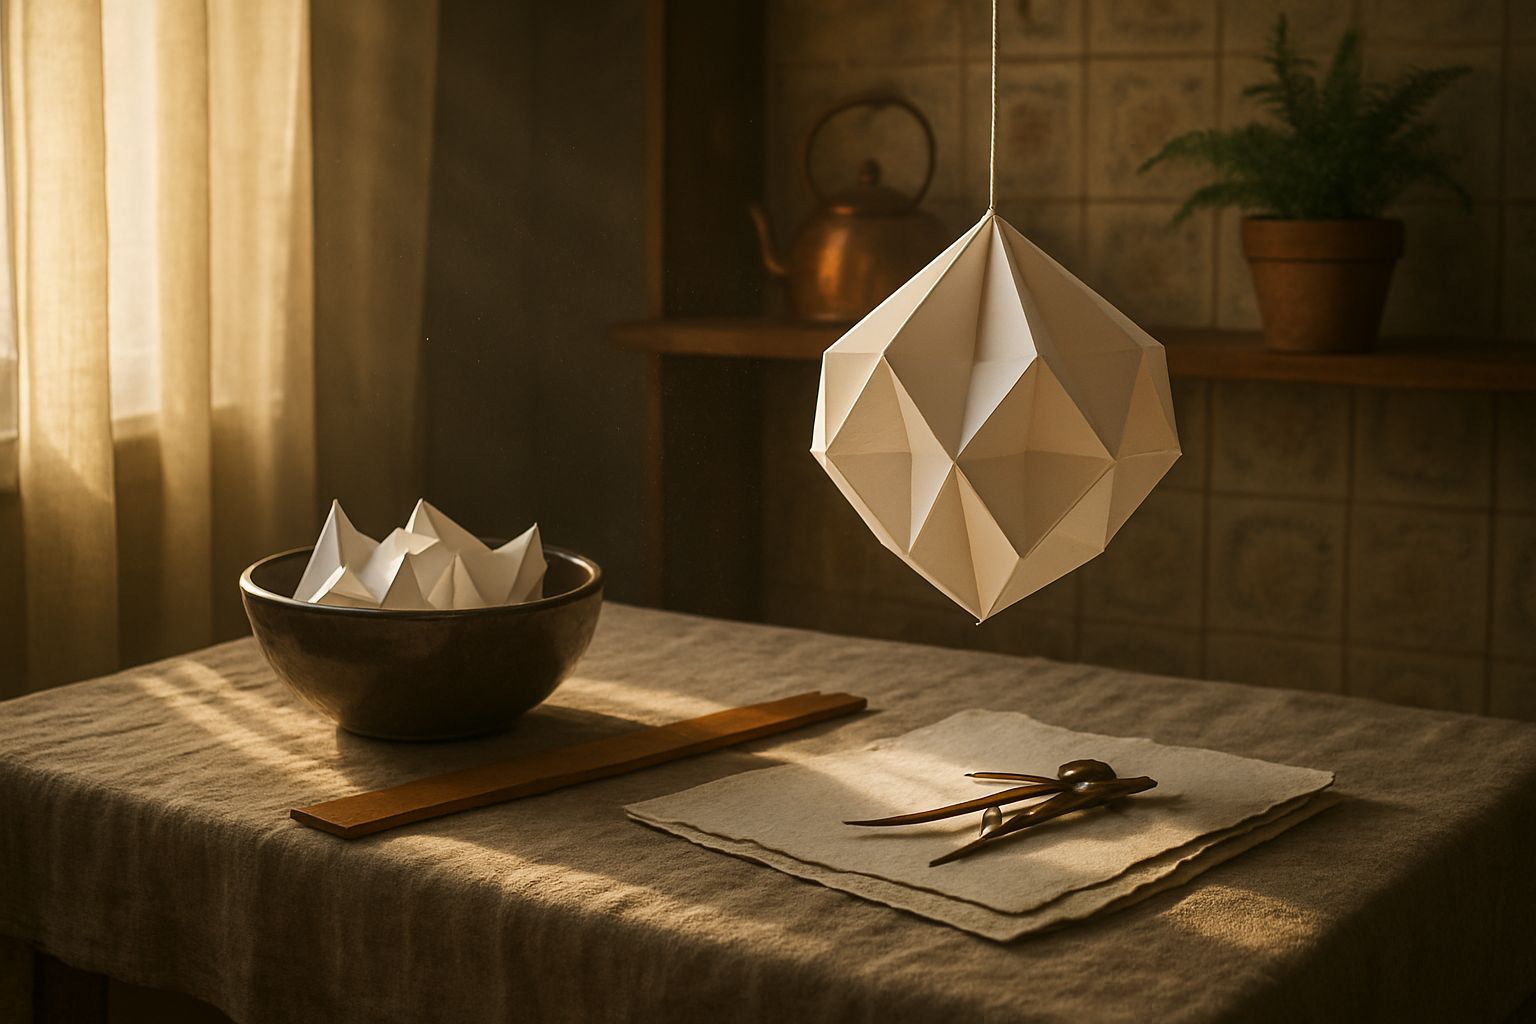
A geometric origami pendant light is a stunning and modern addition to any home decor. This DIY project combines the art of origami with functional lighting, creating a unique and eye-catching piece. Whether you're a seasoned crafter or a beginner, this tutorial will guide you through the process of making your own geometric origami pendant light. Follow these steps to create a beautiful and functional light fixture that will illuminate your space with style.
Materials Needed
- Origami paper or thin cardstock in your desired colors
- Scissors
- Ruler
- Pencil
- Glue or double-sided tape
- String or wire for hanging
- Light socket and bulb (LED recommended)
- Wire cutters
- Hot glue gun (optional)
Preparation Steps
Step 1: Measure and Cut the Origami Pieces
Begin by measuring and cutting your origami paper or cardstock into squares. The size of the squares will determine the size of your pendant light. For a medium-sized pendant, cut 16 squares of 6x6 inches. Ensure all squares are cut precisely for a uniform look.
Step 2: Fold the Origami Units
Fold each square into a modular origami unit. This is typically done by folding the paper into a kite shape and then creating pockets to interlock with other units. Follow a basic modular origami tutorial if you're unfamiliar with the process. You'll need to create 16 identical units.
Assembly
Step 3: Assemble the Geometric Structure
Start by connecting the origami units together. Insert the flaps of one unit into the pockets of another to create a 3D geometric shape. Continue adding units until you have a complete sphere or your desired shape. Ensure the structure is sturdy and evenly balanced.
Step 4: Attach the Hanging Mechanism
Once the geometric structure is complete, attach a string or wire to the top. Use a hot glue gun or strong adhesive to secure the string to the inside of the origami structure. Make sure it's firmly attached to support the weight of the light fixture.
Mistakes to Avoid
1. **Uneven Cuts**: Ensure all origami squares are cut precisely to maintain a uniform look. 2. **Loose Connections**: Securely interlock the origami units to prevent the structure from falling apart. 3. **Weak Hanging Mechanism**: Use a strong adhesive and sturdy string to support the weight of the pendant light. 4. **Incorrect Light Bulb**: Use an LED bulb to avoid overheating, which could damage the paper.
Pro Tips
1. **Color Coordination**: Choose colors that complement your room decor for a cohesive look. 2. **Layering**: Add multiple layers of origami units for a more intricate design. 3. **Sealing**: Apply a thin layer of clear sealant to the paper to protect it from moisture and dust. 4. **Customization**: Experiment with different geometric shapes and sizes to create a unique pendant light.
Conclusion
Creating a geometric origami pendant light is a rewarding DIY project that adds a touch of modern elegance to your home. With the right materials and careful assembly, you can craft a stunning light fixture that doubles as a conversation piece. Follow these steps, avoid common mistakes, and use the pro tips to ensure a successful and beautiful outcome. Happy crafting!