If you're looking for a sustainable, chemical-free way to exfoliate your skin or scrub dishes, a natural loofah sponge is the perfect solution. Unlike synthetic sponges, which contribute to landfill waste and often contain microplastics, a homegrown loofah is biodegradable, compostable, and packed with natural exfoliating properties. Plus, growing your own loofah is surprisingly easy and rewarding. In this tutorial, we'll walk you through every step—from planting the seeds to harvesting and preparing your very own loofah sponge.
Materials Needed
- Loofah seeds – Choose a variety like Luffa aegyptiaca (smooth loofah) or Luffa acutangula (ridged loofah). You can find these online or at garden centers specializing in heirloom seeds.
- Well-draining soil – Loofahs thrive in loose, fertile soil with good drainage. Mix in compost for extra nutrients.
- Sunlight – Loofah plants need full sun, at least 6-8 hours of direct sunlight per day.
- Trellis or support structure – Loofah vines grow long and heavy, so they need something to climb. Use a sturdy trellis, fence, or even a sturdy rope.
- Watering can or hose – Keep the soil consistently moist but not waterlogged.
- Pruning shears or knife – For harvesting and cutting the gourds from the vine.
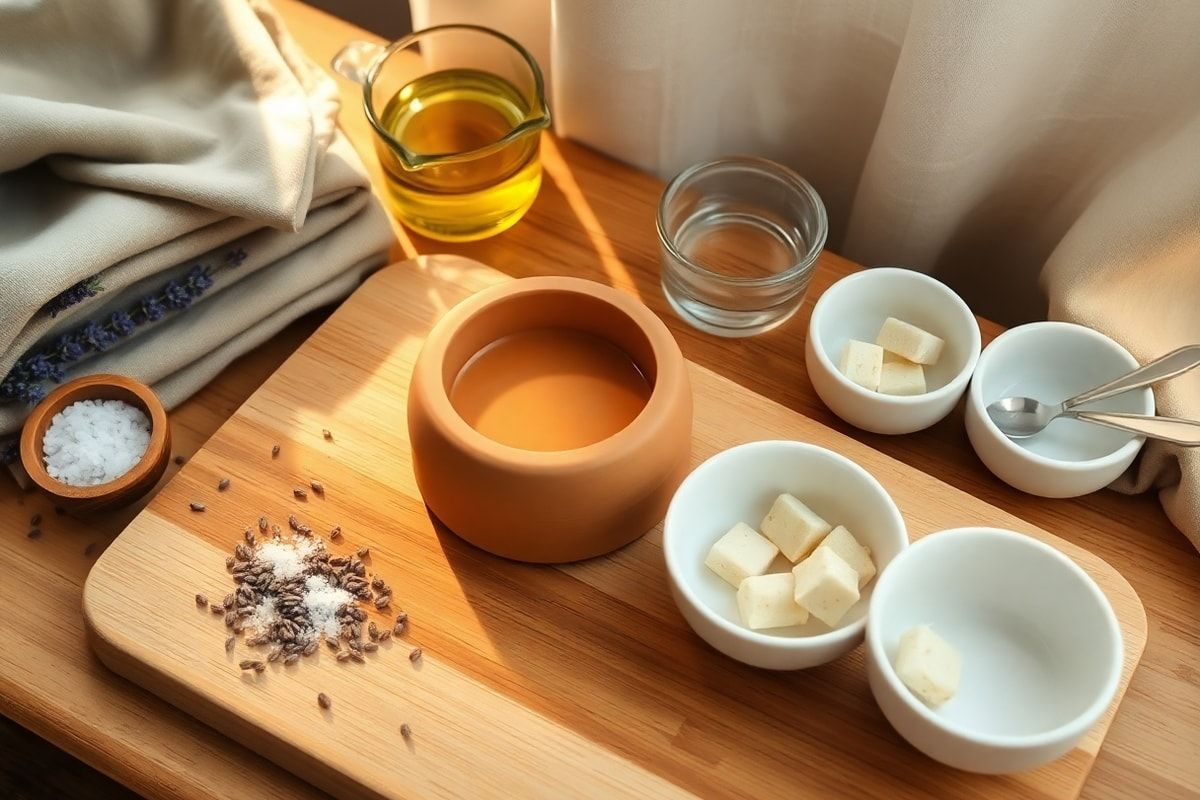
- Bucket or basin – For soaking the dried loofahs during cleaning.
- Mild soap (optional) – For cleaning the sponge before first use.
Preparation Steps
Step 1: Choose the Right Variety and Time to Plant
Loofahs are tropical plants, so they grow best in warm climates. If you live in a cooler region, start seeds indoors 4-6 weeks before the last expected frost, or wait until soil temperatures reach at least 60°F (15°C). In subtropical or tropical zones, you can sow seeds directly after the last frost.
Select a sunny spot in your garden with plenty of space—loofah vines can grow up to 20 feet long! If space is limited, consider growing them vertically on a sturdy trellis or along a fence.
Step 2: Prepare the Soil and Plant the Seeds
Loofahs prefer rich, well-draining soil with a pH between 6.0 and 7.5. Amend your garden bed with compost or aged manure to improve fertility and drainage.
Sow seeds about 1 inch deep and 12-18 inches apart. If using a trellis, plant seeds along the base. Keep the soil consistently moist during germination, which typically takes 7–14 days. Once seedlings emerge, thin them to the strongest plants every 2–3 feet.
Water deeply but infrequently—loofahs are drought-tolerant once established, but regular watering encourages healthy growth and fruit production.
Growing and Caring for Loofah Plants
As your loofah vines grow, guide them onto the trellis or support structure. They’ll develop tendrils that help them climb. You can also gently tie vines to the support with soft twine if needed.
Fertilize monthly with a balanced organic fertilizer (like 5-5-5) or compost tea to support fruit development. Loofahs are heavy feeders, so don’t skip this step!
Watch for yellow flowers—these are a sign that fruit is forming. Each flower will develop into a long, cylindrical gourd that will grow up to 2 feet in length. Depending on the variety, the skin may be smooth or ridged.
Harvesting Your Loofah Gourds
Timing is key when harvesting loofahs. You want to pick them when they’re fully mature but before the skin hardens completely. This ensures the inner fibrous network is fully developed and usable.
Step 3: When and How to Harvest
Wait until the loofah gourds turn yellow or brown and the skin feels tough and leathery. This usually happens 90–120 days after planting. Use pruning shears to cut the gourds from the vine, leaving a short stem attached. Avoid pulling them off, as this can damage the vine.
If you harvest too early, the sponge will be weak and less effective. If you wait too long, the skin may become too hard to remove easily.
Cleaning and Preparing Your Loofah Sponge
Step 4: Removing the Skin and Seeds
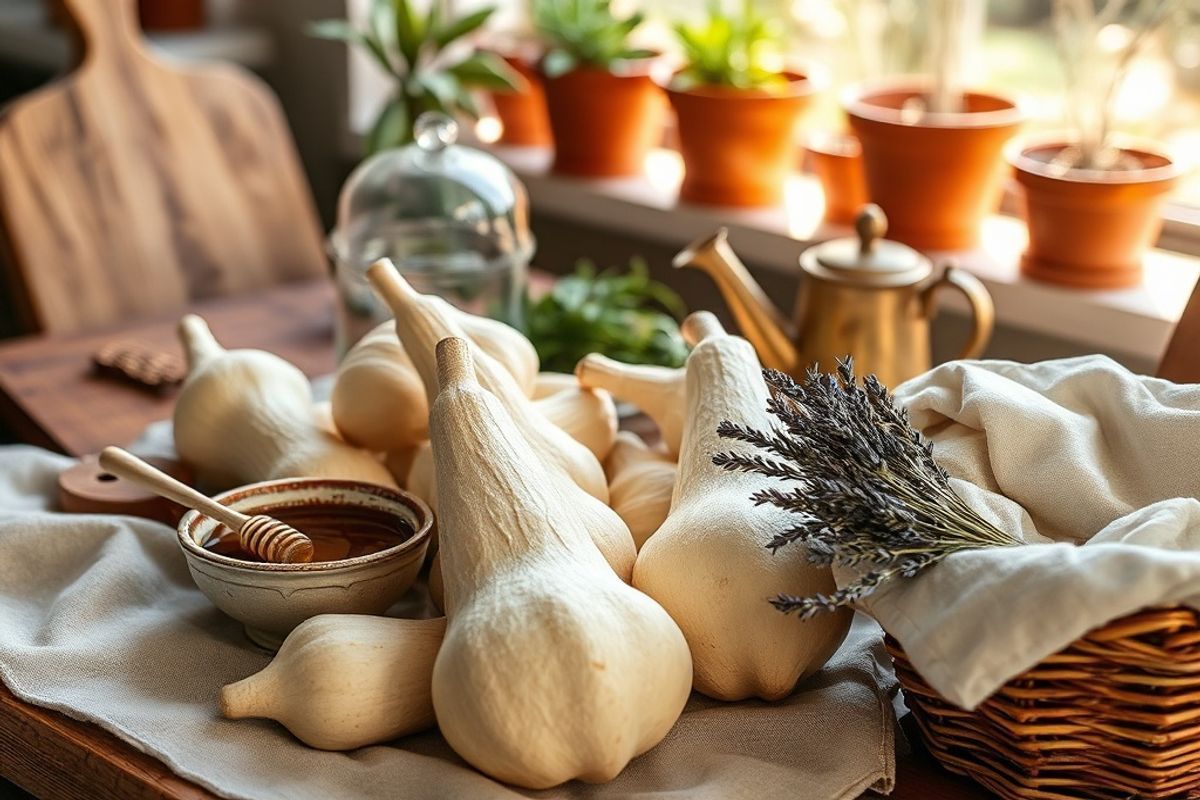
Once harvested, your loofah is still not ready to use—it needs to be processed.
- Wash the gourds – Use a brush and water to remove dirt and debris from the skin.
- Peel or scrape off the skin – The outer skin should come off easily with your fingers or a knife. For ridged varieties, it may require a bit more effort. Soak the gourd in warm water for 10–15 minutes to soften the skin if needed.
- Remove the seeds – Cut open one end of the loofah and shake out the seeds. Rinse and dry them—they’re edible! You can roast them for a nutty snack.
- Dry the sponge – Place the cleaned loofah sponge in a warm, dry, and well-ventilated area. Let it dry for 1–2 weeks, turning occasionally to ensure even drying.
Once completely dry, your loofah sponge is ready to use! It should feel firm and fibrous, like a natural exfoliating pad.
Assembly: Using Your Loofah Sponge
Step 5: Softening (Optional)
If your loofah feels too stiff for gentle exfoliation, soak it in warm water for 5–10 minutes before use. You can also rub it between your hands to soften the fibers.
Step 6: Caring for Your Loofah
Like any sponge, your loofah needs proper care to last longer:
- Rinse after use – Squeeze out excess water and hang it to dry in a well-ventilated area.
- Clean regularly – Wash with mild soap and warm water once a week to prevent mold and bacteria buildup.
- Replace when needed – A loofah typically lasts 2–4 weeks with regular use. When it starts to smell or fall apart, compost it and make a new one!
You can use your loofah for:
- Exfoliating skin (body or face)
- Scrubbing dishes
- Cleaning surfaces
- Gentle plant care
Mistakes to Avoid
- Harvesting too early – Immature loofahs won’t have a usable fibrous network.
- Planting in cold soil – Loofahs are tropical; cold soil delays germination and slows growth.
- Overwatering – While they need moisture, soggy soil can cause root rot.
- Skipping the drying step – Using a wet loofah before it’s fully dried can lead to mold and a foul smell.
- Ignoring pests – Watch for cucumber beetles or aphids, which can damage vines. Use organic pest control if needed.
Pro Tips
- Save seeds for next year – Collect seeds from mature loofahs by cutting them open and drying the seeds in a cool, dark place. Store in a paper envelope until planting time.
- Companion planting – Grow loofahs near beans or corn to improve soil health and deter pests.
- Use as a natural scrubber in the kitchen – The fibrous texture is great for scrubbing pots and pans without scratching.
- Make a loofah bath scrub – Cut a dry loofah into smaller pieces and attach it to a wooden handle for a spa-like exfoliating tool.
- Compost used loofahs – Once they break down, they return nutrients to the soil—closing the loop on your sustainable cycle.
Growing and making your own loofah sponge is a fulfilling project that combines gardening, sustainability, and self-sufficiency. It’s a beautiful example of how nature provides everything we need—if we know how to use it wisely. By following this guide, you’ll not only reduce waste and avoid synthetic chemicals but also connect more deeply with the food and tools you use every day.
Whether you're looking to upgrade your skincare routine, reduce plastic waste, or simply enjoy the satisfaction of growing your own useful plants, a homegrown loofah sponge is a perfect project. Start planting today, and in just a few months, you’ll have a soft, natural exfoliator ready for use. Happy growing!