Introduction
Broken tile mosaic mirrors can be a frustrating sight, but with the right tools and techniques, you can restore them to their former glory. Whether your mirror has chipped tiles, loose grout, or missing pieces, this guide will walk you through the process of repairing it effectively. Mosaic mirrors are not only functional but also add a decorative touch to your home, so fixing them is worth the effort.
Materials Needed
- Replacement tiles (if needed)
- Mirror adhesive or construction adhesive
- Grout (matching the original color)
- Grout sealer
- Tile nippers or glass cutter
- Safety gloves and goggles
- Soft cloth or sponge
- Putty knife
- Rubber mallet (optional)
- Level
Preparation Steps
Step 1: Assess the Damage
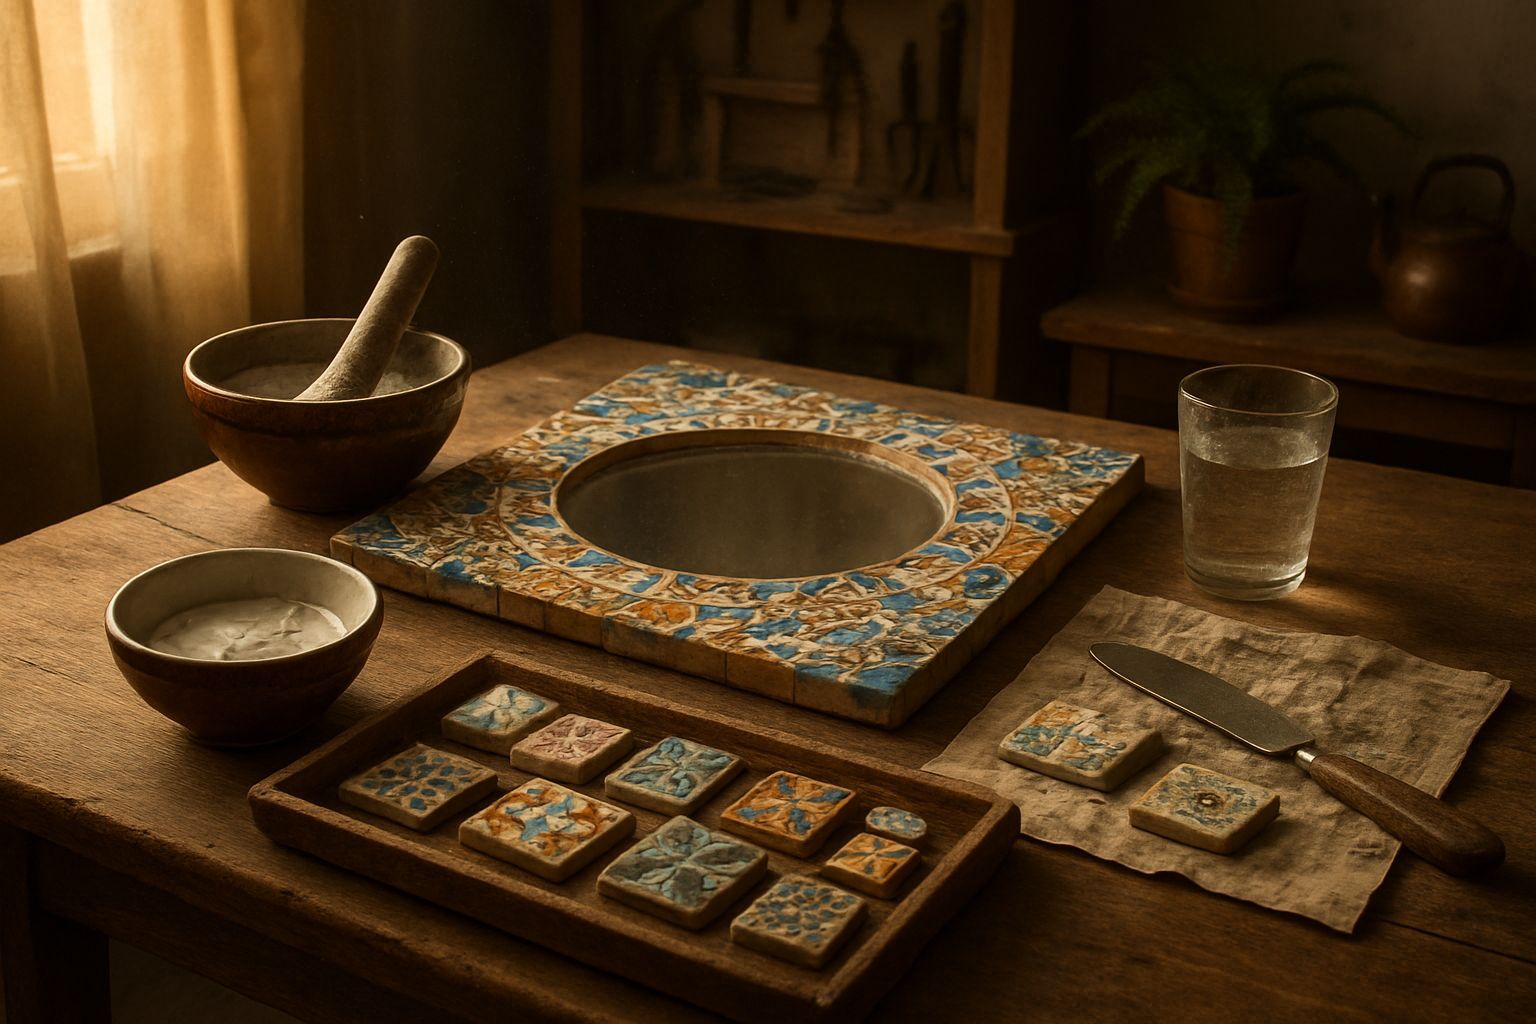
Before you start, carefully examine the mirror to determine the extent of the damage. Identify which tiles are loose, broken, or missing. If the mirror frame is also damaged, you may need additional materials to repair it. Take note of the tile size, shape, and color to ensure you get matching replacements if necessary.
Step 2: Gather Your Tools and Materials
Make sure you have all the materials listed above. If you need to replace tiles, visit a local hardware store or tile shop to find matches. If the original tiles are unique, you may need to order custom replacements. Additionally, ensure you have a clean, well-lit workspace to work on your mirror.
Assembly
Step 3: Remove Damaged Tiles
Using a putty knife or flathead screwdriver, gently pry out the damaged tiles. Be careful not to damage the surrounding tiles or the mirror backing. If the tiles are glued firmly, you may need to use a rubber mallet to tap the tool gently and loosen the adhesive. Once the tiles are removed, clean the area with a damp cloth to remove any remaining adhesive or debris.
Step 4: Apply Adhesive and Replace Tiles
Apply a small amount of mirror adhesive to the back of the replacement tile or directly onto the mirror surface where the tile will be placed. Press the tile firmly into place, ensuring it is level with the surrounding tiles. Use a level to check for alignment. If necessary, use a rubber mallet to gently tap the tile into place without cracking it. Allow the adhesive to dry according to the manufacturer's instructions before proceeding.
Mistakes to Avoid
When repairing a mosaic mirror, avoid these common mistakes to ensure a successful repair:
- Avoid using too much adhesive, as it can seep out and create a messy finish.
- Do not rush the drying process; allow the adhesive to cure properly to ensure a strong bond.
- Be careful not to apply too much pressure when replacing tiles, as this can cause them to crack or break.
- Avoid using harsh chemicals to clean the mirror, as they can damage the reflective surface.
Pro Tips
Here are some expert tips to help you achieve the best results:
- If you can't find exact matches for the tiles, consider using a contrasting color to create a unique design.
- For a seamless finish, use a grout bag to apply the grout, which allows for more precise application.
- Apply grout sealer after the grout has fully dried to protect it from moisture and stains.
- If the mirror frame is wooden, consider sanding and refinishing it to restore its appearance.
Conclusion
Repairing a broken tile mosaic mirror is a rewarding DIY project that can save you money and extend the life of your mirror. By following these steps and tips, you can restore your mirror to its original beauty and functionality. Whether you're a beginner or an experienced DIYer, this guide provides all the information you need to tackle this project with confidence. Happy repairing!