Are you looking to add a touch of natural elegance to your home or office? A stabilized moss wall art is a fantastic way to bring the tranquility of nature indoors while maintaining a polished, low-maintenance aesthetic. Unlike live moss, preserved moss requires no light, water, or upkeep, making it a perfect choice for both beginners and seasoned DIY enthusiasts.
In this tutorial, we'll guide you through the process of creating a stable moss wall panel using preserved moss. Whether you're crafting a small piece for your bedroom or a large statement wall for your living room, this project is customizable to fit any space. Let’s dive in!
Materials needed
- Preserved moss: Choose from sheet moss, reindeer moss, or preserved cushion moss. Select a variety that matches your aesthetic.
- Wooden frame: A pre-made wooden frame (e.g., shadow box or deep picture frame) or custom-cut plywood. Ensure it’s deep enough to accommodate the moss thickness.
- Staple gun and staples: For securing the moss to the frame or backing.
- Hot glue gun and glue sticks: To attach moss to complex areas or edges.
- Scissors or craft knife: For trimming moss to fit your design.
- Ruler or measuring tape: For precise measurements.
- Pencil or marker: For sketching your design.
- Backing material: Plywood or foam board to cover the back of the frame and secure the moss.
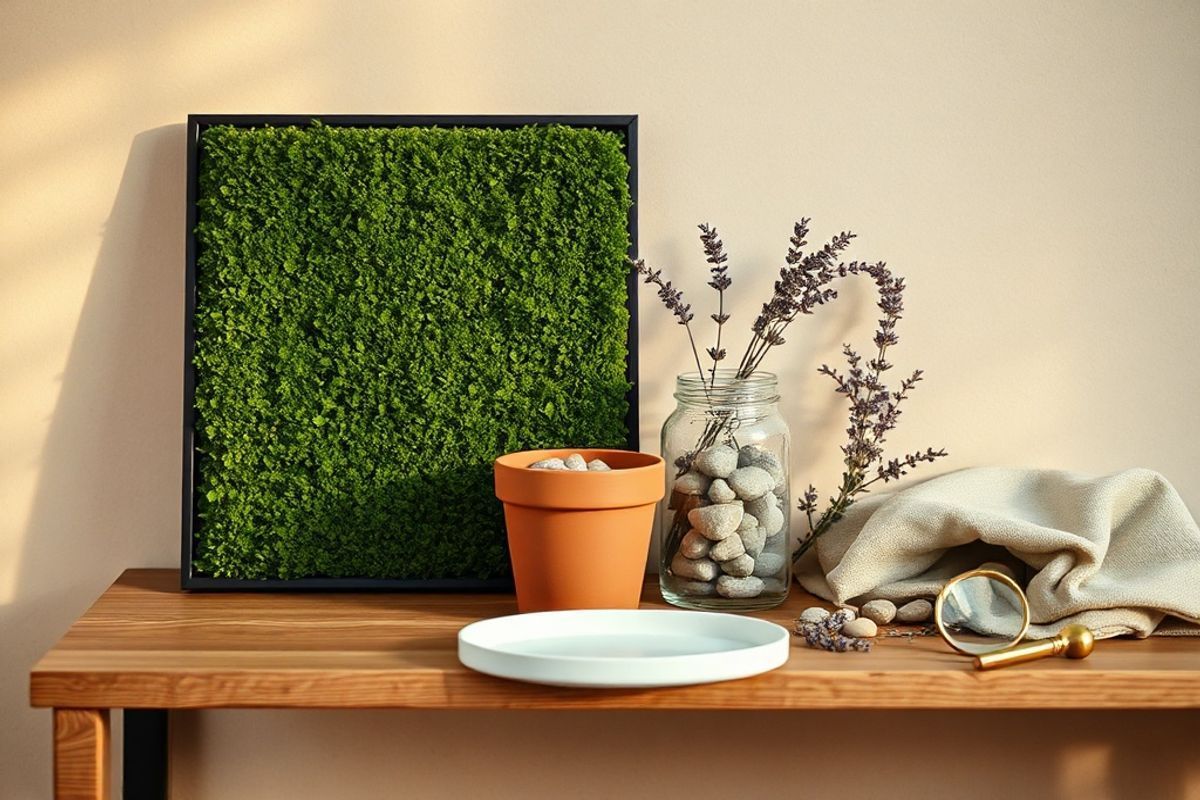
- Optional decorative elements: Twigs, dried flowers, or small pebbles to enhance the design.
Preparation steps
Step 1: Choose your design and frame
Before gathering materials, decide on the size and shape of your moss wall art. A rectangular or square frame works well for most spaces, but you can also opt for a circular or irregular shape for a unique look.
If you’re using a pre-made frame, ensure it’s deep enough to hold the moss without bulging. For larger projects, consider building a custom frame from plywood or using a deep picture frame from a craft store. Measure the inner dimensions of the frame to determine how much moss you’ll need.
Step 2: Prepare the backing
The backing will hold the moss in place and give your panel structure. Cut a piece of plywood or foam board to match the inner dimensions of your frame. If using plywood, sand the edges to avoid splinters. For extra stability, you can also add a thin layer of adhesive (like Liquid Nails) to the backing before attaching the moss.
Assembly
Step 3: Attach the moss to the backing
Lay your backing material on a flat surface. Begin by arranging your preserved moss on top to visualize your design. Preserved moss comes in various textures and colors, so experiment with layering to create depth.
Once you’re happy with the layout, use a staple gun to secure the moss to the backing. Start from one side and work your way across, pulling the moss taut to avoid wrinkles. For tighter corners or edges, use a hot glue gun to ensure the moss stays in place. If your design includes multiple types of moss or decorative elements, attach them one layer at a time, securing each with staples or glue.
Pro tip: If you’re working with sheet moss, you can cut it into smaller pieces to fit your design. For a more organic look, leave the edges slightly uneven or frayed.
Step 4: Secure the moss panel into the frame
Once the moss is firmly attached to the backing, carefully place it into the frame. If your frame has a lip or rabbet (a recessed edge), the backing should sit flush against it. Use additional staples or glue to secure the backing to the frame if necessary. For larger frames, you may need to add support braces inside the frame to prevent the backing from warping over time.
If you want to add extra protection, you can seal the edges of the moss panel with a thin layer of clear acrylic spray. This step is optional but helps to keep the moss in place and prevents shedding.
Mistakes to avoid
- Skipping the backing: Always use a sturdy backing material to prevent the moss from shifting or falling out over time.
- Over-stretching the moss: Pulling the moss too tight can cause it to tear. Handle it gently to maintain its natural texture.
- Using the wrong adhesive: Avoid water-based glues, as they can reactivate the preservatives in the moss. Stick to hot glue or specialty adhesives designed for preserved materials.
- Ignoring the frame depth: If your frame isn’t deep enough, the moss may bulge or look unnatural. Measure carefully before starting.
- Skipping the design planning: While moss is forgiving, sketching your design first helps avoid awkward gaps or uneven layers.
Pro tips
- Mix textures: Combine different types of preserved moss (e.g., reindeer moss for bulk, sheet moss for texture) to create a more dynamic look.
- Add dimension: Use small branches, dried flowers, or pebbles to create focal points or pathways within your moss design.
- Frame it like a piece of art: Pair your moss panel with a high-quality frame to elevate its appearance. A dark wood frame can give it a rustic feel, while a sleek metal frame modernizes the look.
- Lighting matters: Place your moss wall art near a light source to highlight its textures. LED strip lights can add a soft glow without overheating the moss.
- Clean regularly: Use a soft brush or a hairdryer on the cool setting to remove dust from your preserved moss. Avoid water or harsh cleaners.
- Custom sizing: If you can’t find a frame that fits your vision, build a custom frame using plywood and a router to create a rabbet for the backing.
Creating a stabilized moss wall art is a rewarding project that combines creativity with practicality. Unlike live moss, preserved moss requires no maintenance, making it ideal for busy households or low-light spaces. Whether you’re crafting a small piece for your desk or a grand statement wall, the key is to take your time during the assembly process and let your creativity flow.
Ready to bring a touch of nature into your home? Gather your materials, follow these steps, and enjoy the calming beauty of your new moss wall art. Share your creations with us on social media using #HomeReadyMossArt—we’d love to see your designs!
Happy crafting!