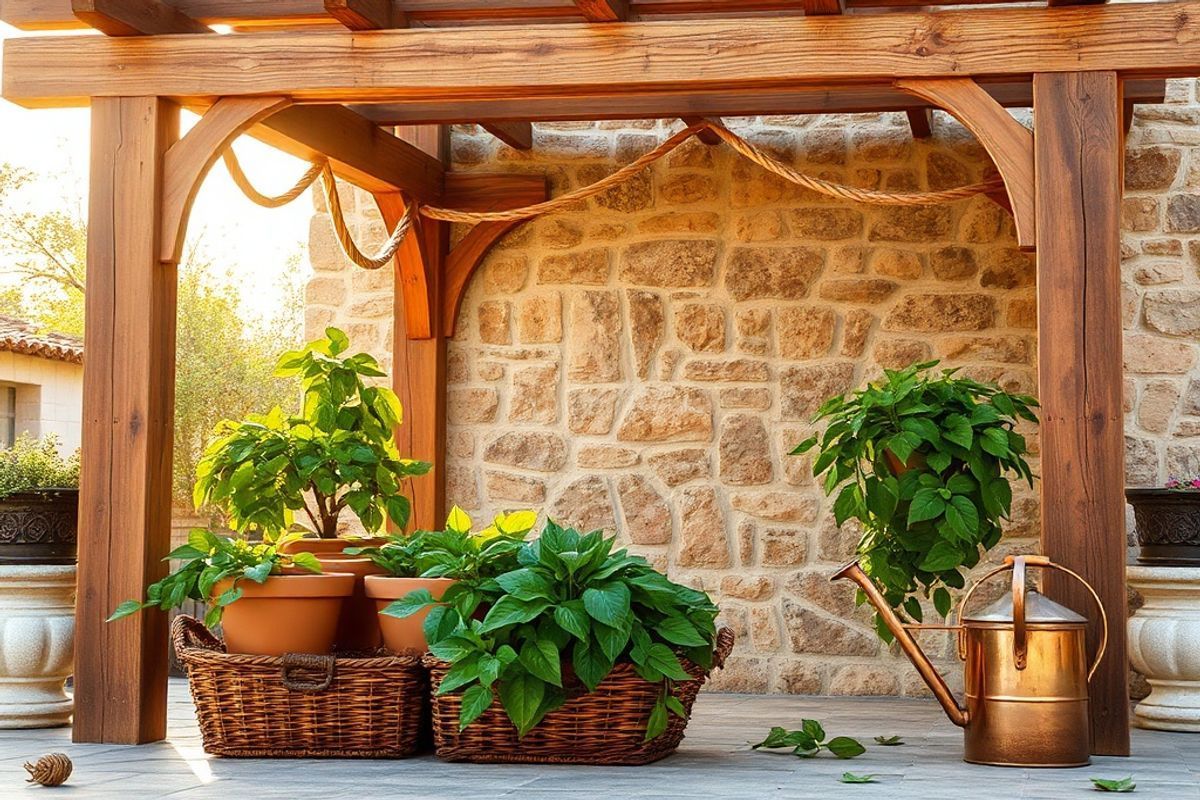
Kiwi vines are vigorous growers, and providing them with sturdy support is essential for healthy growth, abundant fruit production, and ease of maintenance. A well-built pergola not only supports the heavy vines but also creates a beautiful garden feature. In this tutorial, we’ll guide you through building a robust kiwi vine pergola using durable materials and simple tools. Whether you're a seasoned gardener or a beginner, this step-by-step guide will help you create a functional and attractive pergola that will last for years.
Materials Needed
Before starting your project, gather the following materials and tools:
- Wood: Choose pressure-treated lumber or naturally rot-resistant wood like cedar or redwood for longevity.
• 4x4 posts (8 feet long, quantity depends on pergola size)
• 2x6 or 2x8 beams (length depends on pergola width)
• 1x6 or 2x6 rafters (length depends on pergola length)
• 2x4 or 4x4 cross beams for additional support (optional) - Hardware:
• Heavy-duty galvanized post anchors or concrete footings
• ½-inch diameter galvanized lag screws or bolts (at least 6 inches long)
• Heavy-duty metal brackets or hurricane ties
• Deck screws (2½-inch and 3-inch)
• Galvanized wire or sturdy trellis netting (optional, for additional vine support) - Tools:
• Post hole digger or auger
• Level (2-3 feet)
• Measuring tape
• Speed square
• Circular saw or handsaw
• Drill with driver bits and drill bits
• Adjustable wrench or socket set
• Shovel
• Wheelbarrow (for mixing concrete, if using) • Rubber mallet - Optional but Recommended:
• Wood preservative or sealant
• Landscape fabric (to prevent weeds)
• Gravel or crushed stone (for drainage)
Preparation Steps
Proper planning and preparation are key to building a pergola that will support your kiwi vines for years. Follow these steps before you begin construction:
Step 1: Choose the Location and Size
Select a spot in your garden that receives full sun (at least 6–8 hours per day) and has good drainage. Kiwi vines thrive in sunny, well-drained locations.
Standard pergola dimensions are around 8–12 feet wide and 10–14 feet long. However, adjust the size based on your garden space and vine vigor. Ensure the pergola is tall enough for you to walk under comfortably—typically 8–10 feet high.
Mark the layout using stakes and string to visualize the pergola’s footprint.
Step 2: Check Local Building Codes and Permits
Before digging, check with your local building department to see if you need a permit for a pergola. Some areas have height or setback restrictions. Even if no permit is required, it’s wise to ensure your structure is safe and stable.
Also, call your local utility companies to locate underground lines before digging (e.g., 811 in the U.S.).
Step 3: Dig Post Holes
Dig four to six post holes (depending on pergola size) at each corner and possibly in the center for larger structures. Holes should be at least 18–24 inches deep and 12 inches in diameter to ensure stability and frost resistance in colder climates.
Use a post hole digger or powered auger for efficiency. Space the holes evenly based on your planned pergola dimensions.
If your soil is loose or sandy, consider adding a 4–6 inch layer of gravel at the bottom of each hole for drainage.
Step 4: Set the Posts
Place a 4x4 post in each hole and use a level to ensure it is plumb (perfectly vertical). Temporarily brace the post with wooden stakes or a level tool.
There are two main ways to set posts:
- Concrete Footings: Mix concrete and pour it into the hole around the post. Use a trowel to level the surface and slope it slightly away from the post to shed water. Allow 24–48 hours to cure before building on it.
- Post Anchors: Use galvanized metal post anchors embedded in concrete or screwed into the ground. This method allows for easier post replacement but may be less stable in very windy areas.
Recheck the post’s vertical alignment after setting. Adjust as needed before the concrete fully sets.
Once set, cut the tops of the posts to your desired pergola height (typically 8–10 feet), using a level to mark a consistent height.
Assembly
With the posts securely in place, you’re ready to assemble the pergola frame and support system for your kiwi vines.
Step 5: Install the Main Beams
For a basic pergola, install two 2x6 or 2x8 beams across the top of the posts, connecting them from one side to the other. Use heavy-duty lag screws or bolts (½-inch diameter, at least 6 inches long) to secure each beam to the posts.
Pre-drill holes to prevent wood splitting. Use at least two screws per connection point (one at the top and one at the bottom of the beam).
Ensure the beams are level and parallel. Use a level and tape measure to maintain consistent spacing and alignment.
Step 6: Add Cross Beams or Rafters
Install 1x6 or 2x6 rafters perpendicular to the main beams. Space them 12–18 inches apart to allow sunlight and airflow while supporting the kiwi vines. Use deck screws to attach each rafter to the beams.
For added strength, consider adding 2x4 or 4x4 cross beams between the main posts at knee height or mid-height. These can provide extra support for the vines and add structural rigidity to the pergola.
Optional: For a more traditional pergola look, angle the rafters slightly for a sloped roof effect, or space them unevenly for a rustic feel.
Step 7: Secure and Reinforce the Structure
Reinforce all connections using metal brackets, hurricane ties, or corner braces. These will help the pergola withstand wind and the weight of mature kiwi vines, which can become quite heavy.
Apply a wood preservative or sealant to protect the wood from moisture, UV rays, and insects. Allow it to dry completely before planting or training your vines.
Step 8: Add Trellis Netting or Wire (Optional)
To give kiwi vines a structure to climb, install heavy-duty trellis netting or galvanized wire mesh across the rafters. Space the wires 12–18 inches apart vertically and horizontally. Kiwi vines have vigorous tendrils and will cling naturally, but netting provides extra support during strong winds or heavy fruiting.
Attach the netting using zip ties, staples, or screws with washers to prevent tearing.
Mistakes to Avoid
Building a pergola seems simple, but small errors can lead to long-term problems. Here are common mistakes to avoid:
- Skipping proper post depth: Shallow posts can heave in freeze-thaw cycles. Always dig below the frost line (typically 18–24 inches in most regions).
- Using untreated wood: Untreated lumber will rot quickly when in contact with soil or moisture. Always use pressure-treated or naturally rot-resistant wood.
- Ignoring level and plumb: Crooked posts or beams will make the pergola unstable and unattractive. Use a level at every step.
- Over-tightening screws: Overtightening can strip wood or crack beams. Hand-tighten screws, then snug with a drill—don’t force them.
- Skipping reinforcement: Kiwi vines become heavy with fruit. Reinforce all joints with brackets and consider diagonal bracing for wind resistance.
- Planting too close: Avoid placing the pergola directly over tree roots or in compacted soil. Give vines room to spread and access nutrients.
Pro Tips
Follow these expert tips to ensure your kiwi vine pergola is both functional and long-lasting:
- Choose the right kiwi variety: Hardy kiwi (Actinidia arguta) is more cold-tolerant and less invasive than fuzzy kiwi (Actinidia deliciosa).
- Train vines early: When planting, guide young vines up the posts and along the beams. Prune regularly to encourage upward growth and fruit production.
- Install drip irrigation: Kiwis need consistent moisture. Run drip lines along the base of the pergola to keep roots hydrated without wetting the foliage.
- Use a shade cloth (optional): In extremely hot climates, add shade cloth over part of the pergola to protect fruit from sunscald.
- Add lighting: String solar-powered lights or LED strands for ambiance and extended evening use of your outdoor space.
- Mulch the base: Apply organic mulch around the base of the posts to retain moisture, suppress weeds, and regulate soil temperature.
- Inspect annually: Check for rot, insect damage, or loose hardware. Repair or reseal wood as needed to prolong the pergola’s life.
Fun Fact: A well-maintained kiwi vine can produce up to 100 pounds of fruit per season and live for 50+ years!
With proper support, your kiwi vines will flourish, providing shade, beauty, and delicious fruit for decades to come.
—
Whether you're growing just one vine or planning a full kiwi arbor, this pergola design offers the strength and flexibility needed to support these vigorous growers. Take your time during construction, use quality materials, and your pergola will be the centerpiece of your garden for years.
Ready to start building? Gather your tools, mark your space, and begin creating a sturdy, beautiful pergola that your kiwi vines—and your family—will love for generations.