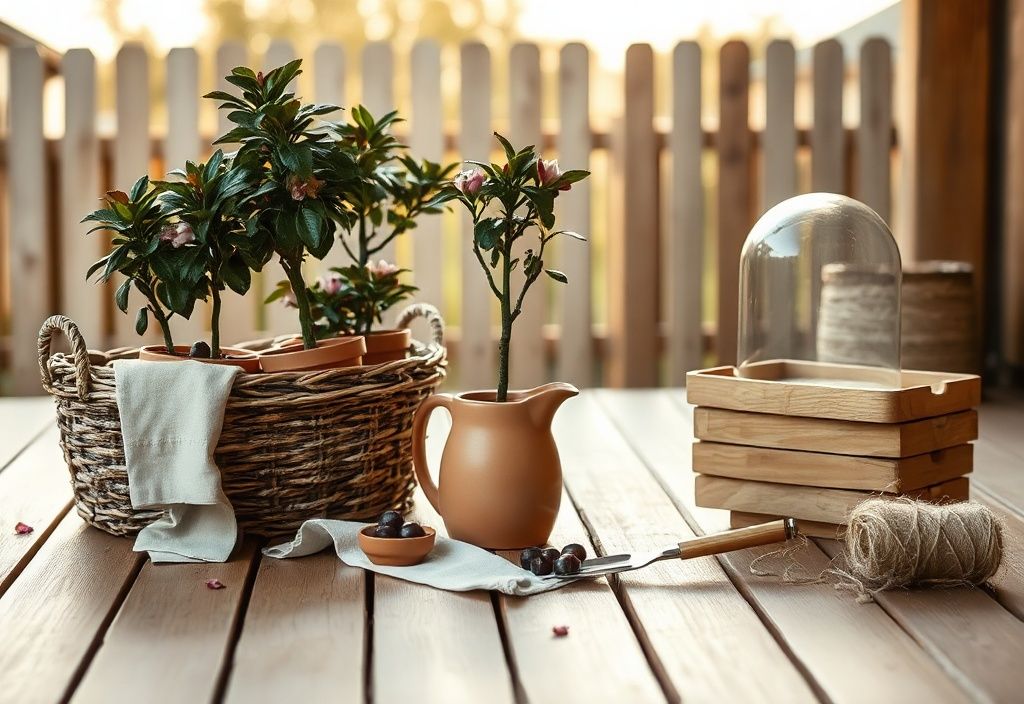
Welcome to your ultimate guide on creating a beautiful dwarf cherry tree terrace! Whether you're working with a small balcony, a cozy patio, or a compact urban garden, dwarf cherry trees are an excellent choice. These compact trees not only bring vibrant blossoms in spring and delicious fruit in summer, but they also add a touch of elegance to any outdoor space. In this tutorial, we’ll walk you through everything you need to know—from selecting the right materials to planting and maintaining your terrace garden. By the end, you’ll have a thriving dwarf cherry tree that’s both a visual delight and a fruitful addition to your home.
Materials needed
- Dwarf cherry tree sapling (choose a variety suitable for containers, such as 'Stella', 'Lapins', or 'Compact Stella')
- Large planter or container (at least 16–20 inches deep and wide; ensure it has good drainage holes)
- High-quality potting mix (well-draining, enriched with compost or organic matter)
- Organic fertilizer (slow-release or balanced formula suitable for fruit trees)
- Watering can or hose with gentle spray
- Mulch (organic mulch like wood chips, straw, or bark)
- Hand trowel and pruning shears
- Supports (optional: stakes or trellis if training the tree as an espalier)
- Gravel or broken pottery (for drainage layer in the container)
Preparation steps
Step 1: Choose the Right Location
Dwarf cherry trees need plenty of sunlight to thrive. Select a spot on your terrace that receives at least 6–8 hours of direct sunlight per day. While they can tolerate some shade, too little light will reduce flowering and fruiting. Also, consider wind exposure—terrace gardens can be windy, so a sheltered corner or the use of windbreaks may help protect your tree.
Step 2: Select a Suitable Container
Because dwarf cherry trees have shallow root systems, they do well in large containers. Choose a pot that is at least 16–20 inches in diameter and depth. Plastic, ceramic, or wooden planters work well, as long as they have adequate drainage. Avoid containers without drainage holes, as waterlogging can lead to root rot and poor growth.
Ensure the container is clean before use. You may want to line the bottom with landscape fabric to prevent soil from escaping through the drainage holes while still allowing water to flow freely.
Assembly
Step 3: Prepare the Container and Soil
Start by placing a 2–3 inch layer of gravel or broken pottery shards at the bottom of the container. This creates a drainage layer, preventing water from pooling at the roots.
Next, fill the container about one-third full with high-quality potting mix. Mix in a handful of compost or well-rotted manure to enrich the soil with nutrients. Avoid using garden soil, as it can compact and drain poorly in containers.
Step 4: Plant Your Dwarf Cherry Tree
Remove your dwarf cherry tree from its nursery pot and gently loosen the roots if they appear tightly bound. Place the tree in the center of the container, ensuring the top of the root ball sits about 1–2 inches below the rim of the pot. This allows room for watering without spillage.
Backfill around the root ball with potting mix, pressing lightly to eliminate air pockets. Water thoroughly until water runs out of the drainage holes. This helps settle the soil and hydrate the roots.
Apply a 2–3 inch layer of organic mulch (such as wood chips or straw) around the base of the tree. Mulch helps retain moisture, suppress weeds, and regulate soil temperature. Keep the mulch a few inches away from the trunk to prevent rot.
Mistakes to avoid
- Overwatering: Container-grown trees are prone to waterlogging. Always check the top inch of soil before watering—it should be dry to the touch.
- Using garden soil: It compacts in pots and lacks proper aeration, leading to poor root development.
- Ignoring drainage: No drainage holes? Don’t use the container. Waterlogging is a leading cause of death for potted fruit trees.
- Skipping mulch: Without mulch, soil dries out quickly, and roots can overheat in summer. Mulch is essential for moisture control.
- Planting too deep: The root flare (where roots meet the trunk) should be visible above the soil line. Planting too deep can suffocate the roots.
Pro tips
- Choose self-pollinating varieties: Most dwarf cherry trees are self-fertile, but planting two nearby can increase yield. 'Stella' and 'Compact Stella' are excellent choices.
- Fertilize regularly: Use a balanced, slow-release fertilizer formulated for fruit trees in early spring and again after harvest.
- Prune annually: Light pruning in late winter or early spring helps maintain shape, remove dead wood, and encourage fruiting spurs.
- Protect from late frosts: Cherry blossoms are sensitive to frost. Cover your tree with a frost cloth or sheet if a cold snap is expected during flowering.
- Monitor for pests: Watch for aphids, spider mites, and birds. Use organic sprays or netting to protect both leaves and fruit.
- Repot every 2–3 years: Over time, roots fill the container, and soil nutrients deplete. Repot your tree into fresh soil during dormancy (late winter).
- Train as an espalier: If space is tight, train your dwarf cherry tree against a wall or fence using a trellis. This vertical form maximizes space and adds a decorative touch.
- Consider dwarfing rootstock: If you want to keep the tree even smaller, choose a dwarfing rootstock (e.g., Gisela 5) when purchasing your tree.
Creating a dwarf cherry tree terrace garden is a rewarding project that transforms your outdoor space into a productive and beautiful retreat. These trees are not only compact and manageable but also offer year-round interest—from delicate spring blossoms to glossy summer fruit and fiery fall foliage. With the right care, your dwarf cherry tree can thrive for decades, producing bumper crops of sweet cherries year after year.
Remember: the key to success lies in proper planting, adequate sunlight, consistent moisture (without overwatering), and regular feeding. Avoid common pitfalls like poor drainage and neglecting pruning, and your terrace garden will flourish.
So go ahead—bring a taste of the countryside to your urban balcony. With a little patience and care, you’ll be harvesting homegrown cherries in no time. Happy gardening!
