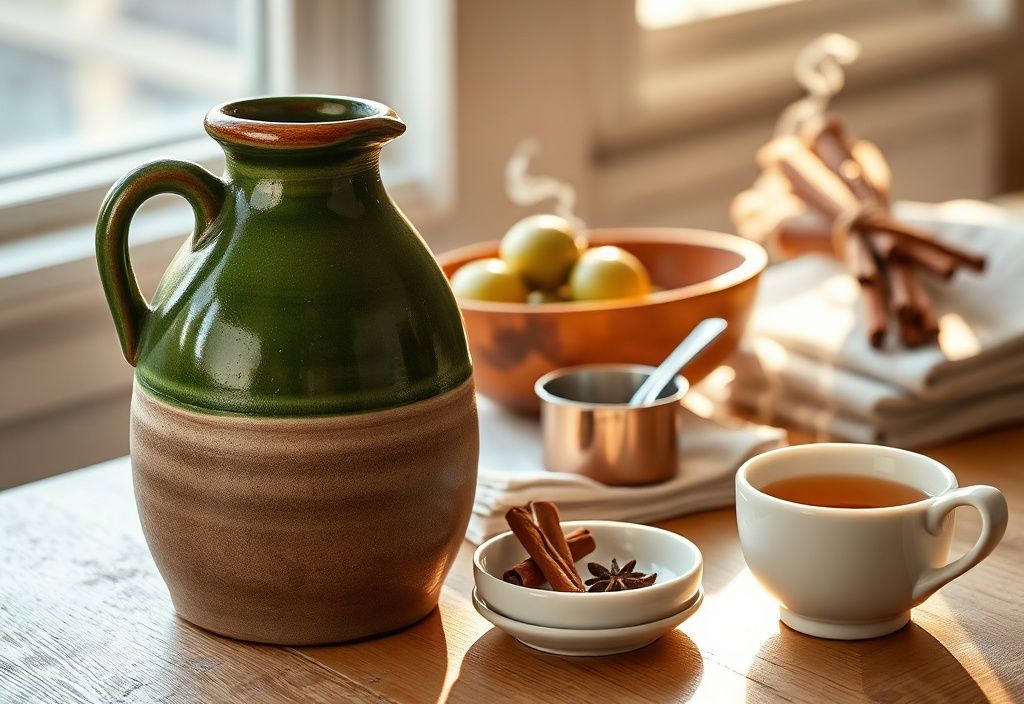
Hey there, HomeReadyHub family! Sara here, excited to dive into a project that truly embodies the spirit of homemade goodness and a touch of old-world charm: crafting your very own Liqueur Noix Vert, more commonly known as Nocino. This isn't just any liqueur; it's a centuries-old tradition, often associated with St. John's Day (June 24th) when green walnuts are at their peak for harvesting. Imagine a rich, dark elixir bursting with the complex, slightly bitter, and wonderfully aromatic essence of unripe walnuts, mellowed by spices and sweetened to perfection. It’s a labor of love, requiring patience and a keen eye for timing, but the reward? A truly unique, deeply satisfying digestif that will impress friends and family, and become a cherished part of your home bar. Forget store-bought; the depth of flavor and personal satisfaction from making your own Nocino is unparalleled. Let's get started on this enchanting journey!
Materials needed
- 1 kg (approx. 2.2 lbs) unripe green walnuts (about 30-40 walnuts), harvested late June
- 1 liter (approx. 4 cups) high-proof neutral grain alcohol (vodka, Everclear, grappa) – 80-100 proof (40-50% ABV)
- 500g (approx. 2 cups) granulated sugar, divided
- 500ml (approx. 2 cups) water (for simple syrup)
- 2-3 cinnamon sticks
- 10-12 whole cloves
- 2-3 star anise pods (optional, but recommended)
- Zest of 1 organic lemon (ensure it's unwaxed)
- Large glass jar with a tight-fitting lid (at least 2-liter capacity)
- Smaller glass bottles for bottling the finished liqueur
- Cutting board and sharp knife
- Rubber gloves (essential!)
- Large fine-mesh sieve or colander
- Cheesecloth (several layers)
- Funnel
- Saucepan for making simple syrup
Preparation steps
Step 1: Harvesting and Preparing the Green Walnuts
This is arguably the most critical step, as the timing of your walnut harvest dictates the success of your Nocino. Green walnuts must be picked before their inner shell hardens, typically around St. John's Day, which falls on June 24th in the Northern Hemisphere. To test if they're ready, try piercing a walnut with a toothpick or a sharp knife; it should go through easily with no resistance from a developing shell. If you feel any hardness, they're too far along. Once you've gathered your walnuts, give them a good rinse under cold water to remove any dirt or debris. Pat them dry thoroughly. Now, for the crucial part: put on your rubber gloves! Green walnuts contain a powerful tannin that will stain your hands, cutting board, and anything else it touches a deep, persistent brown-black. Trust me on this – these stains are legendary for their stubbornness! With gloves on, carefully quarter each walnut. You'll notice the vibrant green flesh and the soft, undeveloped inner nut. Place the quartered walnuts directly into your large, clean glass jar.
Step 2: Initiating the Maceration Process
With your quartered green walnuts nestled in the jar, it’s time to introduce the other flavor components. Add your chosen spices: the cinnamon sticks, whole cloves, star anise pods (if using), and the delicate zest of one organic lemon. The lemon zest adds a bright, citrusy counterpoint to the rich walnut flavor. Next, sprinkle in about 100g (approximately half a cup) of your granulated sugar over the walnuts and spices. This initial sugar helps to draw out some of the walnut's natural juices and flavors. Finally, pour the entire liter of high-proof neutral grain alcohol over everything in the jar. Ensure all the walnuts and spices are fully submerged in the alcohol. If any float, gently press them down or add a tiny bit more alcohol if needed, though this is usually not necessary if your jar size is appropriate. Seal the jar tightly with its lid. Give it a good shake to mix everything up. Place the jar in a cool, dark place – a pantry, basement, or even a cupboard away from direct sunlight is ideal. This dark environment is essential to prevent light degradation of the flavors and color.
Assembly
Step 3: The Patient Art of Maceration
Now comes the waiting game, and it's where patience truly becomes a virtue. Your Nocino mixture will macerate for a minimum of 40 days, but for the best, most complex flavor, I highly recommend letting it sit for at least 60 to 90 days, or even up to 3 months. During this period, the alcohol slowly extracts the deep, aromatic oils and tannins from the green walnuts and infuses with the spices. You'll notice the liquid gradually darkening from a clear amber to a deep, inky brown-black, a testament to the powerful pigments of the walnuts. Make sure to give the jar a gentle shake every few days, or at least once a week. This helps to redistribute the ingredients and ensures maximum flavor extraction. Keep it in that cool, dark spot throughout the entire maceration period. Resist the urge to open it too often; let nature do its work!
Step 4: Straining, Sweetening, and Bottling
Once your maceration period is complete (and you've successfully resisted the temptation to peek too often!), it's time to transform the potent extract into a delightful liqueur. First, prepare your simple syrup. In a saucepan, combine the remaining 400g of granulated sugar with 500ml of water. Heat gently, stirring until all the sugar is completely dissolved. Let the simple syrup cool completely to room temperature. While it's cooling, set up your straining station. Place a fine-mesh sieve or colander over a large bowl or another clean jar. Line the sieve with several layers of cheesecloth. Carefully pour the entire contents of your maceration jar through the cheesecloth-lined sieve. Allow all the liquid to drain naturally; do not squeeze the walnuts, as this can release bitter compounds and fine sediment. Once strained, discard the spent walnuts and spices. Now, combine the strained walnut extract with the cooled simple syrup. Stir thoroughly. At this point, you can taste it and adjust the sweetness to your preference. Some prefer it less sweet, others more so. Using a funnel, carefully pour your freshly made Nocino into clean, sterilized glass bottles. Seal them tightly. While technically drinkable now, Nocino truly shines after a further aging period. Store the bottled liqueur in a cool, dark place for at least another 6 months, and ideally a full year. This allows the flavors to meld, soften, and deepen, resulting in a remarkably smooth and complex digestif. The wait is worth it, I promise!
Mistakes to avoid
- Using Ripe Walnuts: This is the cardinal sin of Nocino making. Ripe walnuts will have a hard shell and a completely different flavor profile, leading to a very bitter and undesirable liqueur. Always test for softness!
- Skipping the Gloves: Seriously, don't do it. Walnut tannins are incredibly potent and will stain your skin for days, if not weeks.
- Not Using High-Proof Alcohol: Lower proof alcohol won't extract the flavors as effectively and can lead to spoilage. Aim for 80-100 proof (40-50% ABV) neutral grain spirits.
- Rushing the Maceration: The longer the walnuts and spices steep, the deeper and more complex the flavor will be. Forty days is the minimum, but patience truly pays off here.
- Squeezing the Walnuts During Straining: While tempting to get every last drop, squeezing the spent walnuts can release bitter compounds and fine sediment, making your Nocino cloudy and less pleasant.
- Skipping the Post-Bottling Aging: Freshly made Nocino can be harsh. The flavors need time to marry and mellow. The longer it sits (up to a year or more), the smoother and more harmonious it becomes.
- Improper Storage: Keep the macerating jar and bottled liqueur in a cool, dark place. Light and heat can degrade the flavors and color.
Pro tips
- Source Your Walnuts Wisely: If you don't have your own walnut tree, try local farmers' markets or ask friends and neighbors with trees. Ensure they haven't been sprayed with pesticides.
- Experiment with Spices: While cinnamon, cloves, and lemon zest are traditional, don't be afraid to experiment! A vanilla bean, a few allspice berries, a strip of orange peel, or even a tiny pinch of nutmeg can add intriguing layers of flavor. Just don't go overboard; the walnut should always be the star.
- Adjust Sweetness to Taste: The amount of sugar is a guideline. After combining the extract with simple syrup, taste it. If you prefer a drier liqueur, add less syrup. If you like it sweeter, add more. You can always add more sugar, but you can't take it away!
- Consider a Two-Stage Sugar Addition: While I've outlined adding some sugar initially and the rest as simple syrup, some traditional recipes add all the sugar at the very end. The initial sugar helps draw out some juices and flavors, but either method works.
- Gift It! Homemade Nocino makes an incredible, thoughtful gift, especially around the holidays. Bottle it in beautiful, clear glass bottles and add a custom label with the year it was made.
- Serving Suggestions: Nocino is traditionally enjoyed as a digestif after a meal, often served neat in a small glass. It's also fantastic drizzled over vanilla ice cream, added to coffee, or used in cocktails. Try a Nocino Old Fashioned for a unique twist!
- Label and Date: Always label your bottles with the date you bottled the Nocino. This helps you keep track of its aging and ensures you enjoy it at its peak.
- Patience is Your Best Ingredient: I can't stress this enough. From the precise harvesting window to the months of maceration and subsequent aging, Nocino is a testament to the rewards of patience. The deeper the rest, the richer the reward.
And there you have it, HomeReadyHub friends – your comprehensive guide to crafting a truly exceptional homemade Nocino. This journey from green walnuts to a rich, aromatic liqueur is more than just a recipe; it's an experience, a connection to age-old traditions, and a celebration of natural bounty. The satisfaction of pouring a glass of your own Nocino, knowing every step was handled with care and intention, is truly unmatched. So, mark your calendars for late June, gather your supplies, and embrace the magic of making something truly special. Happy crafting, and cheers to your future Nocino masterpieces!
Warmly,
Sara
