Introduction
Looking for a stylish and functional storage solution that’s easy to build? A modular plywood cube shelf is the perfect DIY project for beginners and experienced woodworkers alike. This versatile shelf can be used in any room—whether it’s your living room, bedroom, or home office—to store books, decorative items, or everyday essentials. The best part? You can customize the size, finish, and arrangement to fit your space perfectly. In this tutorial, we’ll walk you through the entire process, from gathering materials to assembling your very own plywood cube shelf.
Materials Needed
- 1/2-inch or 3/4-inch plywood (size depends on desired cube dimensions)
- Wood glue
- Wood screws (1-inch or 1.5-inch)
- Sandpaper (medium and fine grit)
- Wood stain or paint (optional)
- Clear polyurethane or varnish (optional)
- Measuring tape
- Pencil
- Straightedge or ruler
- Circular saw or jigsaw
- Drill with screwdriver bit
- Clamps (optional, for holding pieces together while gluing)
Preparation Steps
Step 1: Measure and Cut the Plywood
Start by deciding the size of your cubes. A common size is 12x12 inches, but you can adjust based on your needs. Measure and mark the plywood according to your desired dimensions. For a cube, you’ll need six pieces per cube: four sides, a top, and a bottom. If you’re making multiple cubes, multiply the number of pieces accordingly.
Using a circular saw or jigsaw, carefully cut along the marked lines. Sand the edges smooth with medium-grit sandpaper, then finish with fine-grit for a polished look.
Step 2: Prepare the Wood for Finishing (Optional)
If you want to stain or paint your plywood, now is the time to do it. Apply your chosen finish with a brush or cloth, following the grain of the wood. Allow it to dry completely before applying a second coat if needed. Once dry, seal the wood with a clear polyurethane or varnish to protect the finish and add durability. Let it dry thoroughly before assembly.
Assembly
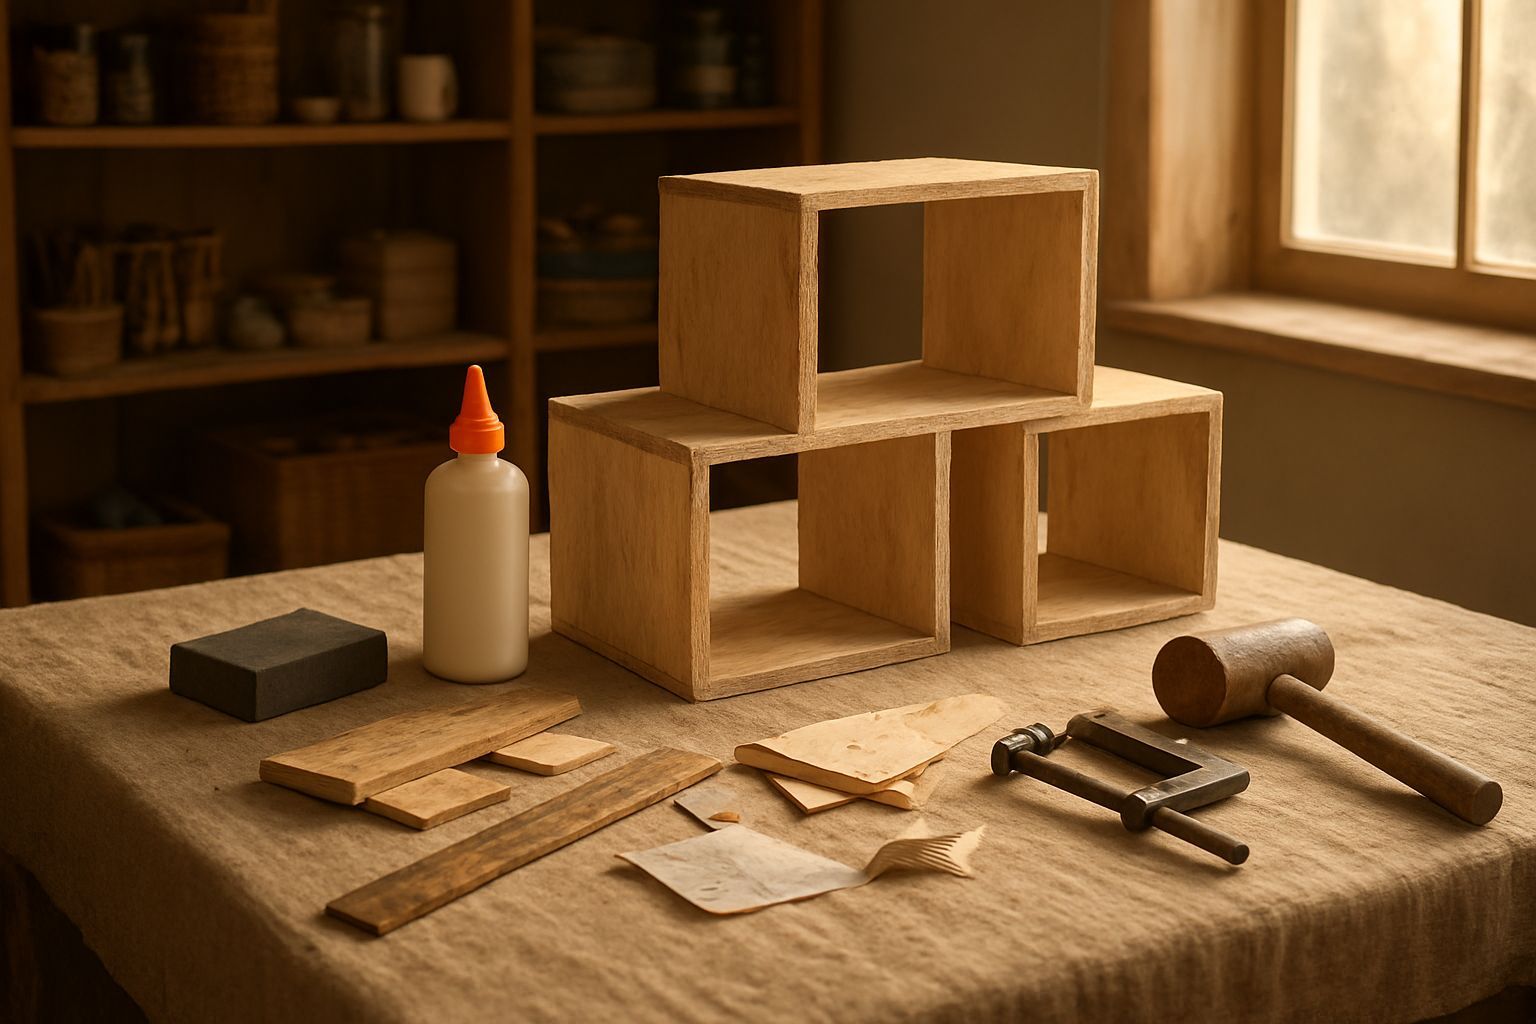
Step 3: Assemble the Cube Frame
Lay one of the side pieces flat on your work surface. Apply wood glue along the edges where the adjacent pieces will attach. Attach the top, bottom, and side pieces to form the cube frame. Use clamps to hold the pieces together while the glue dries, or secure them with screws immediately for a stronger hold.
If using screws, pre-drill pilot holes to prevent the wood from splitting. Place the screws at an angle to secure the corners, ensuring the cube remains square. Wipe away any excess glue with a damp cloth.
Step 4: Attach the Back Panel (Optional)
For added stability, you can attach a back panel to your cube. Measure and cut a piece of plywood to fit the back of the cube. Secure it with wood glue and screws, ensuring it’s flush with the edges. This step is optional but recommended if the shelf will be placed against a wall or if you plan to stack multiple cubes.
Mistakes to Avoid
1. Skipping Sanding: Rough edges can splinter and ruin the finish. Always sand thoroughly.
2. Using the Wrong Screw Size: Too long, and they’ll protrude; too short, and they won’t hold. Stick to 1-inch or 1.5-inch screws for 1/2-inch plywood.
3. Ignoring Glue Drying Time: Rushing the process can lead to weak joints. Allow the glue to dry fully before handling.
4. Overlooking the Back Panel: Without it, stacked cubes may wobble or collapse.
Pro Tips
1. Customize the Size: Adjust the cube dimensions to fit your space or create a mix of sizes for visual interest.
2. Use Contrasting Finishes: Paint or stain different cubes in complementary colors for a modern look.
3. Add Wheels or Handles: For mobility, attach small casters to the bottom, or add handles for easy carrying.
4. Stack or Arrange Creatively: Stack cubes to create a tower, or arrange them in an L-shape for a unique display.
Conclusion
Building a modular plywood cube shelf is a rewarding DIY project that adds both style and functionality to your home. With just a few tools and materials, you can create a custom storage solution that fits your needs perfectly. Whether you’re a beginner or an experienced crafter, this project is a great way to enhance your space with a personal touch. Happy building!