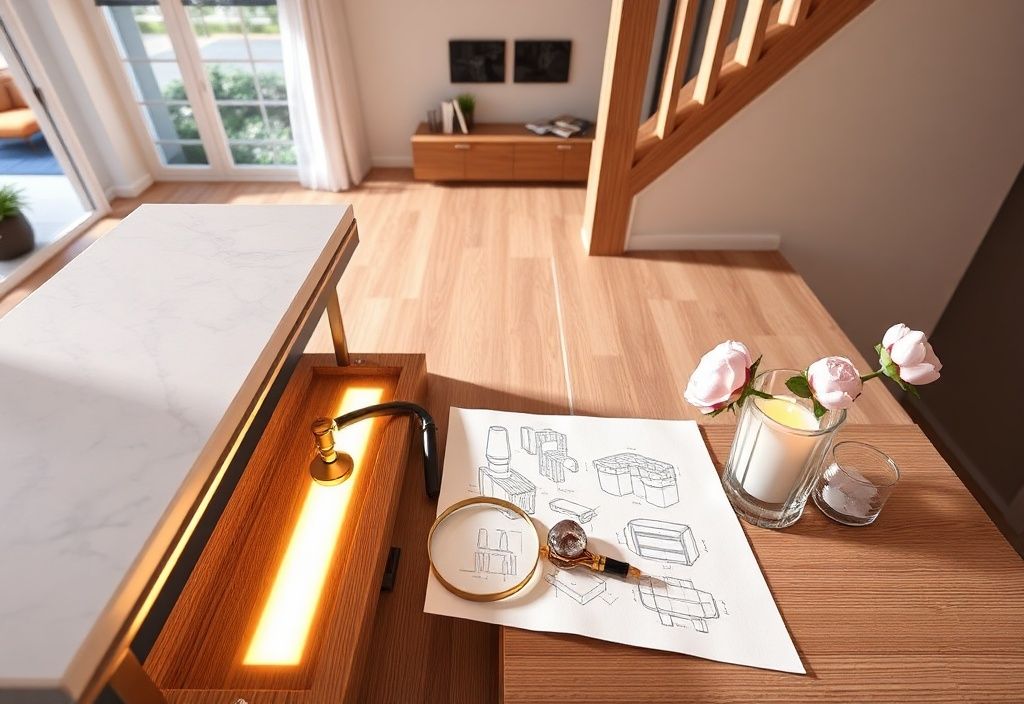
Welcome to HomeReadyHub, where we empower you to transform your living spaces with practical and stylish DIY projects! Today, we're tackling a project that's as much about safety as it is about aesthetics: installing LED stair nosing lighting. Imagine descending your stairs with a soft, guiding glow, eliminating shadows, and adding a touch of modern elegance to your home. This isn't just about making your staircase look good; it's about enhancing safety by clearly defining each step, especially in low-light conditions. Whether you're upgrading an existing staircase or putting the finishing touches on a new build, integrating LED lighting into your stair nosings is a smart, energy-efficient, and visually stunning choice. In this comprehensive tutorial, we'll walk you through everything you need to know, from selecting the right materials to the final flick of the switch, ensuring a professional and lasting result.
Materials needed
- LED Strip Lights: Choose a strip with appropriate brightness (lumens), color temperature (warm white for cozy, cool white for modern), and an IP rating if your stairs are exposed to moisture. Look for strips that are cuttable at regular intervals.
- Aluminum LED Profiles/Channels: Specifically designed for stair nosings, these profiles encase the LED strip, protect it, and often come with a frosted or clear diffuser for even light distribution. Ensure they match your stair dimensions.
- LED Driver/Power Supply: This converts your household AC power to the low-voltage DC required by your LED strips. Crucially, its wattage must exceed the total wattage of all your connected LED strips by at least 20% to prevent overheating and ensure longevity.
- Low-Voltage Wire: Appropriate gauge (e.g., 18-22 AWG) for connecting LED strips to the driver. You’ll need enough to run from each strip segment to your power supply location.
- Wire Strippers and Cutters: Essential for preparing wires.
- Soldering Iron and Solder (Optional but Recommended): For robust, reliable connections between LED strips and wires, especially for longer runs or if sections need to be joined. Solderless connectors are an alternative but can be bulkier.
- Heat Shrink Tubing or Electrical Tape: For insulating soldered or connected joints, providing protection and a clean finish.
- Drill and Bits: For mounting profiles and routing wires.
- Screwdriver Set: For securing components.
- Measuring Tape and Pencil: For accurate measurements and marking.
- Construction Adhesive or Strong Double-Sided Tape: For securing the LED profiles to the stair nosings. Choose an adhesive suitable for the materials of your stairs (wood, metal, concrete).
- Safety Glasses and Gloves: Always protect your eyes and hands.
- Multimeter: (Highly Recommended) For testing voltage, continuity, and ensuring proper electrical connections.
- Dimmer Switch or LED Controller (Optional): If you want to adjust the brightness or change the color of your lights.
- Cable Ties or Clips: For neat cable management.
Preparation steps
Step 1: Planning and Measurement
The success of your LED stair lighting project hinges on meticulous planning. First, measure the width of each stair tread where the nosing profile will be installed. While most stairs are uniform, it's wise to double-check each one. This will determine the length of your LED profiles and strips. Next, calculate the total length of LED strip required for all steps. Using this total length, determine the power requirements for your LED driver. Most LED strips specify their power consumption per meter (e.g., 9.6W/meter). Multiply this by your total length to get the total wattage. Add at least a 20% buffer to this number to size your LED driver correctly (e.g., if total wattage is 80W, get a 100W driver). This buffer prevents the driver from running at maximum capacity, extending its lifespan and preventing overheating.
Consider the routing of your wiring. Will you run cables discreetly along the underside of each stair, through risers, or along a wall? Plan the location for your LED driver – it needs to be in an accessible, well-ventilated spot, ideally near a power outlet, but hidden from view. Sketching a simple diagram of your staircase with wire runs and driver placement can be incredibly helpful at this stage. Also, decide on the type of stair nosing profile – some are designed to be recessed, others surface-mounted. This choice will impact your installation method and overall aesthetic.
Step 2: Cutting and Prepping Components
With your measurements in hand, it's time to cut your materials. Carefully cut your aluminum LED profiles to the exact length of each stair nosing using a miter saw with a fine-tooth blade or a hacksaw, ensuring clean, straight cuts. Next, cut your LED strips. Remember that LED strips can only be cut at designated points, usually marked with a copper pad and a scissor icon. Cut precisely at these marks to ensure the strip remains functional. Cut your low-voltage wiring to length, allowing for some slack for connections and routing. It's better to have a little extra wire than too little. Strip about 1/4 to 1/2 inch of insulation from the ends of all your wires. Before proceeding, perform a quick test: connect a small segment of LED strip to your driver and plug it in to ensure both are working correctly. This simple step can save significant troubleshooting later on.
Assembly
Step 3: Installing LED Strips into Profiles & Wiring
Now that your components are prepped, let's integrate the LED strips into their profiles. Carefully peel the adhesive backing from your LED strip and press it firmly into the aluminum channel. Ensure it's centered and straight. The aluminum profile acts as a heat sink, which is crucial for the longevity of your LEDs, so good contact is important. Once the strip is in place, you'll need to connect the low-voltage wires. This is typically done by soldering wires to the copper pads at the end of the LED strip or by using solderless connectors.
If soldering, apply a small amount of solder to the pads and then solder your positive (+) and negative (-) wires, ensuring correct polarity. This is critical – reversed polarity will prevent the LEDs from lighting up. Once soldered, slide a piece of heat shrink tubing over the connection and heat it gently with a heat gun or lighter until it shrinks tightly, insulating and protecting the joint. If using solderless connectors, carefully insert the LED strip and wires according to the manufacturer's instructions, ensuring a secure connection. Repeat this process for each LED strip segment. Once the wiring is complete for a segment, snap the diffuser cover onto the aluminum profile.
Step 4: Mounting Profiles and Connecting Power
With your LED strips securely housed in their profiles and wired, it's time for installation onto the stairs. Apply a strong construction adhesive or heavy-duty double-sided tape to the back of the aluminum profile. Carefully position each profile onto the stair nosing, ensuring it's straight and centered, then press firmly to secure it. If your profiles are designed for screw-mounting, pre-drill pilot holes and use appropriate screws, countersinking them for a flush finish. Allow the adhesive to cure fully according to the manufacturer's instructions before proceeding, as this ensures a stable and lasting installation.
Next, route your low-voltage wires from each stair nosing segment to your LED driver's planned location. Use cable clips or ties to secure the wires neatly and discreetly, preventing them from being a tripping hazard or looking messy. Once all wires reach the driver's location, connect them to the low-voltage output terminals of your LED driver, again paying close attention to polarity (all positives to positive, all negatives to negative). If you have multiple runs, you might need to combine them using terminal blocks before connecting to the driver. Finally, connect the LED driver to your main AC power supply. If you're using a dimmer or controller, install it between the LED driver and the LED strips, following its specific wiring instructions. Once everything is connected, double-check all connections, clear any tools, and then power up your system to enjoy your beautifully illuminated staircase!
Mistakes to avoid
- Incorrect Power Supply Sizing: Using a driver with insufficient wattage will cause it to overheat and fail prematurely. Always calculate total LED wattage and add a 20% buffer.
- Ignoring Polarity: LED strips are DC-powered and are sensitive to polarity. Connecting positive to negative will prevent them from lighting up and could damage the strip or driver. Always double-check your (+) and (-) connections.
- Poor Electrical Connections: Loose wires, cold solder joints, or improperly insulated connections can lead to flickering, power loss, or even electrical hazards. Ensure all connections are secure and properly insulated.
- Not Testing Components: Always test your LED strips and driver before final installation. It's much easier to troubleshoot a component on the workbench than after it's been glued or screwed into place.
- Inadequate Heat Dissipation: Running LED strips without an aluminum profile or in an enclosed space can lead to overheating, drastically shortening their lifespan. The aluminum profile acts as a crucial heat sink.
- Unplanned Wire Routing: Haphazard wiring can create a messy look, tripping hazards, and make future maintenance difficult. Plan your wire runs for discretion and safety.
- Using the Wrong LED Strip: For areas with potential moisture (e.g., near an entry door), ensure your LED strips have an appropriate IP rating (e.g., IP65). Using indoor-rated strips outdoors or in damp areas will lead to failure.
- Overlooking Local Electrical Codes: While low-voltage lighting is generally safer, always be aware of any local electrical codes or regulations, especially when connecting the LED driver to mains power. If unsure, consult a qualified electrician.
Pro tips
- Utilize Diffusers: Always use the frosted or milky diffuser covers that come with your aluminum profiles. They soften the light, eliminate visible hot spots from individual LED diodes, and create a continuous, elegant glow.
- Consider Smart Control: Integrate your stair lighting with a smart home system or a motion sensor. This allows for automated lighting (lights turn on when motion is detected, then off after a set time), energy savings, and hands-free convenience.
- Plan for Future Maintenance: While LEDs have a long lifespan, components can fail. Try to make your LED strips and driver accessible for future replacement if necessary. Avoid permanently sealing components that might need servicing.
- Pre-Assemble Sections: If possible, assemble the LED strips into the profiles and complete the wiring for each individual stair nosing segment on a workbench before bringing them to the staircase. This makes the final mounting much quicker and easier.
- Clean Surfaces Thoroughly: Before applying adhesive or tape to mount the profiles, ensure the stair nosing surfaces are clean, dry, and free of dust or grease. This guarantees a strong, lasting bond.
- Use a Multimeter: This tool is invaluable for checking voltage, continuity, and diagnosing issues. Before connecting your LED strips to the driver, use it to confirm the driver is outputting the correct voltage.
- Test Each Step: After wiring each individual stair nosing profile, do a quick test with your driver to ensure it lights up correctly before permanently mounting it. This allows you to catch any wiring errors early.
- Aesthetic Considerations for Color Temperature: Warm white (2700K-3000K) creates a cozy, inviting atmosphere, often preferred in traditional or rustic homes. Cool white (4000K-6000K) offers a brighter, more modern look, suitable for contemporary spaces. Choose what best complements your home's decor.
- Cable Management is Key: Beyond aesthetics, well-managed cables are safer and less prone to damage. Use cable clips, ties, or even small conduits to keep wires out of sight and protected.
And there you have it – a beautifully illuminated staircase, transforming a functional element into a stunning architectural feature! Installing LED stair nosing lighting is a rewarding DIY project that significantly enhances both the safety and aesthetic appeal of your home. By carefully planning, selecting the right materials, and following these detailed steps, you can achieve a professional-quality result that will impress guests and provide peace of mind for years to come. Remember, patience and attention to detail are your best friends in any home improvement endeavor. So, gather your tools, unleash your inner DIY enthusiast, and let your stairs shine! If you have any questions or want to share your completed project, don't hesitate to reach out to the HomeReadyHub community. Happy illuminating!
