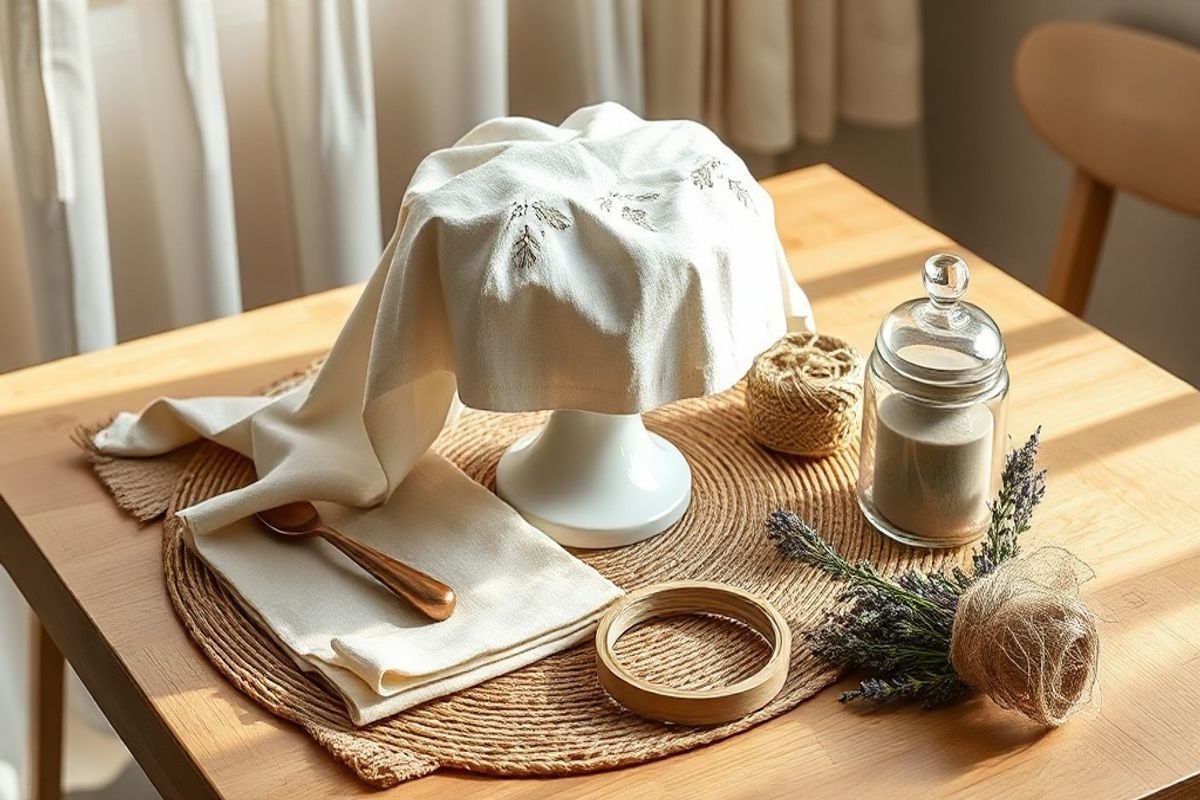
Are you tired of dealing with flimsy, one-size-fits-all food covers that never quite fit your dishes properly? Say hello to the Adjustable Food Cover Charlotte—a customizable, reusable, and elegant solution to keep your food fresh while adding a touch of sophistication to your dining table. Whether you're hosting a dinner party or simply preserving leftovers, this DIY project is both practical and rewarding.
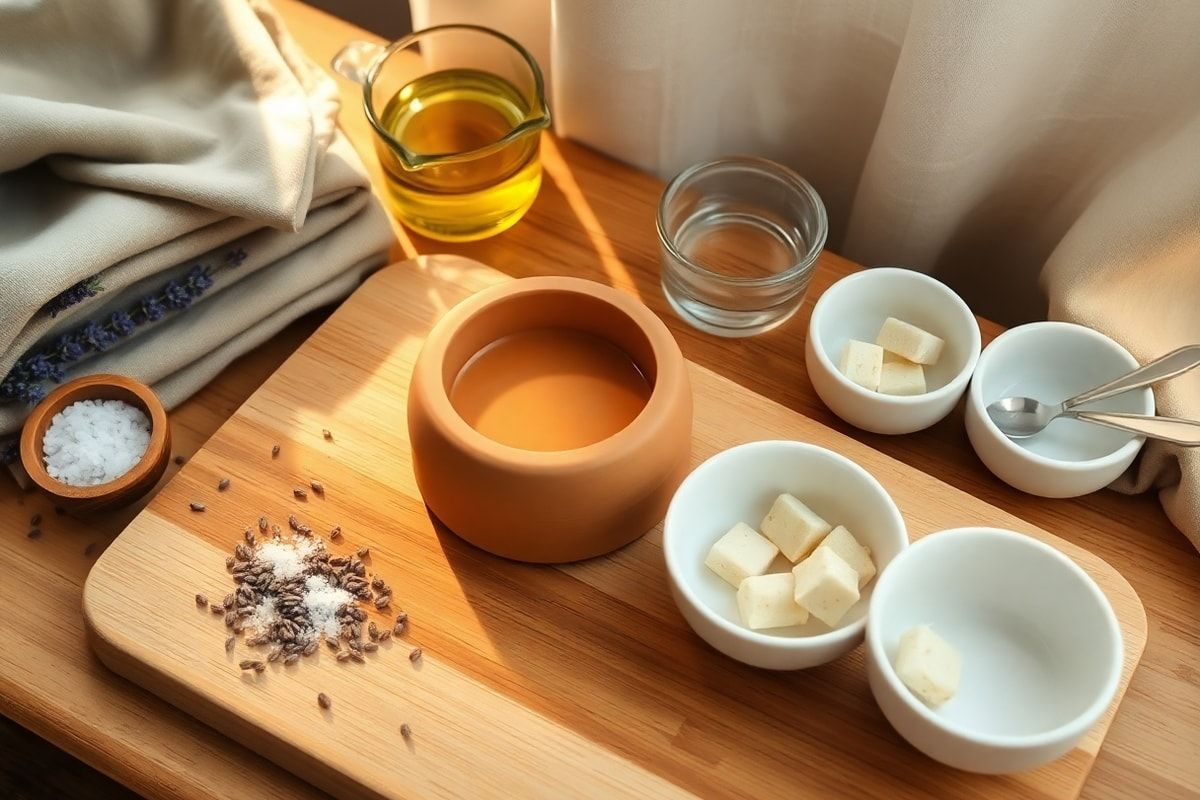
Materials Needed
- Fabric: 1 yard of medium-weight fabric (cotton, linen, or polyester blend for durability). Choose a fabric that complements your kitchen decor.
- Elastic Cord: 1/4-inch wide, 36 inches long (adjust the length based on your desired coverage).
- Drawstring Cord: 1/8-inch wide, 48 inches long (for the adjustable drawstring mechanism).
- Sewing Machine or Needle & Thread: For stitching the fabric and cords.
- Scissors: Fabric scissors for clean cuts.
- Measuring Tape: To ensure accurate dimensions.
- Pins or Clips: To hold fabric in place while sewing.
- Iron: For pressing seams and giving your cover a polished look.
- Optional: Decorative trim or embroidery thread for added flair.
Preparation Steps
Step 1: Measure Your Target Dish
Before cutting your fabric, measure the diameter of the dish you want to cover. For a standard dinner plate (10-12 inches), cut a square of fabric measuring 24 inches by 24 inches. Adjust the size accordingly for larger or smaller dishes. Add a 1-inch seam allowance on all sides.
Step 2: Cut the Fabric
Using your measurements, mark the fabric with a fabric pen or chalk. Cut out the square carefully, ensuring the edges are straight and even. If using a patterned fabric, align the pattern for a cohesive look.
Assembly
Step 3: Fold and Sew the Hem
Fold the edges of the fabric inward by 1/2 inch, then fold again by another 1/2 inch to create a clean hem. Press the folds with an iron to keep them in place. Sew along the inner edge of the hem to secure it, leaving a small gap (about 2 inches) in one side for inserting the elastic cord.
Step 4: Insert the Elastic Cord
Thread the elastic cord through the hem using a safety pin or a bodkin. Once the cord is fully inserted, overlap the ends by 1 inch and sew them together to form a loop. This will create the gathered effect, allowing the cover to adjust to different dish sizes. Close the gap in the hem with a few stitches.
Step 5: Create the Drawstring Channel
Fold the fabric in half lengthwise (right sides together) to form a tube. Sew along the long edge, leaving both ends open. Turn the tube right side out and press it flat. This will serve as the drawstring channel.
Step 6: Attach the Drawstring Channel
Position the drawstring channel along the edge of the fabric cover, aligning the raw edges. Sew it in place, ensuring it lies flat against the cover. Leave both ends of the channel open for threading the drawstring cord.
Step 7: Thread the Drawstring Cord
Thread the drawstring cord through the channel using a safety pin. Once fully threaded, tie the ends of the cord together to form a loop. Adjust the tension to ensure the cover fits snugly over your dish.
Mistakes to Avoid
- Skipping the Seam Allowance: Always add extra fabric for seams to prevent the cover from shrinking after washing.
- Using the Wrong Fabric: Avoid lightweight fabrics like silk or chiffon, as they won’t provide enough structure. Opt for medium-weight materials instead.
- Not Pressing the Fabric: Pressing the fabric with an iron gives your cover a professional finish and ensures the seams lay flat.
- Overlooking the Drawstring Tension: Test the tension of your drawstring before finalizing the knots to ensure a secure fit.
Pro Tips
- Personalize Your Cover: Add decorative elements like lace trim, embroidery, or appliqués to match your kitchen aesthetic.
- Use Waterproof Fabric: For covers that will be used frequently, consider using waterproof or wipeable fabric to extend their lifespan.
- Wash Gently: Hand wash or machine wash your cover on a gentle cycle to preserve the fabric and elastic.
- Experiment with Shapes: While a square cover is traditional, try cutting your fabric into a circle or rectangle for a unique look.
- Double Up for Larger Dishes: For bowls or platters larger than 12 inches, use two covers or sew a larger one with additional elastic for better coverage.
Now that you’ve crafted your very own Adjustable Food Cover Charlotte, enjoy the convenience and elegance it brings to your kitchen! Whether you're protecting a loaf of bread, a fruit platter, or a freshly baked dessert, this DIY project is a game-changer. Share your creations with us on social media—we’d love to see your stylish and functional food covers in action!