Honestly, this takes 5 minutes, no stress
Creating a central island with two dressers is way easier than you'd think. Chill, you don't need to be a pro. With a few tricks, you can have a stylish space in no time.
Why a central island?
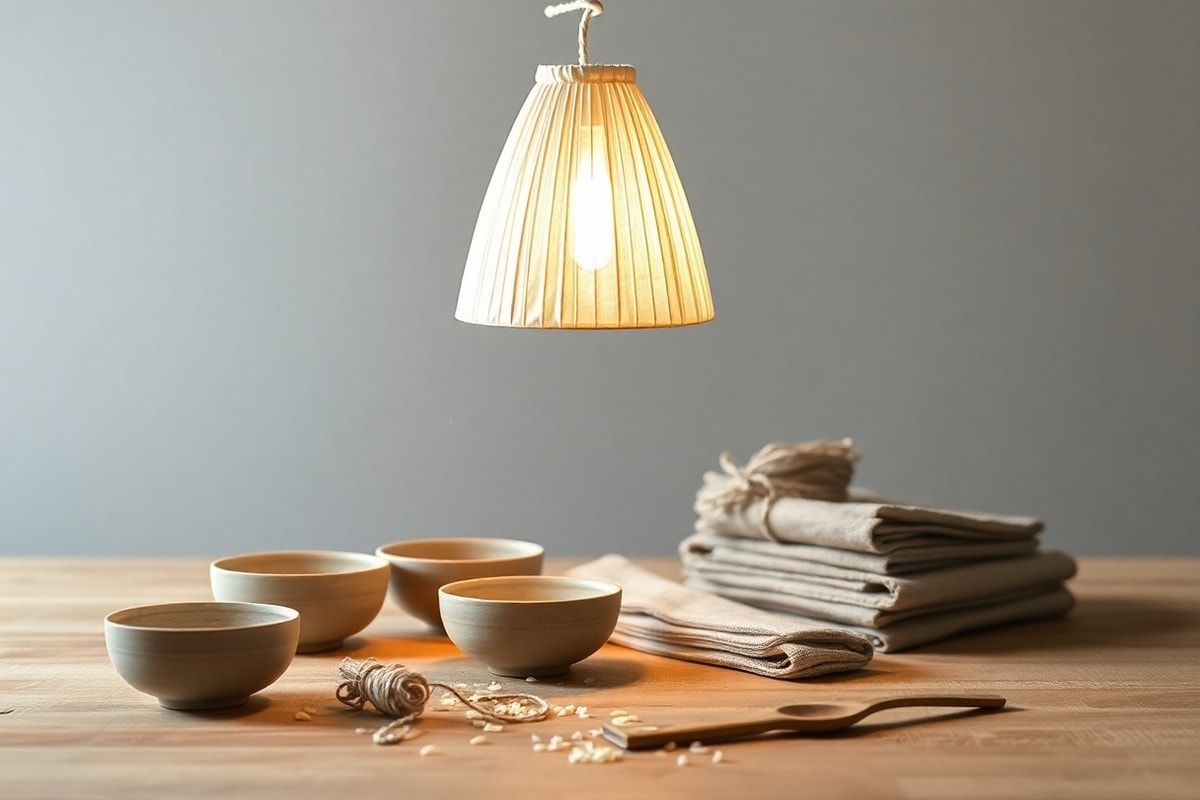
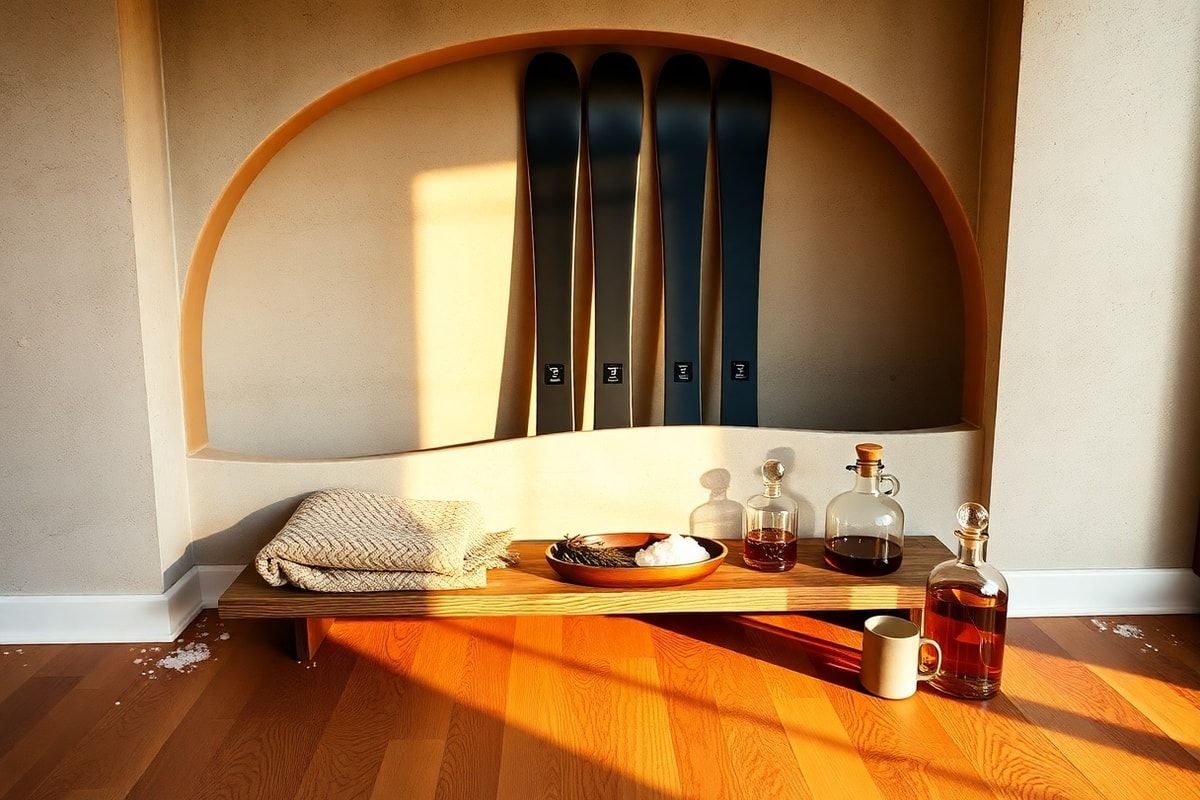
A central island is the perfect way to add storage and style to your living room, bedroom, or even kitchen. Two dressers stacked or side by side make a solid, customizable base. You can top it with a wood board for a desk, coffee table, or even a cocktail bar. Trust me, the possibilities are endless.
What you'll need
- Two dressers of the same height (or close enough)
- A wood board (or a tray)
- Table legs (optional)
- Paint or adhesive paper (for decor)
- A drill and screws (if you want to secure the board)
Step 1: Pick your dressers
Chill, no need to buy new. Two old dressers will work. The key is that they're roughly the same height. If they're not, you can add wood blocks or shims to level them.
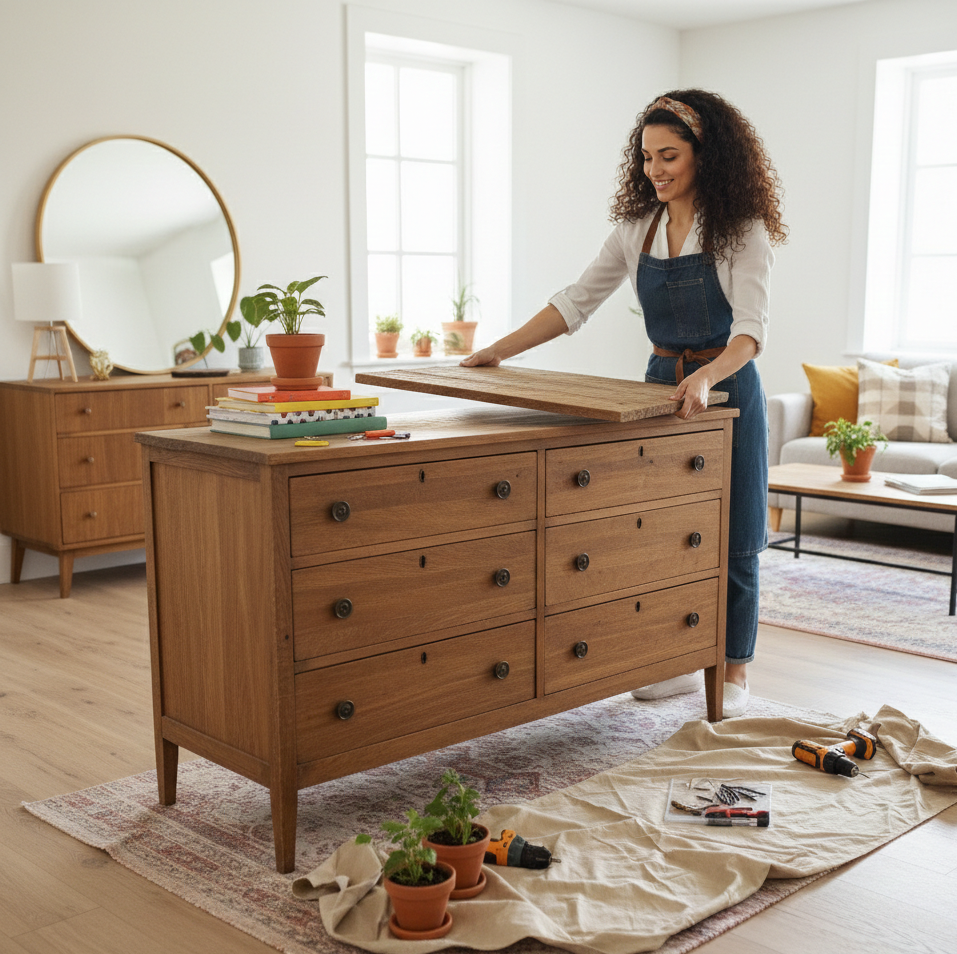
Step 2: Prep the board
Measure the width of your dressers and cut a wood board so it overhangs slightly on each side. For a modern look, paint it or cover it with adhesive paper. Once ready, place it on the dressers and screw it down if you want it super sturdy.
Step 3: Add legs (optional)
If you want your island to be a little taller, add table legs under each dresser. It gives a pro look and lets you store baskets or boxes underneath.
Step 4: Decorate your way
Now’s the fun part—get creative! Paint the dressers, add stickers, or cover them with fabric for a softer look. Throw on some plants, candles, or books to make it yours.
Bonus tip: A movable island
If you want an island that adapts to your needs, add casters under the dressers. That way, you can roll it around when needed. No stress, no disassembly!
Conclusion
Honestly, making a central island with two dressers is a total game changer. No stress, no crazy budget, and the result is amazing. Ready to give it a shot?