Welcome to HomeReadyHub, where we empower you to create a more sustainable and fulfilling home life! Today, we're diving into a project that perfectly blends self-sufficiency, eco-consciousness, and luxurious self-care: crafting your very own zero-plastic, superfatted soap bars. In a world increasingly burdened by plastic waste and chemical-laden products, making your own soap is a revolutionary act. It allows you to control every ingredient, ensuring a gentle, nourishing bar for your skin, free from harsh synthetics, microplastics, and wasteful packaging.
This tutorial will guide you through the cold-process method, a traditional technique that transforms simple oils and lye into beautiful, long-lasting soap. Don't be intimidated by the mention of lye – with proper safety precautions, it's a manageable and rewarding process. Our recipe is specifically designed to be "superfatted," meaning a small percentage of beneficial oils remain unsaponified in the final bar. This results in an incredibly moisturizing, skin-loving soap that's far superior to most commercial options. Plus, we'll focus on keeping every step of the process, from ingredients to packaging, completely plastic-free. Ready to embark on your soap-making journey? Let's get started!
Materials Needed
- Safety Gear:
- Chemical-resistant gloves (heavy-duty rubber or nitrile, not latex)
- Safety goggles or glasses (essential!)
- Long-sleeved shirt and long pants
- Closed-toe shoes
- Well-ventilated area (open windows, fan)
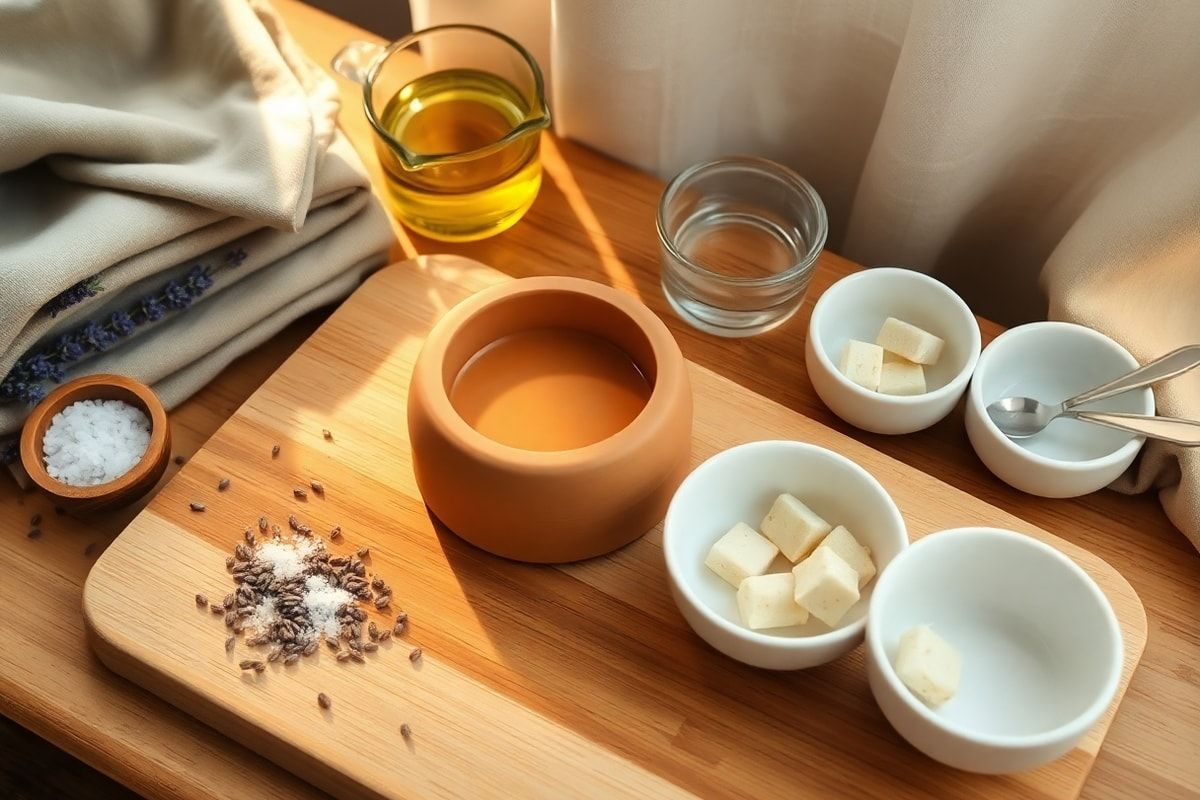
- Ingredients:
- 300g Coconut Oil (refined or unrefined, solid at room temp)
- 500g Olive Oil (extra virgin or pomace)
- 200g Shea Butter (unrefined, solid at room temp)
- 129g Sodium Hydroxide (Lye, 99% pure, food-grade beads or flakes)
- 330g Distilled Water (cold, helps control lye temperature)
- Optional: 15-20ml Essential Oils (e.g., Lavender, Tea Tree, Peppermint – ensure they are skin-safe)
- Optional: 1-2 tbsp Natural Colorants (e.g., spirulina powder for green, activated charcoal for black, various cosmetic clays)
- Equipment (zero-plastic focused):
- Digital kitchen scale (accurate to 1g)
- Large heat-resistant pitcher or bowl for lye solution (stainless steel or heavy-duty glass, avoid aluminum)
- Large stainless steel pot for oils
- Stick blender (immersion blender)
- Two accurate thermometers (candy or infrared, one for lye, one for oils)
- Silicone soap mold (loaf or individual cavities, ensures easy release and no plastic waste)
- Silicone spatulas or stainless steel spoons
- Small glass bowls for essential oils/colorants
- Vinegar (for neutralizing lye spills, keep handy)
- Old towels or blankets (for insulating the mold)
- Parchment paper or wax paper (for curing, if desired)
Preparation Steps
Step 1: Safety First & Preparing the Lye Solution
Before you even think about measuring ingredients, prioritize safety. Put on your safety goggles, gloves, and long-sleeved clothing. Ensure your workspace is clear, well-ventilated, and free from pets or children. Remember, lye (sodium hydroxide) is a caustic chemical. It can cause severe burns if it comes into contact with skin or eyes. Always work carefully and deliberately.
Measure 330g of cold distilled water into your heat-resistant pitcher. Then, carefully measure 129g of sodium hydroxide (lye) into a separate, small, dry glass or stainless steel container. Crucially, always add lye to water, never water to lye. Slowly pour the lye beads or flakes into the distilled water, stirring gently with a stainless steel spoon or silicone spatula. The solution will heat up rapidly and release fumes. Step back and avoid inhaling the fumes directly. Continue stirring until all the lye has dissolved. Place a thermometer in the lye solution. It will be very hot (around 180-200°F or 82-93°C). Set it aside in a safe, undisturbed place to cool down to approximately 100-120°F (38-49°C).
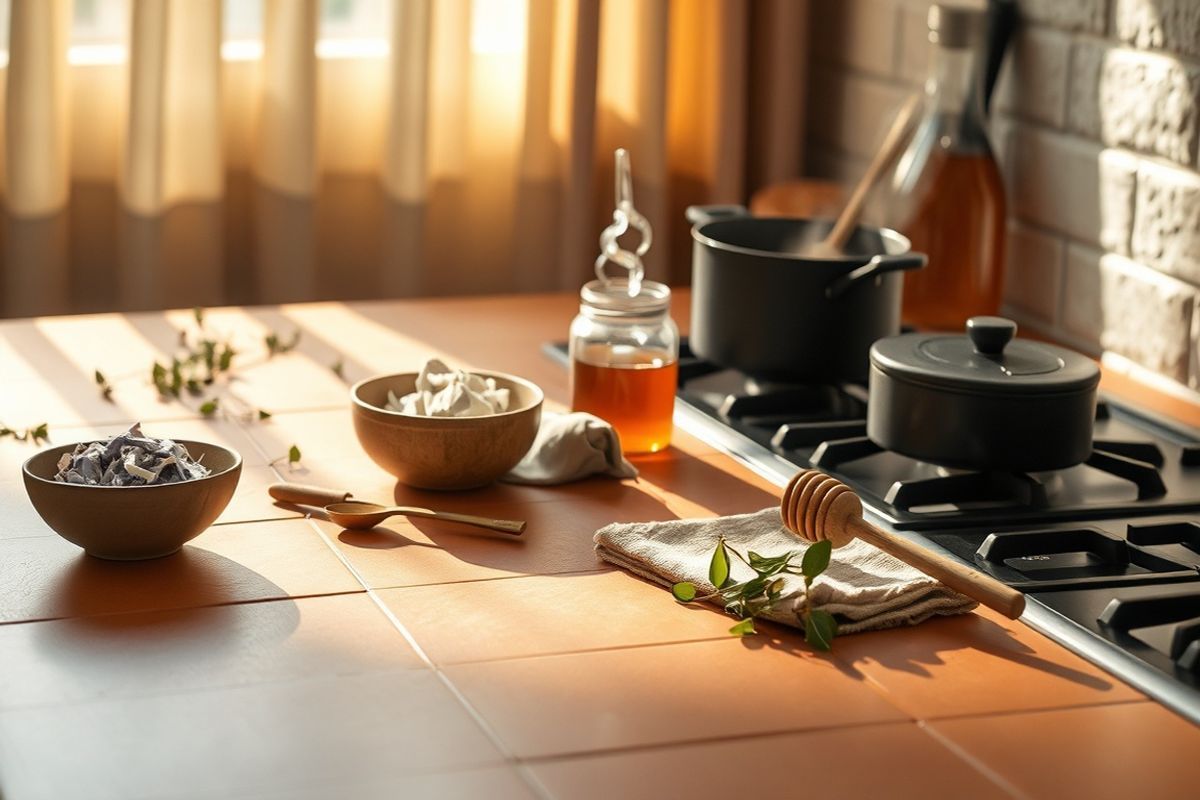
Step 2: Preparing and Heating the Oils
While your lye solution is cooling, it’s time to prepare your oils. Using your digital scale, measure 300g of coconut oil, 500g of olive oil, and 200g of shea butter into your large stainless steel pot. If your coconut oil or shea butter are solid, gently heat the pot over low heat on your stove until all the oils have melted and are thoroughly combined. Once melted, remove from heat.
Insert your second thermometer into the oil mixture. We want the oils to cool down to a temperature range similar to your lye solution, ideally between 100-120°F (38-49°C). Having both the lye solution and the oils within 10-15 degrees of each other in this range helps ensure a stable emulsion and a good trace. Be patient, as both mixtures need time to reach the optimal temperature. You can place the pot of oils in a sink with some cool water to speed up cooling if needed, but monitor closely.
Assembly
Step 3: Combining the Lye Solution and Oils to Reach Trace
Once both your lye solution and oil mixture are within the target temperature range (100-120°F / 38-49°C) and within 10-15 degrees of each other, you're ready for the exciting part! Carefully pour the cooled lye solution into the pot of oils. Do this slowly and steadily, aiming to minimize splashes. Now, grab your stick blender.
Begin blending in short bursts, keeping the head of the blender submerged to avoid air bubbles and splashing. Stir manually for a minute or two initially, then alternate between blending and stirring. You are looking for a state called "trace." Trace is when the oils and lye solution have fully emulsified and thickened to a consistency resembling thin pudding or custard. When you lift the stick blender, a "trace" or trail of the mixture will momentarily sit on the surface before sinking back in. This can take anywhere from 5 to 20 minutes, depending on your oils and temperatures. Don't rush it; achieving a good trace is crucial for successful soap.
Step 4: Adding Additives, Molding, and Curing
Once you've reached a medium trace, where the mixture is noticeably thicker and holds a defined trail, it's time to add your optional essential oils and natural colorants. If using essential oils, add 15-20ml now and blend briefly to incorporate. If using natural colorants like clays or spirulina, mix them with a small amount of oil or water first to create a slurry before adding to the soap batter, then blend gently.
Immediately after adding your desired additives, carefully pour the soap batter into your silicone mold. Gently tap the mold on your countertop a few times to release any trapped air bubbles. Cover the mold with a piece of cardboard or a clean cloth, then wrap it in old towels or blankets to insulate it. This insulation helps the soap go through a process called "gel phase," which results in a harder, longer-lasting bar with more vibrant colors.
Leave the mold undisturbed for 24-48 hours. After this time, the soap should be firm enough to unmold. Carefully remove the soap from the mold. If you used a loaf mold, cut it into individual bars using a sharp, non-plastic knife or a soap cutter. Arrange your freshly cut bars on a piece of parchment paper or a wire rack in a well-ventilated area, away from direct sunlight. This is the crucial "curing" stage. Your soap needs to cure for a minimum of 4-6 weeks (the longer, the better!). During this time, excess water evaporates, the soap hardens, and the saponification process fully completes, resulting in a milder, longer-lasting, and higher-quality bar. Flip the bars periodically to ensure even air exposure.
Mistakes to Avoid
- Ignoring Safety Precautions: This is paramount. Always wear gloves and eye protection. Lye is no joke.
- Incorrect Measurements: Soap making is a chemical reaction, and precision is key. Use an accurate digital scale and measure everything carefully. Even a few grams off can throw the entire batch.
- Adding Water to Lye: Never, ever do this. It can cause a dangerous volcanic reaction, spraying hot, caustic lye solution. Always add lye slowly to water.
- Not Reaching Trace: If your soap doesn't reach trace, the oils and lye haven't fully emulsified, and your soap won't set properly. Keep blending until you see that distinct trail.
- Impatience During Curing: Curing is not optional. Skipping or shortening the curing time will result in a soft, quick-dissolving, and potentially irritating bar. Give your soap the time it needs!
- Using Plastic Tools/Containers for Lye: Lye can react with certain plastics. Stick to stainless steel, heavy-duty glass, or lye-safe HDPE plastic. For the finished soap, avoid plastic molds or packaging entirely to keep it zero-plastic.
- Overheating/Underheating: While some flexibility exists, extreme temperature differences between your lye solution and oils can lead to separation or a "false trace." Aim for that 10-15 degree difference.
Pro Tips
- Invest in Good Quality Ingredients: The quality of your oils directly impacts the quality of your finished soap. Source organic, unrefined oils when possible for extra skin benefits.
- Experiment (Safely): Once you've mastered this basic recipe, consider using a reliable online soap calculator (like SoapCalc) to experiment with different oil blends. Just remember to always recalculate the lye amount for any changes in your oil percentages.
- Natural Scents & Colors: Embrace the beauty of nature! Clays, botanicals (like calendula petals or ground oats), activated charcoal, and pure essential oils are wonderful, plastic-free ways to enhance your soap. Avoid synthetic fragrances and dyes.
- Optimal Curing Environment: A cool, dry, dark place with good air circulation is ideal for curing. Placing bars on a rack allows air to circulate around all sides.
- Zero-Waste Packaging: Once cured, your beautiful soap bars can be stored unwrapped in a breathable container, or wrapped in recycled paper, kraft paper, or cloth for gifting. This keeps your project truly zero-plastic from start to finish.
- Clean Up Safely: Immediately after pouring, clean all your equipment. Scrape out any remaining soap batter from pots and blenders, then wash with hot soapy water. For lye spills, a diluted vinegar solution can help neutralize it, but always wear your safety gear.
- Keep Detailed Notes: Document your recipe, temperatures, and observations for each batch. This helps you replicate successful batches and troubleshoot any issues.
Congratulations, home artisan! You've just created a batch of luxurious, skin-loving, and environmentally conscious soap. By taking this step, you're not only providing your household with a superior product but also actively reducing plastic waste and supporting a more sustainable lifestyle. The satisfaction of using something you made with your own hands, knowing exactly what's in it, is truly unparalleled. Enjoy your beautiful zero-plastic superfatted soap bars, and keep exploring the wonderful world of DIY sustainability with HomeReadyHub!