Vacuum sealing with heat-seal bags is a game-changer for food preservation, organization, and decluttering at home. Whether you're storing leftovers, bulk groceries, or seasonal clothing, this method keeps items fresh, free from moisture, and protected from pests. Unlike traditional vacuum sealing with machines, heat-seal bags rely on a simple heat sealer to create an airtight barrier — no electricity required!
In this guide, we’ll walk you through everything you need to know: the materials required, step-by-step assembly, common pitfalls to avoid, and insider tips to maximize efficiency and durability. By the end, you’ll be ready to vacuum seal like a pro.
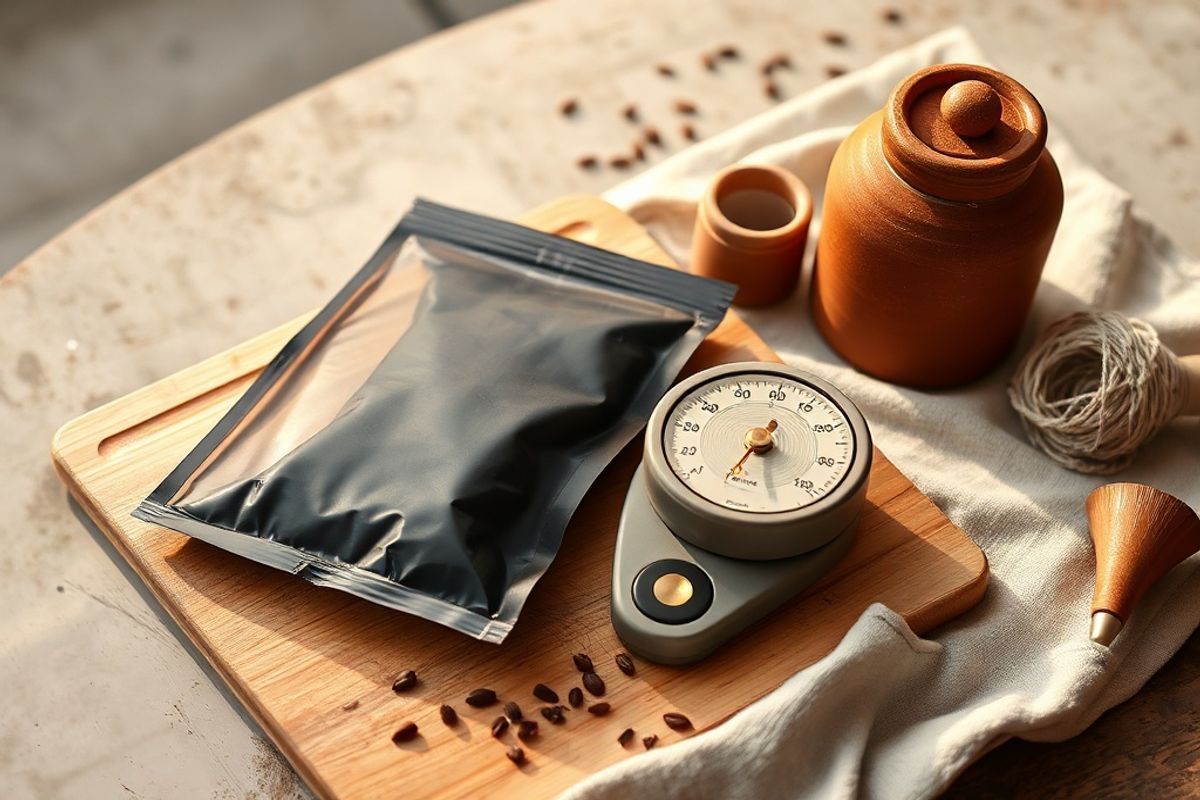
Materials needed
- A heat sealer (manual or electric, depending on bag thickness and frequency of use)
- Heat-seal vacuum bags (food-grade or storage-grade, depending on use)
- Scissors or a sharp knife (for cutting bags to size)
- Permanent marker (optional, for labeling)
- Ruler or measuring tape (to ensure clean cuts)
- Towel or cutting mat (to protect surfaces from heat)
💡 Pro Tip: If sealing food, choose bags labeled “food-safe” and BPA-free. For non-food items like clothing or linens, standard vacuum storage bags work well.
Preparation steps
Step 1: Choose Your Items and Bags
Decide what you’re sealing — food, linens, or other household items. Measure the size of your items to determine the right bag dimensions. Leave a few extra inches on all sides for sealing and handling.
For food, ensure items are cool, dry, and clean. Warm foods can cause condensation inside the bag, leading to spoilage. For clothing, fold items neatly to save space and prevent wrinkles.
Step 2: Cut the Bag to Size
Lay your item on the bag and add 2–3 inches of extra space around it. Use a ruler and permanent marker to draw a clear cutting line. This ensures a clean edge and prevents jagged cuts that can affect the seal.
Cut along the line with sharp scissors or a craft knife. A straight cut prevents air from leaking during sealing.
⚠️ Important: Avoid using bags with tears, holes, or weak spots. A compromised bag won’t hold a proper vacuum.
Assembly
Step 3: Insert the Item and Leave Space for Air Removal
Place your item inside the bag, leaving the open end flat on a clean, heat-resistant surface. If sealing food, press out as much air as possible by hand before sealing. For solid items like clothing, squeeze out excess air gently.
💡 For Better Results: Use a straw or vacuum hose (if your sealer allows) to remove residual air before sealing. This creates a tighter vacuum and extends shelf life.
Step 4: Seal the Bag Using the Heat Sealer
Turn on your heat sealer and let it warm up (usually 1–2 minutes). Place the open end of the bag between the sealing jaws, ensuring the edges are aligned evenly. Close the jaws firmly and hold for 3–5 seconds, depending on the sealer’s instructions.
Wait a few seconds for the seal to cool before touching the bag. A proper seal should be smooth, straight, and unbroken. Test it by gently pulling the sealed end — if it separates, the seal failed and the bag must be discarded.
❌ Don’t Over-seal: Too much heat or pressure can melt or weaken the plastic. Follow your sealer’s recommended time and temperature settings.
Mistakes to avoid
- Using dirty or wet items: Moisture or food residue can prevent the seal from forming properly and encourage mold or bacteria growth.
- Cutting bags unevenly: Jagged edges make sealing difficult and can create weak spots where air leaks in.
- Overfilling the bag: Too much content prevents proper air removal and can bulge the seal, causing it to fail.
- Reusing bags: Most heat-seal bags are designed for single use. Reusing them risks contamination and poor seals.
- Ignoring heat sealer maintenance: Clean the sealing jaws regularly to remove melted plastic residue that can interfere with future seals.
Pro tips
- Label Everything: Use a permanent marker or label maker to write the contents and date on each bag. This helps track freshness and organization.
- Double Seal for Extra Security: For important items, create a second seal a few inches from the first. This backup seal ensures the vacuum holds even if the first one fails.
- Store Bags Flat: Stack sealed bags horizontally to save space. Avoid placing heavy items on top to prevent seal damage.
- Use Vacuum Pumps for Food: If you seal food often, invest in a small manual vacuum pump. It removes almost all air before sealing, extending shelf life significantly.
- Freeze Before Sealing: For soups, sauces, or wet foods, freeze the container first, then vacuum seal. This prevents liquids from leaking during sealing.
- Rotate Stock: Store newer bags at the back and move older ones to the front. This ensures you use items before they spoil or become outdated.
Bonus: For clothing and linens, add silica gel packets inside the bag to absorb moisture and prevent musty odors during long-term storage.
🧺 Seasonal Storage Example: Seal winter sweaters in vacuum bags with cedar sachets to repel moths and keep them fresh until next year.
🍗 Food Storage Example: Portion and vacuum seal ground beef or chicken. They’ll stay fresh in the fridge for up to 3 weeks or in the freezer for 2–3 years!
🧹 Organization Example: Use small bags to group craft supplies, cables, or holiday decorations by category for easier access.
By avoiding common mistakes and applying these expert strategies, you’ll get the most out of your vacuum sealing system — saving money, reducing waste, and keeping your home clutter-free.
Vacuum sealing isn’t just for the kitchen — it’s a powerful tool for home organization, travel, and even emergency preparedness. With the right technique and a little practice, you’ll transform how you store and protect your belongings.
Ready to start? Gather your materials, choose your items, and seal with confidence. Your future self will thank you for the fresh meals, organized closet, and peace of mind.
