An elegant ring box is more than just storage—it’s a statement of care and sophistication. Whether you're a jewelry maker looking to present your creations or a jewelry lover wanting to organize your collection, an écrin bag (a French term for a ring case or velvet-lined box) with velvet compartments is the perfect solution. Soft, durable, and visually appealing, velvet-lined compartments cradle rings safely while adding a touch of luxury.
In this step-by-step tutorial, we’ll guide you through crafting your own velvet ring écrin bag using simple materials and techniques. Perfect for beginners and experienced crafters alike, this project results in a functional and elegant jewelry storage piece that makes a wonderful gift or keepsake.
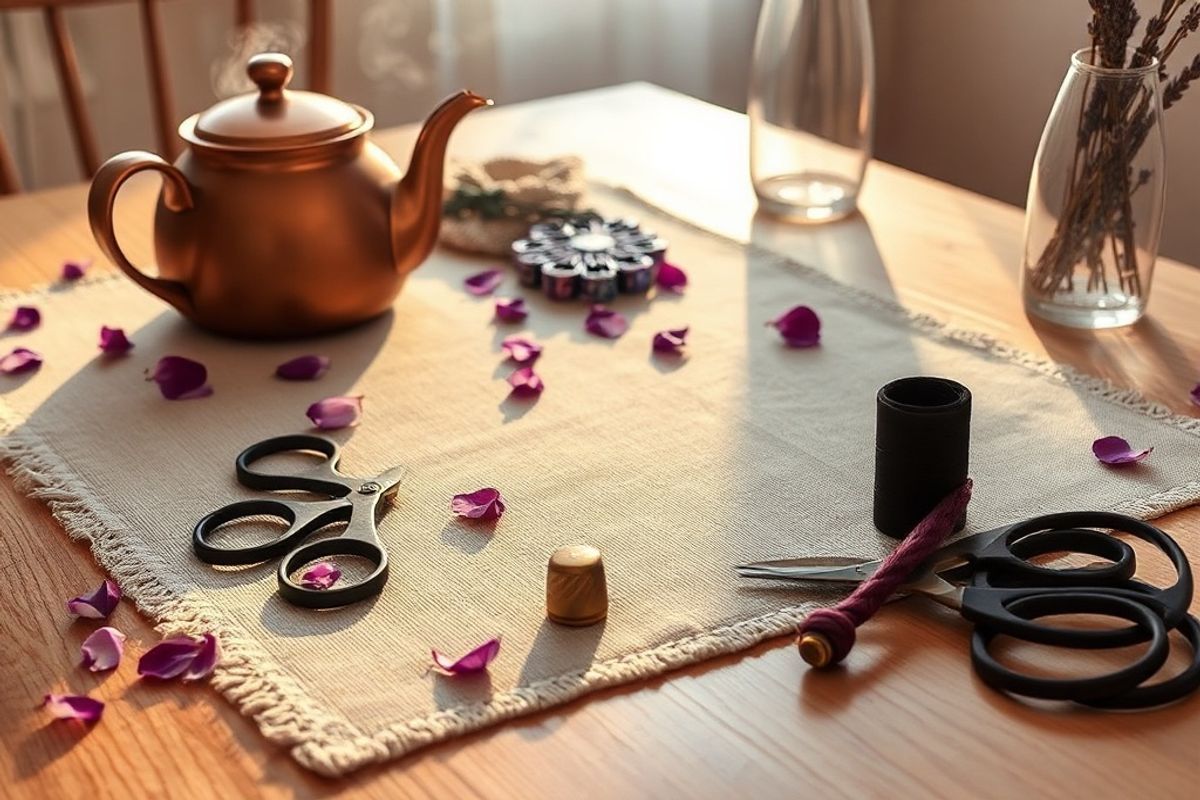
Materials Needed
- Base Material: A wooden or sturdy cardboard box (approximately 20 cm x 15 cm x 5 cm). A pre-made jewelry box from a craft store works well.
- Velvet Fabric: 20 cm x 30 cm of high-quality ring velvet (preferably black, deep blue, or burgundy for a rich look).
- Felt or Faux Fur (optional): For the interior base layer.
- Scissors: Fabric scissors for clean cuts.
- Fabric Glue or Hot Glue Gun: To secure the velvet in place (fabric glue is more flexible; hot glue sets quickly).
- Ruler and Pencil: For measuring and marking cuts.
- Sewing Needle and Thread (optional): If you prefer hand-sewn edges for a polished finish.
- Batting or Foam Padding (optional): To add cushioning under the velvet.
- Decorative Ribbon or Tassel: For a finishing touch (optional).
- Small Box, Tray, or Molding Clay: To shape the velvet compartments.
Preparation Steps
Before you begin assembling your écrin bag, proper preparation is key to achieving a professional and durable result. Taking the time to measure, cut, and secure materials will make the assembly process smoother and ensure your compartments hold their shape over time.
Step 1: Measure and Plan Your Compartments
Start by deciding how many rings you want to store and how you’d like them organized. Common configurations include:
- 6–8 small compartments for individual rings.
- 2–3 larger sections for stacked or grouped rings.
- A central area for a statement ring.
Use a ruler and pencil to draw a grid on the inside base of your box. For example, mark 5 cm x 5 cm squares (adjust based on your box size and ring dimensions). These marks will serve as guides for creating the velvet compartments.
Pro Tip: If your box is shallow, consider using removable dividers made from cardboard or thin wood to create height for stacked rings.
Step 2: Prepare the Interior Surface
Clean the inside of your box to remove dust and debris. If using a cardboard box, reinforce weak spots with masking tape or a light coat of white glue to prevent warping.
Optional: Add a layer of felt or faux fur to the bottom for extra softness and to prevent the velvet from shifting. Secure it with glue or double-sided tape.
For added cushioning, you can place a thin layer of batting under the velvet before gluing—this gives your rings a plush resting place.
Assembly
Step 3: Cut and Glue the Velvet Base
Lay your velvet fabric with the pile (soft side) facing down. Use your box’s interior dimensions to cut a piece of velvet large enough to cover the base and extend about 2 cm up each side. This overhang will be folded over the rim for a clean, finished look.
Apply fabric glue to the base of the box and press the velvet into place, starting from the center and smoothing outward to avoid wrinkles. Smooth the sides gently, pressing the excess velvet against the inner walls.
For corners, make small diagonal cuts to reduce bulk, then fold and glue neatly. Press with a heavy book or flat object while the glue dries to ensure a firm bond.
Allow the glue to dry completely (about 1–2 hours, or per glue instructions).
Step 4: Create Velvet Compartments
Now, create the velvet-lined compartments using one of two methods:
Method A: Molded Compartments (Recommended for Structure)
- Prepare Dividers: Cut strips of cardboard, thin wood, or foam board to the height of your box (about 4–6 cm). These will act as vertical walls.
- Wrap with Velvet: Cut small rectangles of velvet slightly larger than your divider pieces. Wrap each piece around a divider, securing the back with glue. Fold and glue the edges neatly.
- Assemble the Grid: Arrange your wrapped dividers on the velvet-covered base according to your grid layout. Use a dab of hot glue at each corner to temporarily hold them in place.
- Reinforce Joints: Once all dividers are in position, apply a thin line of glue along each joint and press firmly. Use small clamps or heavy objects to hold the structure while drying (about 30 minutes).
- Add Finishing Touches: Trim any excess velvet from the top edges for a clean finish. If desired, add a decorative ribbon around the rim or a small tassel to the lid for elegance.
Method B: Pouch-Style Compartments (Flexible and Removable)
- Cut Velvet Rectangles: For each compartment, cut a velvet rectangle large enough to fold into a pocket with a 1 cm seam allowance.
- Sew or Glue Edges: Fold the edges inward and glue or sew the sides to form an open-top pouch. Leave the top open for inserting rings.
- Attach to Base: Glue the bottom of each pouch to the velvet-covered base, spacing them according to your grid. Use a ruler to keep alignment straight.
- Stabilize with Filler: Place a small piece of foam or batting inside each pouch for structure and cushioning.
Both methods create beautiful, functional compartments. Method A is ideal for a permanent, sturdy display, while Method B allows for easy reorganization or washing of the velvet.
Mistakes to Avoid
Even with a simple project, small errors can lead to frustration. Here are common pitfalls and how to prevent them:
- Wrinkled or Loose Velvet: Always smooth fabric from the center outwards and press with a heavy object while glue dries. Avoid pulling the fabric too tightly.
- Misaligned Compartments: Use a ruler and pencil to mark your grid before gluing. Double-check spacing before applying glue.
- Glue Bleeding Through: Use a glue gun sparingly—excess glue can seep through velvet and leave visible marks. Test on a scrap piece first.
- Poor Adhesion: Ensure all surfaces are clean and dry. Lightly sand cardboard or use a primer if needed. Heavy rings require strong adhesion—consider using a stronger adhesive like E6000 for long-term durability.
- Uneven Velvet Pile: Velvet has a directional nap (the way the fibers lie). Always lay velvet with the pile facing downward to prevent crushing and ensure a consistent sheen.
Pro Tips
Elevate your écrin bag from functional to fabulous with these professional touches:
- Choose the Right Velvet: Ring velvet is specially made for jewelry—it’s soft, durable, and resistant to pilling. Avoid cheap fabrics that shed or fray.
- Add a Scented Layer: Lightly spray the inside of your box with a subtle scent like lavender or sandalwood to give it a luxurious, spa-like feel.
- Personalize It: Use a stencil and fabric paint to add initials, a monogram, or a floral design to the lid or base. Seal with fabric sealant to prevent cracking.
- Use a Magnetic Clasp: Attach a small magnetic clasp to the lid for a seamless, high-end closing mechanism.
- Line the Lid: Add a strip of velvet to the inside of the lid to create a soft landing space when closed, preventing ring marks on the velvet base.
- Make It Modular: Design your compartments to be interchangeable—swap in different sizes or shapes based on your needs.
- Frame It: If using cardboard, reinforce the outer edges with thin wood molding or decorative paper for a polished, custom look.
Care Tips: To keep your velvet écrin bag looking new, store it in a cool, dry place away from direct sunlight. Gently vacuum the velvet with a soft brush attachment to remove dust. For stains, use a velvet eraser or a clean, damp cloth pressed lightly—never rub.
Consider making a matching set for earrings or bracelets by adapting the compartment design.
Conclusion
Creating your own velvet écrin bag is a rewarding project that combines craftsmanship with elegance. Whether you’re storing heirloom rings, crafting gifts, or organizing your daily jewelry, this handmade box offers both beauty and function. By choosing quality materials, taking your time with assembly, and adding personal touches, your écrin bag will become a cherished keepsake.
Don’t be afraid to experiment with colors, textures, and sizes. A deep emerald velvet paired with gold lettering, or a soft blush velvet with pearl accents, can reflect your personal style or brand identity. With this tutorial as your guide, you now have the skills to craft a jewelry storage piece that’s as special as the rings it holds.
Start today—gather your materials, set aside an afternoon, and enjoy the process of creating something both useful and beautiful. Your rings—and their admirers—will thank you.
