There’s something magical about Polaroid photos—they capture moments in a way that digital images often can’t. But displaying them shouldn’t be an afterthought. A hanging frame not only showcases your cherished memories but also adds a personal touch to your home decor. Whether you’re a seasoned DIYer or a beginner, this tutorial will guide you through creating a stylish and functional Polaroid photo hanging frame that elevates your space.
Materials Needed
- Polaroid photos (or prints of your favorite images in a similar size, typically 3.5" x 4.25")
- Wooden dowels or rods (one for each row of photos, typically 12"–18" long)
- Twine, fishing line, or thin rope (for hanging)
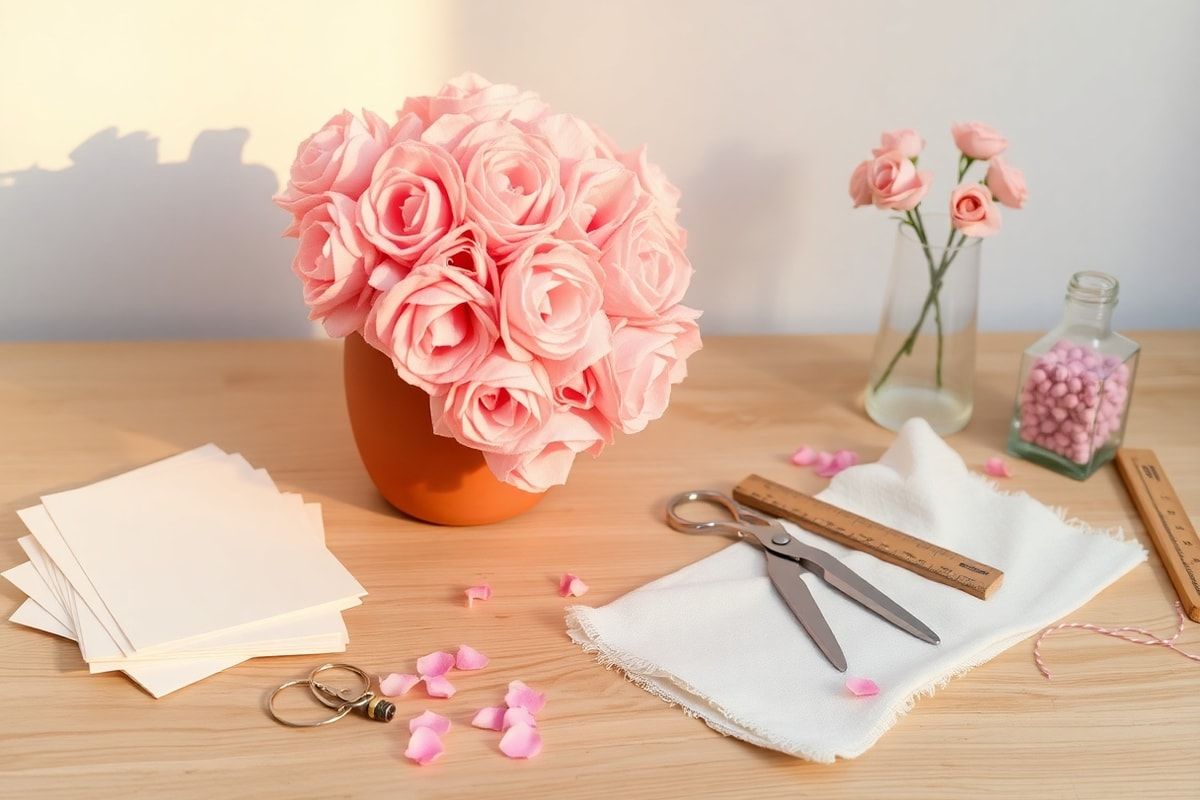
- Scissors or a craft knife
- Ruler and measuring tape
- Pencil
- Push pins, small nails, or adhesive hooks (for mounting)
- Clothespins or mini clips (optional, for securing photos)
- Sandpaper (if using wooden dowels)
- Paint or stain (optional, for customizing the dowels)
Preparation Steps
Step 1: Measure and Plan Your Layout
Before you start gathering materials, decide how many Polaroid photos you want to display and how you’d like them arranged. A common layout is a grid of 3x3 or 4x4 photos, but feel free to get creative! Measure the width of your photos (including any borders) and the space between them to determine the length of your dowels. For example, if each photo is 4" wide with a 1" gap between them, a row of 4 photos would require a dowel about 19" long (4" x 4 + 1" x 3 = 19").
Step 2: Customize Your Dowels (Optional)
If you want to add a personal touch, now’s the time to customize your wooden dowels. Sand them lightly to remove splinters, then paint or stain them in a color that matches your decor. You can also wrap them in twine or fabric for a rustic look. Let them dry completely before moving on to the next step.
Assembly
Step 3: Attach Twine or Fishing Line for Hanging
Cut a length of twine or fishing line about twice the width of your dowel. Fold it in half, loop it through the center of the dowel, and tie a secure knot. This will serve as the hanging point for your frame. Repeat for each dowel you plan to use. If you’re using multiple rows, measure and mark equal spacing between them (typically 2"–4" apart) to ensure a balanced look.
Step 4: Secure Photos to the Dowels
Now comes the fun part—attaching your Polaroid photos! There are a few ways to do this:
- Clothespins or mini clips: Clip a clothespin to the top of each photo and hang it from the dowel. This is the easiest and most adjustable method.
- Adhesive hooks or push pins: Lightly press a small adhesive hook or push pin into the top of each photo, then hang it directly on the dowel. This works well for lighter photos but may not be as secure for heavier prints.
- Thread or wire: For a more polished look, you can thread a thin wire or string through the top of the photos and tie it to the dowel. This method is best for those with a steady hand!
Arrange your photos in the order you want them to appear, leaving equal spacing between each one. Adjust the twine or fishing line as needed to ensure everything hangs straight.
Mistakes to Avoid
- Skipping the planning phase: Without measuring, your frame may end up uneven or too short for the space. Always plan your layout before cutting materials.
- Using heavy materials: If your photos are large or printed on thick paper, avoid using lightweight twine or flimsy clips. Opt for stronger fishing line and sturdier clips instead.
- Ignoring the weight distribution: If you’re hanging multiple rows, make sure the twine or fishing line is securely tied to the dowels and evenly spaced to prevent sagging.
- Forgetting to customize: While this step is optional, skipping it can make your frame look generic. Take the time to sand, paint, or wrap your dowels for a professional finish.
Pro Tips
- Mix and match dowel sizes: Use different lengths or thicknesses of dowels to create visual interest. For example, pair a thick dowel for the top row with thinner ones below.
- Add LED string lights: For a cozy ambiance, weave fairy lights between the photos or around the dowels. Battery-operated lights are easy to install and add a magical touch.
- Use a level: Before mounting your frame, use a level to ensure it’s straight. This small step makes a big difference in the final look.
- Rotate photos seasonally: Change out photos based on the time of year or holidays to keep your display fresh and exciting.
- Incorporate other decor: Add small plants, postcards, or handwritten notes between photos to create a layered, eclectic look.
With these steps and tips, you’re well on your way to creating a stunning Polaroid photo hanging frame that showcases your memories in style. Whether you hang it in your living room, bedroom, or home office, this DIY project is sure to become a conversation starter and a cherished part of your home decor.
Now, grab your photos, gather your materials, and let your creativity shine! If you found this tutorial helpful, share your finished frame with us on social media using #HomeReadyHubFrame. Happy crafting!