Introduction
A natural wood bead garland is a timeless and versatile decoration that adds warmth and texture to any space. Whether you're looking to enhance your home decor, create a rustic wedding backdrop, or add a festive touch to your holiday celebrations, this DIY project is both simple and rewarding. In this guide, we'll walk you through the process of making your own wood bead garland, from gathering materials to assembling the final piece.
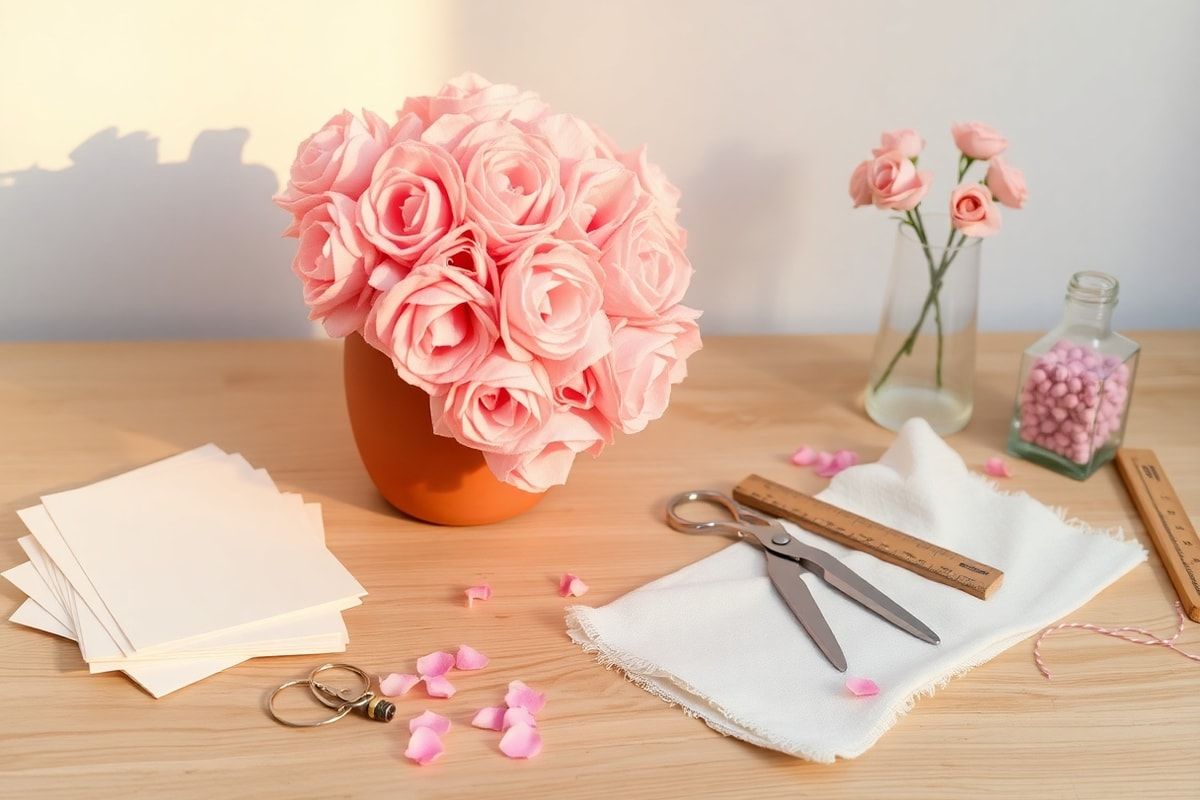
Materials Needed
- Wood beads (various sizes for texture)
- Jute twine, thin rope, or thick yarn
- Scissors
- Measuring tape or ruler
- Optional: Glue (for extra security)
- Optional: Decorative elements (dried flowers, fabric scraps, etc.)
Preparation Steps
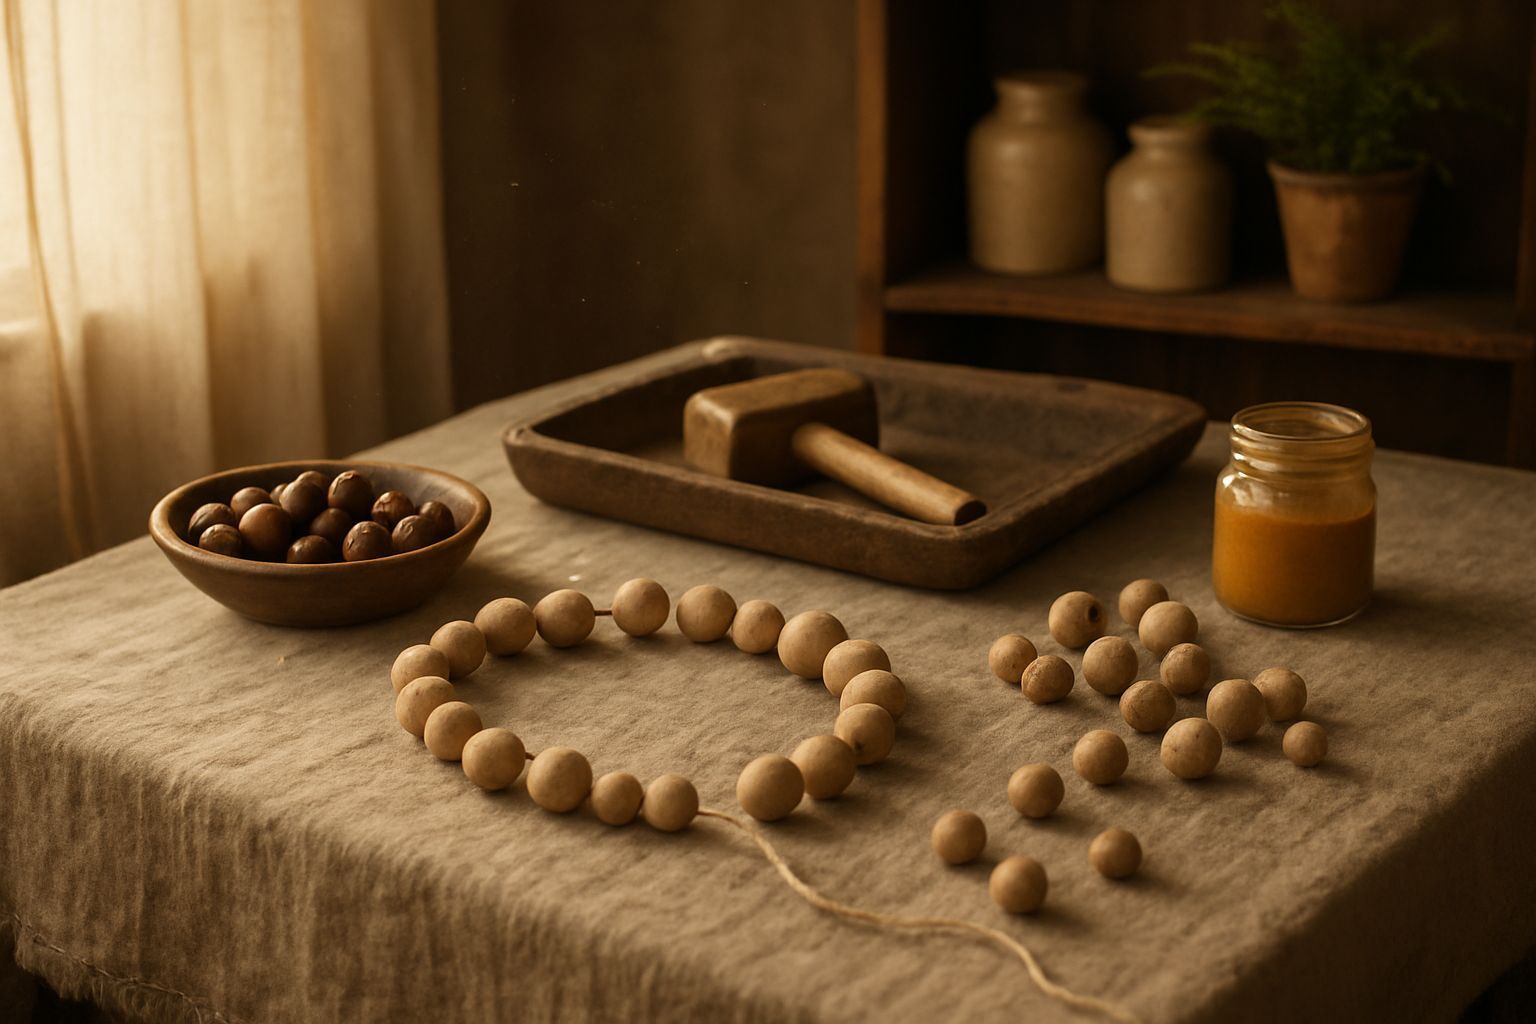
Step 1: Choose Your Beads
Select wood beads in different sizes and shapes to create visual interest. Natural, unfinished beads will give your garland an organic look, while painted or stained beads can add a pop of color. Ensure the beads have a hole large enough for your chosen stringing material to pass through easily.
Step 2: Measure and Cut Your Stringing Material
Decide on the length of your garland. For a standard wall hanging or table runner, 6 to 8 feet is a good starting point. Cut your jute twine, rope, or yarn to the desired length, leaving a few extra inches for tying off the ends.
Assembly
Step 3: String the Beads
Begin threading the beads onto your stringing material. For a balanced look, alternate between larger and smaller beads. If you're using multiple strands, ensure they are evenly spaced. If the beads are loose, apply a small amount of glue to the knot to secure them in place.
Step 4: Add Decorative Elements (Optional)
Enhance your garland by incorporating dried flowers, fabric scraps, or other natural elements between the beads. Secure them with a dab of glue or by tying them tightly to the string. This step is optional but can add a personal touch to your garland.
Mistakes to Avoid
1. Choosing the Wrong Stringing Material: Avoid using thin thread or wire, as it may not hold the weight of the beads. Opt for sturdy materials like jute twine or thick yarn.
2. Overloading the Garland: Too many beads or heavy decorations can cause the garland to sag or break. Distribute weight evenly.
3. Skipping Knots: Always tie knots between beads to prevent them from sliding off, especially if the holes are larger than the string.
Pro Tips
1. Use Natural Dyes: If you want a uniform color, soak the wood beads in natural dyes like coffee or tea for a subtle tint.
2. Layer Different Textures:
Mix wood beads with other natural elements like shells, pinecones, or fabric strips for a bohemian vibe.
3. Secure with Glue: For extra durability, apply a small amount of glue to the knots or between beads.
Conclusion
Creating a natural wood bead garland is a fun and creative way to add a touch of rustic charm to your home or special events. With just a few simple materials and steps, you can craft a beautiful, customizable decoration that reflects your personal style. Whether you're a beginner or an experienced crafter, this project is sure to inspire and delight. Happy crafting!