Why Wallpaper the Back of a Shelf?
Honestly, a wallpapered shelf is like a little stylish outfit for your space. It adds character, hides imperfections, and lets you play with patterns and colors. Pro tip: It also protects the wall behind the shelf from dust and bumps.
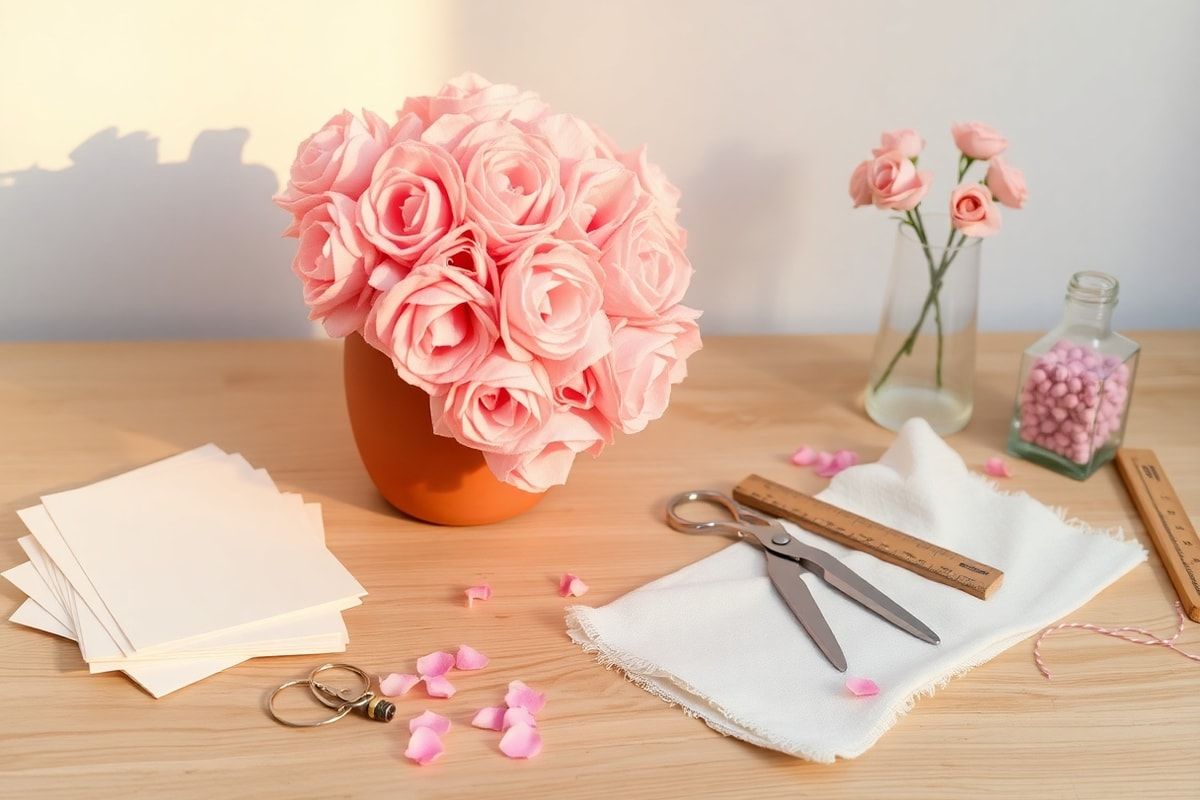
The Supplies You'll Need
Quick tip: Gather everything before you start!
- Wallpaper (pick a pattern you love, but avoid huge prints if your shelf is small)
- A utility knife or paper cutter
- A ruler or square
- Painter's tape
- Wallpaper glue (or diluted white glue)
- A brush or glue roller
- A clean cloth
Step 1: Prep the Shelf
First, wipe down the back of the shelf with a damp cloth to remove dust. If it's raw wood or cardboard, apply a layer of glue first for better adhesion. Trust me, it makes a huge difference—just like prepping a wall before painting!
Step 2: Cut the Wallpaper
Measure the height and width of the shelf, then add 2 cm (about an inch) to each side for easy gluing. Cut the wallpaper with a utility knife, following your measurements carefully. Quick tip: If your paper has a pattern, double-check the alignment before cutting!
Step 3: Apply the Glue
Spread the glue on the back of the shelf with a brush or roller, making sure to cover the whole surface. Let it sit for a few minutes (just until it gets tacky, but not too dry). Pro tip: If using wallpaper glue, follow the manufacturer's instructions for mixing.
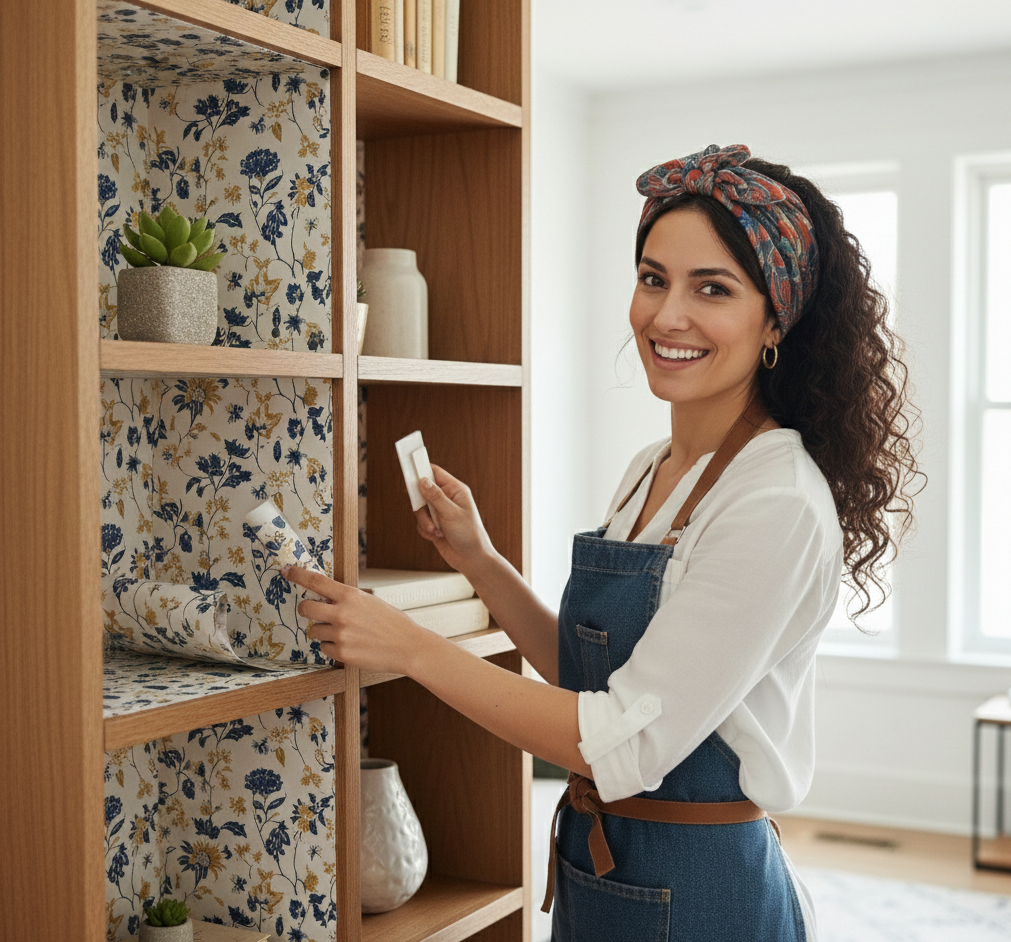
Step 4: Stick the Wallpaper
Gently place the wallpaper onto the glue, smoothing it out with a clean cloth to avoid air bubbles. Start at the top and work your way down. If there's extra, trim it neatly with a utility knife. Honestly, it's like applying a tattoo—go slow to avoid mistakes!
Step 5: Finishing Touches
Once the paper is in place, roll or press a clean cloth over the whole surface to secure it. Trim any overhang neatly. Quick tip: For a pro look, add decorative tape along the edges to hide imperfections.
Extra Tips
Pro tip: If using patterned wallpaper, leave extra margin to adjust the alignment. And if you ever want to change it up, just peel it off with warm water and patience. Honestly, this DIY project is super satisfying!