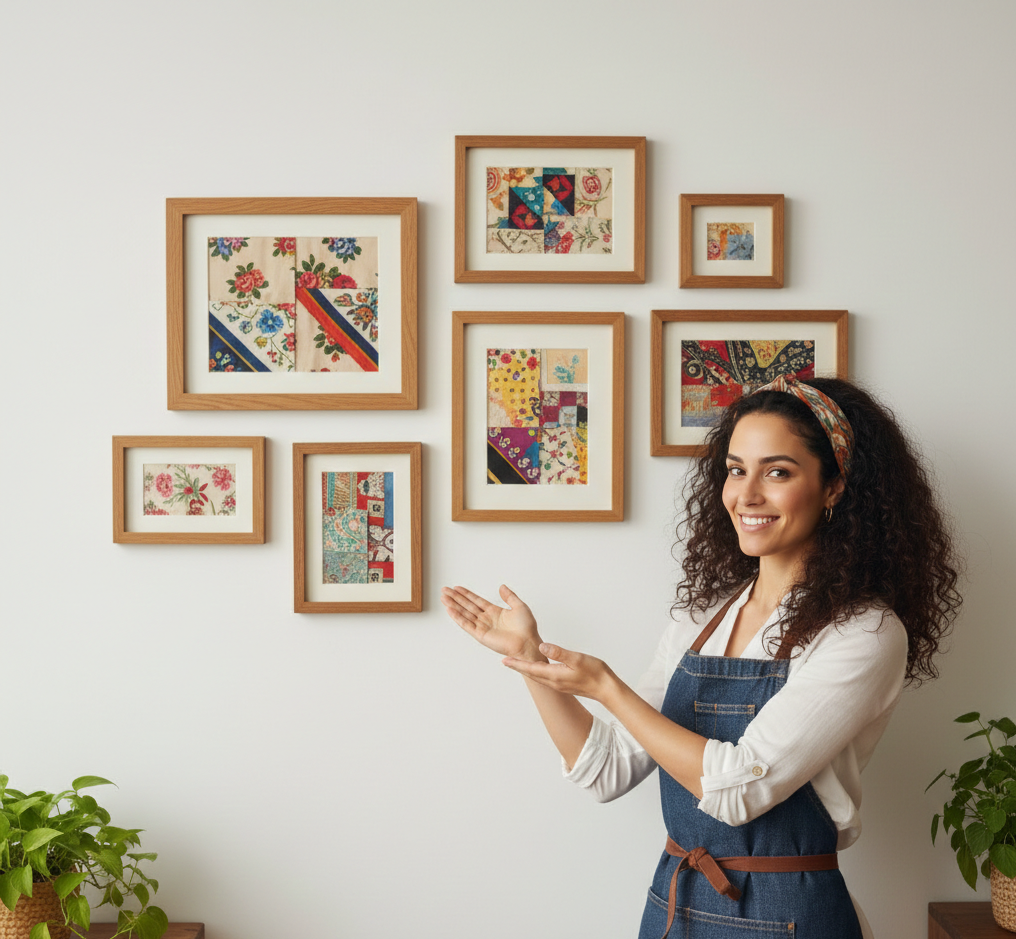
Why Frame Fabric Scraps?
Honestly, we all have those little fabric scraps or forgotten scarves sitting in our drawers. Instead of tossing them, why not give them a second life by framing them? It’s such a simple and poetic way to preserve memories or showcase patterns you love.
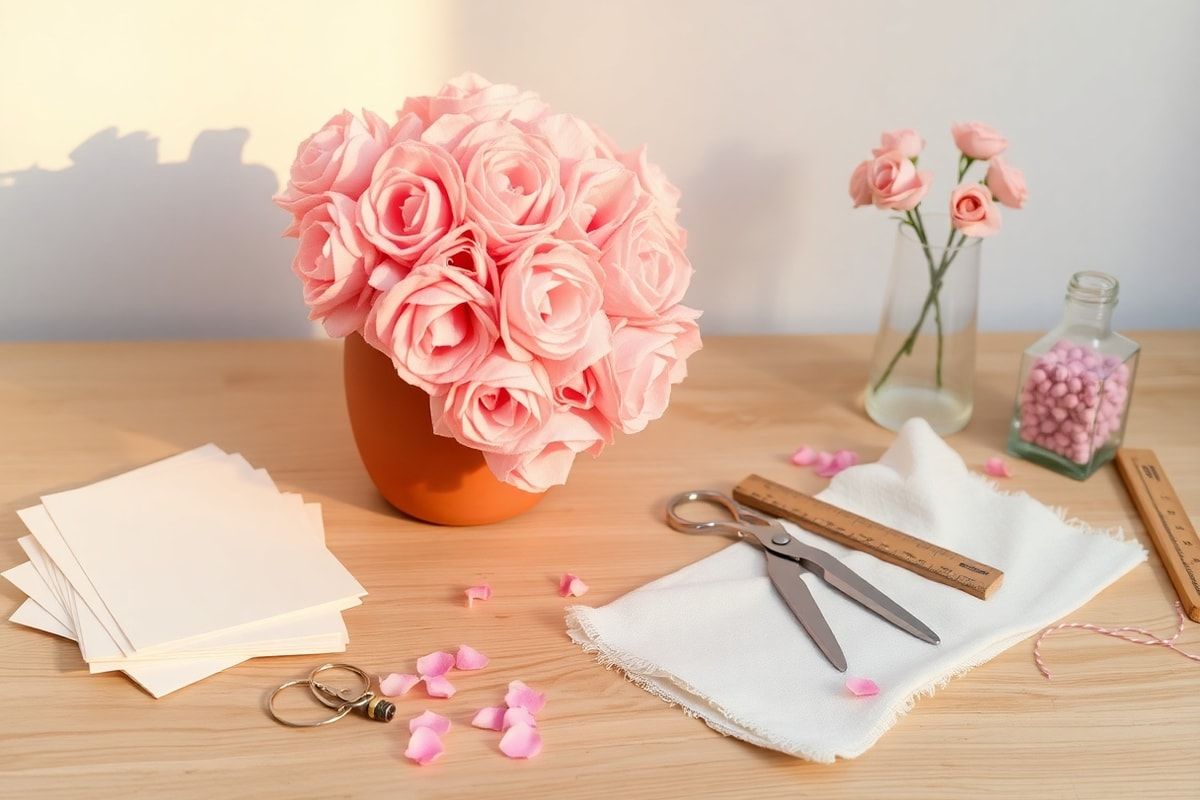
What You’ll Need
Trust me, you won’t need much to get started. Here’s the essentials list:
- A frame of your choice (wood, metal, etc.)
- Fine sandpaper
- Fabric glue or white glue
- A soft brush
- An iron (optional)
- Tracing paper or kraft paper (to stiffen the fabric)
Steps to Follow
Quick tip: If your fabric is delicate, lightly iron it before starting to avoid wrinkles.
- Prep the Fabric: Cut it to fit your frame, leaving 1-2 cm extra for mounting.
- Stiffen the Fabric: Glue it to tracing paper or kraft paper to prevent wrinkling. Let it dry.
- Prep the Frame: Wipe the frame with a damp cloth and lightly sand the edges if needed.
- Glue the Fabric: Apply glue to the back of the fabric (on the glued side) and secure it in the frame. Smooth it out to avoid air bubbles.
- Let It Dry & Admire: Let it air-dry for 24 hours before displaying your masterpiece.
Creative Ideas
Honestly, the possibilities are endless! Here are some ways to customize your frame:
- Layer Fabrics: Mix patterns or textures for a vintage vibe.
- Add Embroidery: Personalize with initials or embroidered designs.
- Make a Collage: Combine fabric scraps with photos or cut-out letters.
Extra Tips
Quick tip: If your fabric is too thin, double it with a sturdier fabric before gluing.
Pro tip: For a polished look, use a frame with a mat to showcase the fabric without gluing it directly to the frame.
Conclusion
And that’s it! With these tricks, you can turn fabric scraps into unique art pieces. Don’t be afraid to experiment and share your creations with us. Trust me, your ideas are always a game changer!