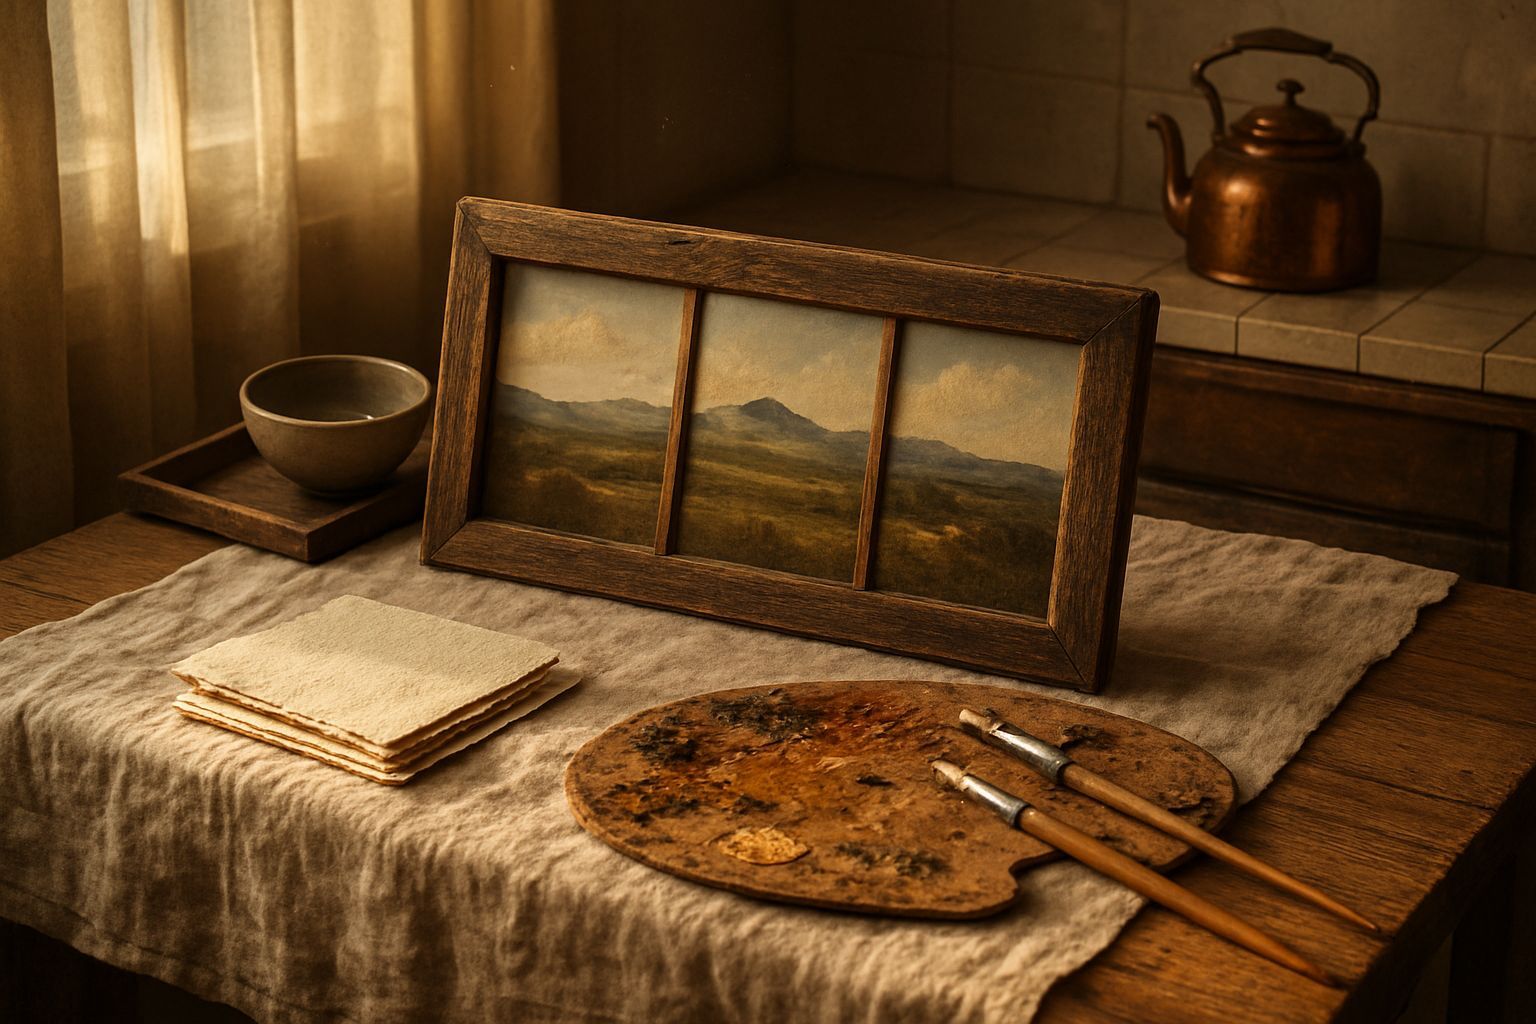
Creating a landscape triptych frame can add a stunning visual impact to your home decor. Whether you're framing artwork, photographs, or nature prints, a triptych frame allows you to display three connected pieces in a cohesive design. This guide will walk you through the process of cutting and assembling a landscape triptych frame, ensuring a professional finish.
Materials Needed
- Three identical frames (or one large frame cut into three)
- Measuring tape
- Pencil
- Straightedge or ruler
- Fine-toothed saw (like a miter saw or handsaw)
- Sandpaper (fine grit)
- Wood glue
- Clamps
- Hinges or connectors (optional)
- Paint or stain (optional)
Preparation Steps
Step 1: Plan Your Design
Decide on the size and orientation of your triptych. Landscape triptychs are typically wider than they are tall, so plan accordingly. Measure the artwork or prints you intend to frame to ensure the frames will fit properly. If you're cutting a single large frame into three, mark the dimensions carefully.
Step 2: Measure and Mark the Frames
Using a measuring tape and pencil, mark the exact dimensions where you need to cut the frames. Ensure all three frames (or sections) are identical in size. If you're working with a single frame, measure and mark the two cuts needed to divide it into three equal parts. Double-check your measurements before cutting to avoid errors.
Assembly
Step 3: Cut the Frames
Using a fine-toothed saw, carefully cut along the marked lines. For precise cuts, use a miter box or a miter saw. Sand the edges of the cuts with fine-grit sandpaper to smooth any rough spots. If you're working with a single frame, ensure the cuts are straight and even to maintain a uniform look.
Step 4: Assemble the Triptych
Once the frames are cut, assemble them by placing them side by side. If you want the frames to stay connected, use wood glue along the edges and clamp them together until the glue dries. Alternatively, you can attach hinges or connectors to allow the frames to open and close like a book. If desired, paint or stain the frames to match your decor.
Mistakes to Avoid
1. Incorrect Measurements: Always double-check your measurements before cutting to ensure all three frames are the same size. 2. Rough Edges: Sand the cut edges thoroughly to prevent splinters and ensure a smooth finish. 3. Uneven Cuts: Use a straightedge or ruler to guide your cuts for a professional look. 4. Skipping Sanding: Sanding is crucial for a polished finish and to prevent damage to your artwork.
Pro Tips
1. Use a Miter Saw: For the cleanest cuts, a miter saw is ideal. 2. Test Fit: Before final assembly, test-fit the frames to ensure they align properly. 3. Add Hinges: If you want flexibility, hinges allow the triptych to open and close. 4. Customize the Backing: Use acid-free matting and backing to protect your artwork.
Creating a landscape triptych frame is a rewarding DIY project that can elevate your home decor. With the right tools and careful planning, you can achieve a professional-looking result that showcases your favorite artwork beautifully.