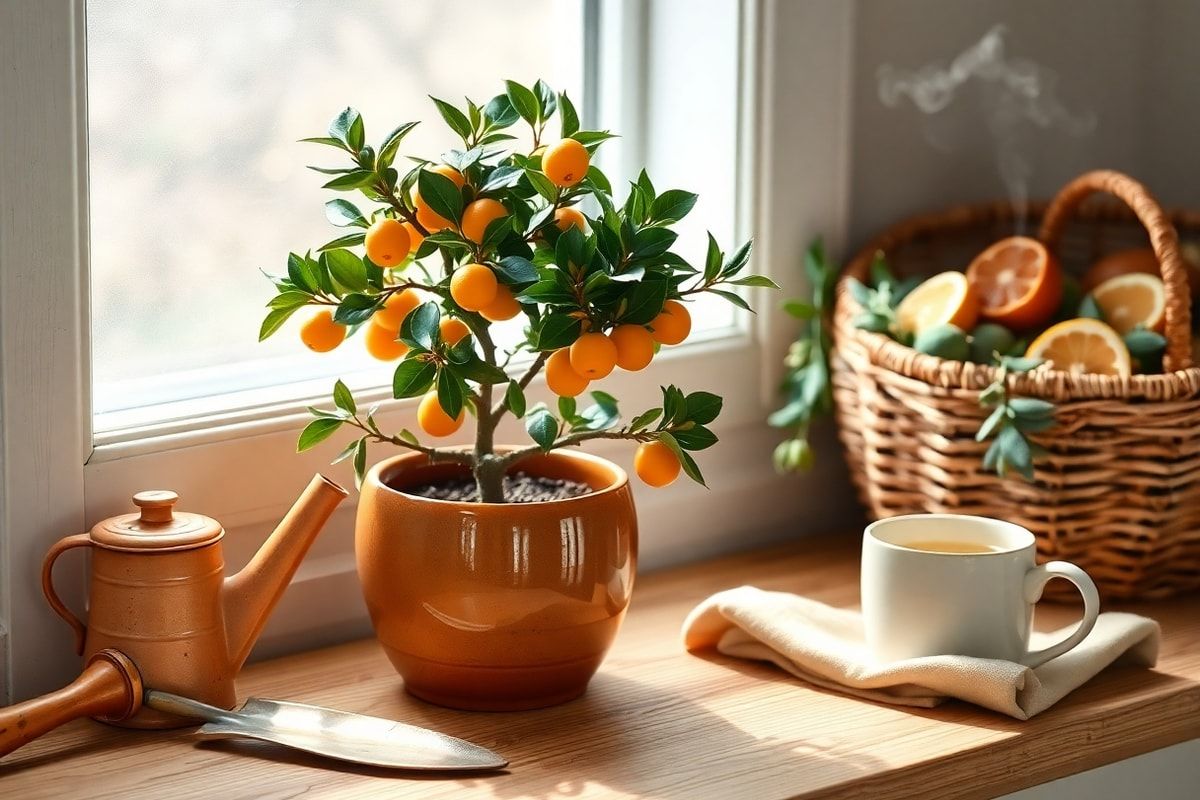
Winter doesn't mean your terrace has to be bare and dreary. With a little creativity, you can turn even the chilliest months into a cozy, inviting space by incorporating a mini Olivier (olive tree). Olive trees, especially dwarf varieties, bring Mediterranean charm and structure to your outdoor area, even in winter. Whether you're a seasoned gardener or a beginner, this step-by-step guide will help you create a beautiful mini Olivier terrace that thrives through the cold season.
Materials Needed
- Mini olive tree (dwarf variety such as 'Little Ollie', 'Skylark Dwarf', or 'Arbequina')
- Large decorative pot or planter with drainage holes (12–18 inches in diameter)
- High-quality potting soil (well-draining, preferably for Mediterranean plants)
- Pebbles or gravel for drainage
- Slow-release fertilizer (balanced, e.g., 10-10-10)
- Pruning shears
- Gloves
- Garden trowel
- Decorative mulch or moss (optional)
- Outdoor rug or mat (to define the space)
- Fairy lights or solar lanterns (optional, for ambiance)
Preparation Steps
Step 1: Choose the Right Location
Even in winter, olive trees need plenty of sunlight. Select a spot on your terrace that receives at least 6–8 hours of direct sunlight daily. If your terrace is shaded, consider a south-facing wall or balcony. Avoid areas with strong winds or drafts, as olive trees prefer sheltered spots.
Pro tip: If you live in a region with harsh winters (below 15°F/-9°C), consider a cold-hardy variety like 'Arbequina' or move the pot to a sheltered spot like a garage or porch during extreme cold.
Step 2: Select and Inspect Your Olive Tree
When choosing your mini Olivier, opt for a healthy plant from a reputable nursery. Look for:
- Vibrant, silvery-green leaves (avoid yellowing or brown tips)
- No signs of pests (check under leaves and stems)
- A well-established root system (gently remove from pot to check)
- No broken or damaged branches
If purchasing online, read reviews and ensure the plant is shipped in a sturdy box to prevent damage.
Assembly
Step 3: Prepare the Planter
Drainage is key to keeping your olive tree healthy. Follow these steps:
- Clean the pot: If reusing a container, scrub it with mild soap and water to remove old soil and bacteria.
- Add drainage layer: Place a 1–2 inch layer of pebbles or gravel at the bottom of the pot to prevent root rot.
- Fill with soil: Use a well-draining potting mix formulated for Mediterranean plants or cacti/succulents. Avoid garden soil, as it can compact and retain too much moisture.
Pro tip: Add a handful of perlite or sand to the soil mix for extra drainage. Olive trees hate soggy roots!
Step 4: Plant Your Olive Tree
Follow these steps to transplant your mini Olivier:
- Remove the tree from its nursery pot: Gently squeeze the sides of the pot and tap the bottom to loosen the roots. Slide the tree out carefully.
- Prune if necessary: Trim any circling or damaged roots with clean pruning shears. This encourages new root growth.
- Position in the pot: Place the tree in the center of the pot, ensuring the top of the root ball sits 1 inch below the rim. This prevents soil from spilling when watering.
- Fill with soil: Add potting mix around the roots, pressing gently to eliminate air pockets. Leave 1 inch of space at the top for watering.
- Water thoroughly: Give the tree a deep watering until water drains from the bottom. This helps settle the soil.
- Add mulch (optional): Spread a thin layer of decorative mulch or moss over the soil to retain moisture and add a polished look.
Mistakes to Avoid
Overwatering
Olive trees are drought-tolerant and prefer dry conditions. Overwatering can lead to root rot, yellowing leaves, and stunted growth. Water only when the top 1–2 inches of soil are dry. In winter, reduce watering frequency as the tree enters dormancy.
Ignoring Drainage
A pot without drainage holes is a recipe for disaster. Without proper drainage, excess water pools at the roots, suffocating the tree and promoting fungal growth. Always use a pot with drainage holes and a saucer underneath to catch runoff.
Skipping Pruning
While olive trees don’t require heavy pruning, removing dead, diseased, or crossing branches encourages airflow and new growth. Prune in late winter or early spring before new growth begins.
Using the Wrong Soil
Garden soil or heavy potting mixes can retain too much moisture, leading to root rot. Stick to a fast-draining mix designed for Mediterranean plants or succulents.
Neglecting Winter Care
Even cold-hardy varieties need protection from extreme cold and wind. In harsh climates, move the pot to a sheltered spot or wrap the pot in bubble wrap or burlap to insulate the roots.
Pro Tips
1. Fertilize Lightly
Olive trees benefit from slow-release fertilizer in spring and summer. Avoid fertilizing in winter when the tree is dormant. For dwarf varieties, use a balanced fertilizer (e.g., 10-10-10) diluted to half strength every 4–6 weeks during the growing season.
2. Rotate the Pot
To ensure even growth, rotate the pot a quarter turn every few weeks. This prevents the tree from leaning toward the light.
3. Add Ambient Light
In low-light winter conditions, supplement natural sunlight with grow lights or LED spotlights. Place them 12–18 inches above the tree for 6–8 hours daily.
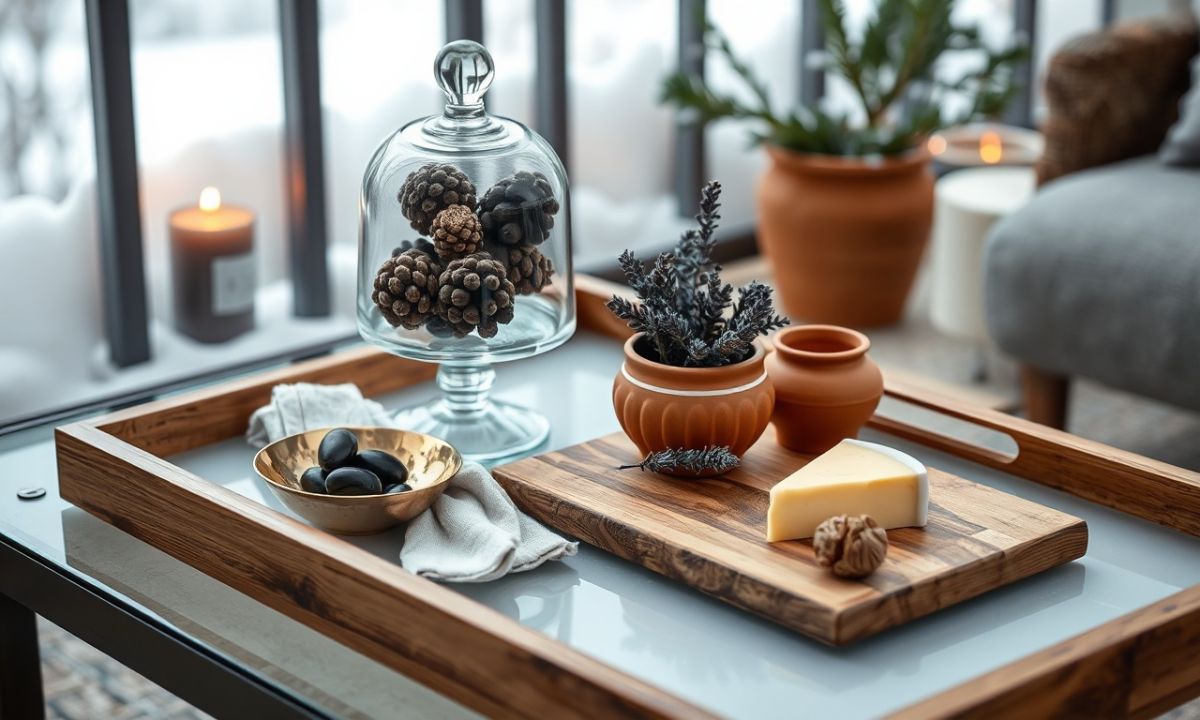
4. Create a Cozy Atmosphere
Enhance your mini Olivier terrace with:
- Outdoor rugs: Define the space and add warmth underfoot.
- Fairy lights: String solar-powered lights around the tree or along the railing for a magical glow.
- Decorative elements: Add ceramic pots, lanterns, or a small water feature to create a Mediterranean vibe.
- Seating: Include weather-resistant chairs or a bistro set to enjoy your green oasis.
5. Monitor for Pests
Even indoors or on a terrace, olive trees can attract pests like spider mites, scale, or whiteflies. Inspect leaves regularly and treat with insecticidal soap or neem oil at the first sign of trouble.
6. Consider a Mini Grove
If you have space, create a mini olive grove by grouping several dwarf varieties in different-sized pots. Vary the heights and styles of pots for visual interest.
Conclusion
A mini Olivier terrace is a stunning way to bring life and Mediterranean charm to your winter space. With the right materials, care, and attention, your olive tree will thrive and become a focal point of your outdoor oasis. Remember to prioritize sunlight, drainage, and proper watering, and don’t forget to add your personal touch with decor and lighting.
Whether you’re sipping coffee in the morning or enjoying a glass of wine in the evening, your mini Olivier terrace will be a cozy retreat that defies the winter chill. Happy planting!
Have you created a mini Olivier terrace? Share your photos and tips in the comments below! For more gardening inspiration, subscribe to our newsletter and follow us on social media.