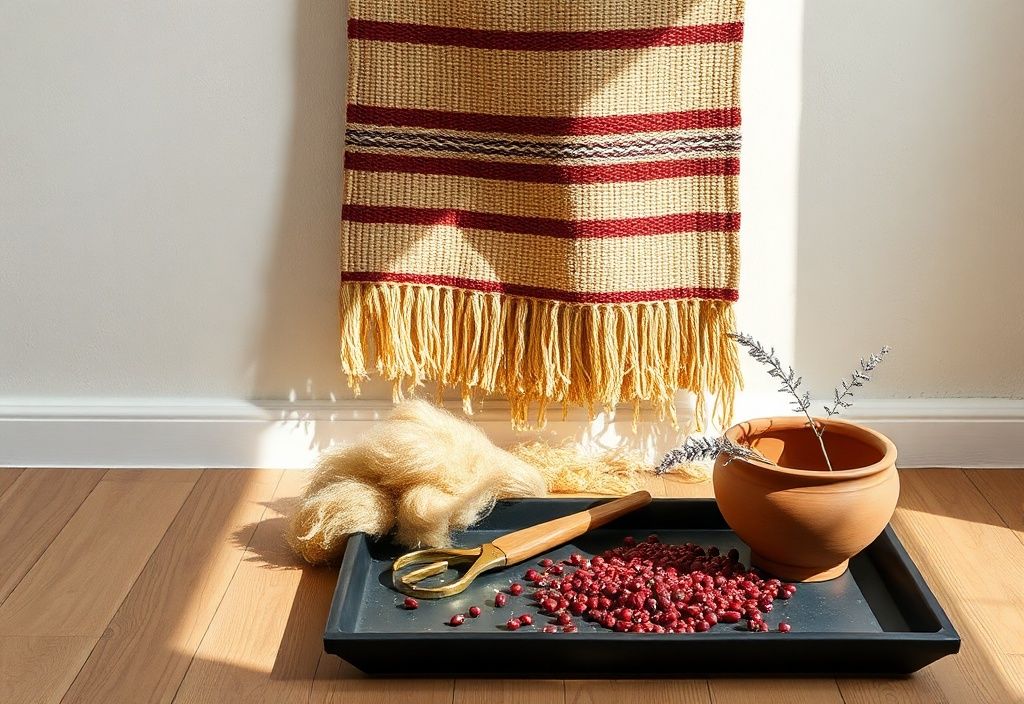
Berber Kilim wall weavings are not only stunning pieces of art but also a fantastic way to bring a touch of traditional Moroccan culture into your home. These handwoven textiles are known for their intricate geometric patterns and vibrant colors, making them a unique addition to any room. In this tutorial, we’ll guide you through the process of creating your very own Berber Kilim wall weaving, from selecting materials to assembling the final piece.
Materials needed
- Base fabric or loom: A sturdy fabric like linen, burlap, or a pre-made weaving loom (size depends on your project).
- Wool or cotton yarn: Various colors to match your design (traditional Berber Kilims often use natural dyes).
- Tapestry needle: A large, blunt needle for weaving.
- Scissors: Sharp fabric scissors for cutting yarn.
- Comb or fork: For beating down the weft rows.
- Graph paper or design template: To sketch your pattern before weaving.
- Measuring tape: To ensure even spacing and dimensions.
- Ruler or straight edge: For marking guidelines.
Preparation steps
Before diving into the weaving process, it’s essential to prepare your workspace and materials. Proper preparation ensures a smoother crafting experience and a higher-quality final product.
Step 1: Choose your design
Berber Kilims are famous for their geometric patterns, such as diamonds, triangles, and zigzags. Begin by sketching your design on graph paper or using a digital tool. If you’re new to weaving, start with a simple pattern and gradually move to more complex designs as you gain confidence. Traditional motifs often include symbols like the hand of Fatima (a protective symbol) or the Berber cross.
Step 2: Prepare your loom or base fabric
If you’re using a pre-made loom, set it up according to the manufacturer’s instructions, ensuring it’s stable and taut. For a DIY approach, stretch your base fabric (like linen or burlap) over a wooden frame or cardboard, securing it tightly with staples or nails. The warp threads (vertical threads) should be evenly spaced and parallel. If you’re using a fabric base, you can skip the warp threads and weave directly into the fabric.
Assembly
Now that your loom is ready, it’s time to start weaving! This section will guide you through the assembly process, from setting up the warp to adding the weft.
Step 3: Set up the warp threads (if using a loom)
If you’re using a loom, thread the warp threads vertically. The number of warp threads will depend on the width of your weaving and the thickness of your yarn. For a standard wall weaving, aim for about 10-20 warp threads per inch. Tie the warp threads to the top and bottom beams of the loom, ensuring they’re evenly spaced and taut. If you’re weaving directly into fabric, skip this step and proceed to the next one.
Step 4: Begin weaving the weft
Start weaving by tying a slipknot with your yarn at the top of the warp threads. This knot will secure your yarn as you begin. Follow your design template, weaving the weft threads (horizontal) over and under the warp threads. Use a tapestry needle to help guide the yarn through the warp. For Berber Kilims, traditional techniques often involve plain weave (over one, under one) or twill weave (over two, under two) for more texture.
As you weave, use a comb or fork to beat down each row tightly against the previous one. This ensures the weaving is dense and even. Change colors as needed to follow your design, tying off the old yarn and knotting the new one securely. To avoid gaps, keep the tension in the weft consistent.
Continue weaving until you reach the desired length. For a wall weaving, aim for about 12-24 inches in length, though you can adjust based on your space. Once complete, remove the weaving from the loom by carefully cutting the warp threads at the bottom, leaving enough length to tie off and create fringe if desired.
Mistakes to avoid
Weaving can be a meditative and rewarding process, but it’s easy to make mistakes, especially for beginners. Here are some common pitfalls to watch out for:
- Uneven tension: If your weft rows are too loose or too tight, your weaving will look uneven. Keep the tension consistent to avoid this.
- Skipping warp threads: Missing a warp thread can create gaps in your weaving. Double-check your work as you go to ensure every thread is accounted for.
- Ignoring the design: Deviating from your template can lead to a messy or unrecognizable pattern. Use a ruler or graph paper to keep your lines straight.
- Using the wrong yarn: Some yarns may be too slippery or thick for weaving. Stick to wool or cotton for best results.
- Rushing the process: Weaving takes time! Don’t rush through rows, or you may end up with uneven or loose weaves.
Pro tips
To elevate your Berber Kilim wall weaving, consider these expert tips:
- Experiment with textures: Incorporate different yarn weights or textures (e.g., bouclé, chenille) to add depth to your design.
- Play with color: Traditional Berber Kilims use natural dyes, but don’t be afraid to use modern colors for a contemporary twist. Try ombré effects or gradient shades.
- Add fringe: Fringe is a signature of Berber Kilims. Leave extra warp threads at the top and bottom, then trim and style them for a bohemian look.
- Use a cartoon: For complex designs, print your pattern on a large sheet of paper and place it behind your warp threads as a guide. This is called a cartoon and helps you follow intricate motifs.
- Block your weaving: After finishing, gently steam or wet your weaving and lay it flat to dry. This evens out the tension and gives it a polished look.
- Incorporate mixed media: Add beads, pom-poms, or embroidery to your weaving for extra flair.
Berber Kilims are more than just textiles; they’re a celebration of heritage and craftsmanship. By creating your own, you’re not only adding a unique piece to your home but also preserving a centuries-old tradition. Whether you’re a seasoned weaver or a beginner, this project offers a fulfilling creative outlet.
Don’t be afraid to make mistakes or experiment with new techniques. Every weaving tells a story, and yours will be no different. Share your finished pieces with the world—or keep them as a cherished keepsake. Happy weaving!
