Keeping the inside of your leather bag clean is essential not only for hygiene but also to extend the life of your bag. Dust, dirt, spills, and sweat can accumulate over time, leading to unpleasant odors and potential damage to the leather. Whether it's a designer handbag, a favorite tote, or a work bag, regular cleaning ensures it stays fresh and looks its best.
In this comprehensive guide, we’ll walk you through a simple, safe, and effective process to clean the interior of your leather bag using gentle, natural cleaners. You’ll learn what materials you need, how to prepare your bag, the cleaning steps, and pro tips to avoid common mistakes.
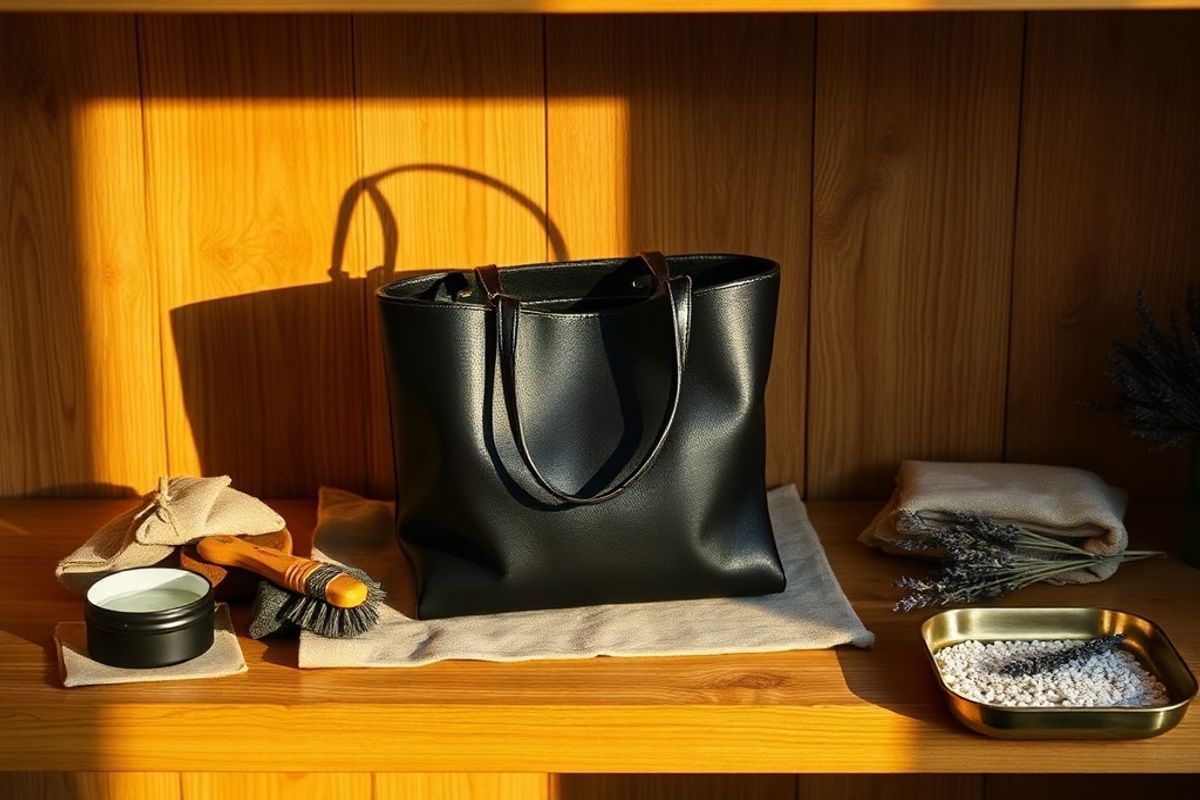
Materials needed
- Soft microfiber cloth or lint-free cloth (for gentle wiping)
- Mild liquid soap (such as dish soap or castile soap)
- White vinegar (optional, for odor and disinfecting)
- Isopropyl alcohol (70% or less) (for tough stains or disinfecting)
- Distilled water (for mixing solutions)
- Cotton swabs (Q-tips) (for crevices and seams)
- Soft-bristled brush (like a makeup brush or shoe brush)
- Spray bottle (for making cleaning solution)
- Paper towels or dry cloth (for blotting and drying)
- Leather conditioner (optional, after cleaning)
Important: Avoid harsh chemicals like bleach, ammonia, or strong solvents—they can strip the leather of its natural oils and cause discoloration or cracking.
Preparation steps
Step 1: Empty the bag completely
Start by removing all items from your bag, including papers, pens, makeup, and accessories. Turn the bag upside down to shake out loose debris such as dust, crumbs, or lint.
Use a soft-bristled brush to gently sweep away dirt from the corners and seams. For stubborn debris, a cotton swab can help reach tight spots.
Step 2: Check for stains or odors
Inspect the interior lining for visible stains, spills, or signs of mildew. Pay special attention to the bottom of the bag, where dirt often collects. If you detect an unpleasant odor, it may be due to moisture or bacteria buildup.
Take a moment to note any specific areas that need extra care so you can focus on them during the cleaning process.
Cleaning Process
Step 3: Create a gentle cleaning solution
In a spray bottle, mix the following to create a mild cleaning solution:
- 1 cup of distilled water
- 1 teaspoon of mild liquid soap (such as baby shampoo or castile soap)
- (Optional) 1 tablespoon of white vinegar for disinfecting and deodorizing
Note: If your bag lining is heavily soiled, you can increase the soap slightly, but avoid over-saturating.
Alternatively, for tougher stains or odors, mix equal parts isopropyl alcohol and water in a spray bottle. This solution evaporates quickly and disinfects without harming most leather types.
Step 4: Test the solution on a hidden area
Before applying the cleaner to the entire interior, test it on a small, hidden section—such as the inside bottom seam or a corner of the lining. Wait a few minutes to ensure the leather doesn’t discolor or become stiff.
If the leather reacts poorly (e.g., color change or texture alteration), dilute the solution further or switch to a gentler option like plain water with a microfiber cloth.
Step 5: Apply the cleaning solution
Lightly mist the cleaning solution onto your microfiber cloth—do not spray directly into the bag. This prevents over-wetting the leather, which can lead to warping or mold.
Gently wipe the interior lining in circular motions, focusing on stained or soiled areas. Use cotton swabs dipped in the solution to clean seams, zippers, and hard-to-reach spots.
For stubborn stains, apply a small amount of the solution directly to a cloth and blot (don’t rub) to lift the stain. Avoid scrubbing vigorously, as it can damage the lining or leather.
If you’re using the alcohol solution, dampen the cloth lightly and work quickly, as alcohol evaporates fast.
Step 6: Remove excess moisture
After cleaning, use a clean, dry microfiber cloth to blot away any excess moisture. Press gently rather than rubbing to avoid spreading dirt.
Leave the bag open in a well-ventilated area to air dry completely. Avoid direct sunlight or heat sources, as they can dry out the leather and cause cracking.
A fan on low speed can help speed up drying without introducing dust.
Step 7: Disinfect and deodorize (optional)
If your bag has a persistent odor, sprinkle a small amount of baking soda inside and let it sit for 1–2 hours before vacuuming it out. You can also place a sachet of dried lavender or cedar chips inside overnight to absorb smells naturally.
For a quick freshen-up, lightly mist the interior with a 50/50 water and white vinegar solution, then wipe dry. The vinegar smell will dissipate as it dries.
Reassembly and finishing touches
Step 8: Inspect and condition (optional)
Once the interior is completely dry, inspect it for any remaining spots or residue. If needed, repeat the cleaning process lightly.
If your bag has a leather exterior, now is a good time to apply a leather conditioner to maintain suppleness and prevent drying. Use a small amount on a clean cloth and buff gently.
Reorganize your bag with care, placing heavier items at the bottom and frequently used items within easy reach. This helps preserve the bag’s shape over time.
Mistakes to avoid
- Avoid over-wetting the leather: Too much moisture can cause the leather to warp, fade, or develop mold.
- Never use paper towels for scrubbing: They can leave lint or scratch delicate surfaces.
- Don’t use heat to dry: Hairdryers, radiators, or direct sunlight can dry out and crack the leather.
- Avoid harsh cleaners: Bleach, ammonia, or silicone-based products can damage the finish.
- Don’t ignore stains: The longer you wait, the harder they are to remove.
- Avoid machine washing: Even if the label says “washable,” hand cleaning is safer for leather.
Pro tips
- Clean regularly: Aim to clean the interior every 1–2 months, or more often if you carry food, makeup, or sweaty items.
- Use a shoe bag: Store your bag in a dust bag or pillowcase when not in use to minimize dust accumulation inside.
- Rotate bags: If you use multiple bags, rotate them to reduce wear and allow leather to rest and recover its natural oils.
- Keep a mini cleaning kit: Store a small spray bottle, microfiber cloth, and leather wipes in your bag for quick touch-ups on the go.
- Store with care: Fill the bag with acid-free tissue paper when storing long-term to help it retain its shape.
- Use a lint roller: For quick cleanups between deep cleans, a lint roller can remove surface dust and pet hair from the interior.
- Check manufacturer guidelines: Some high-end leather bags come with specific care instructions—always follow those first.
With the right tools and gentle techniques, keeping the inside of your leather bag clean doesn’t have to be intimidating. By using mild cleaners, testing solutions, and allowing proper drying time, you can maintain both the hygiene and beauty of your bag for years to come. Regular maintenance not only protects your investment but also ensures your bag always looks and feels fresh—ready to accompany you on every adventure.
Start today: empty your bag, give it a gentle clean, and enjoy the satisfaction of a fresh, well-cared-for leather accessory.
