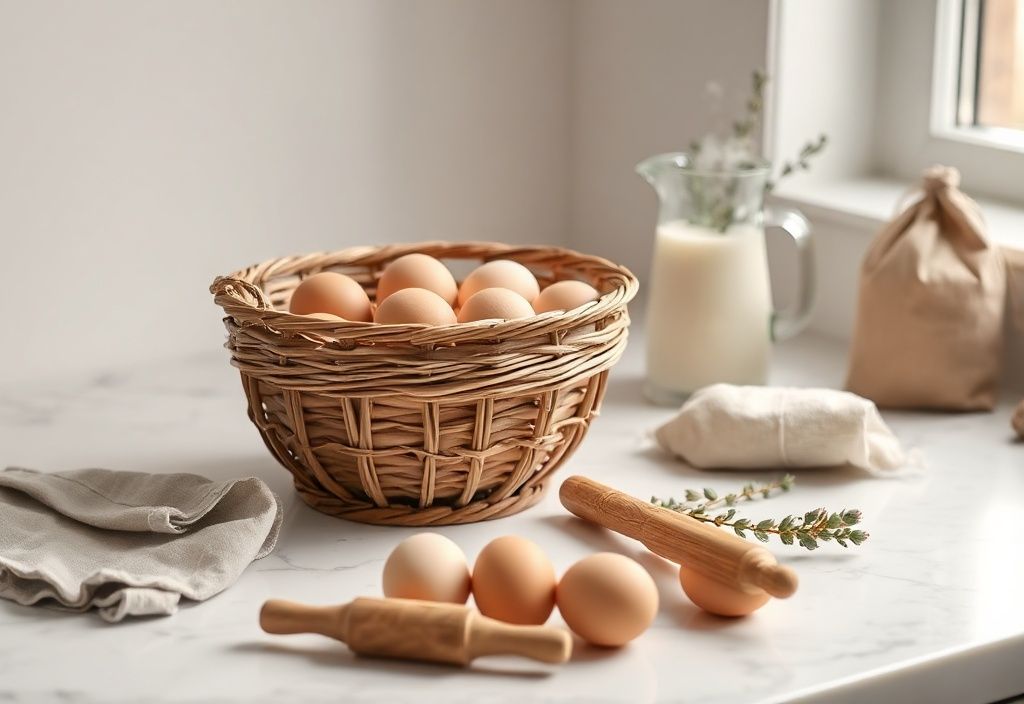
Are you tired of messy egg cartons cluttering your kitchen counter? A ceramic countertop egg basket is a charming, practical solution that combines functionality with rustic elegance. Whether you're a passionate home baker, a backyard chicken keeper, or simply someone who appreciates beautiful kitchenware, this DIY project is perfect for you.
In this tutorial, we’ll guide you through creating a durable and attractive ceramic egg basket that sits neatly on your countertop. Made from high-quality ceramic, this basket not only holds your eggs securely but also adds a touch of artisanal charm to your kitchen decor. Best of all, it’s a fun and rewarding project that takes less than an hour to complete.
Materials Needed
- A ceramic bowl or basin with a flat bottom (approximately 8–12 inches in diameter)
- A ceramic plate or saucer (slightly smaller than the bowl)
- Strong ceramic adhesive (e.g., E6000 or two-part epoxy)
- Sandpaper (medium grit, around 120–150)
- Cleaning cloth and rubbing alcohol
- Pencil or marker
- Measuring tape or ruler
- Protective gloves and mask (for safety when handling adhesives)
Preparation Steps
Step 1: Choose and Clean Your Ceramic Pieces
Select a ceramic bowl and plate that complement your kitchen style. Look for pieces with smooth, unglazed rims for better adhesion. Wash both items thoroughly with warm, soapy water to remove dust, grease, or residue. Rinse and dry them completely. Use rubbing alcohol to wipe down the surfaces—this ensures a clean, grease-free area for the adhesive to bond properly.
Step 2: Sand the Contact Surfaces (Optional but Recommended)
Lightly sand the bottom rim of the bowl and the top edge of the plate using medium-grit sandpaper. This step creates a slightly rough texture, helping the adhesive grip better. Wipe away any dust with a damp cloth and let the pieces dry. Be cautious—ceramic can be brittle, so sand gently to avoid chipping.
Assembly
Step 3: Mark and Apply Adhesive
Place the ceramic plate upside down on a flat surface. Using a pencil, lightly trace the outer edge of the bowl’s bottom onto the plate. This will serve as your guide for adhesive placement.
Apply a generous bead of ceramic adhesive around the traced line on the plate. Be careful not to apply adhesive too close to the edge—leave a small gap to prevent squeeze-out when pressing the bowl down. If you’re using epoxy, mix it according to the manufacturer’s instructions before applying.
Wear gloves to protect your hands. The adhesive can be messy and may contain strong fumes, so work in a well-ventilated area.
Step 4: Attach the Bowl to the Plate
Carefully lower the bowl onto the plate, aligning it with the pencil mark. Press down firmly but evenly across the entire rim. You should feel the adhesive compress slightly. Wipe away any excess adhesive that squeezes out with a damp cloth before it dries.
Once assembled, place the basket in a safe spot and let the adhesive cure for at least 24 hours. Avoid moving or using the basket during this time to ensure a strong bond. Check the manufacturer’s instructions on your adhesive for specific drying times—some may require up to 48 hours for full strength.
Mistakes to Avoid
- Skipping the cleaning step: Residue on ceramic surfaces can prevent proper adhesion. Always clean and dry pieces thoroughly before assembly.
- Using too little adhesive: A thin layer won’t hold well under the weight of eggs. Apply enough to create a strong seal.
- Rushing the cure time: Moving the basket too soon can weaken the bond. Be patient and allow full drying time.
- Ignoring safety: Always use gloves and work in a ventilated area when handling adhesives.
- Choosing the wrong ceramic type: Avoid pieces with glossy or heavily glazed surfaces—they don’t bond well with adhesives. Opt for matte or unglazed rims.
Pro Tips
- Customize your design: Paint the plate or bowl with food-safe ceramic paint before assembly to match your kitchen decor. Let it dry completely before gluing.
- Add non-slip pads: Apply small rubber pads to the bottom of the plate to prevent sliding on smooth countertops.
- Use for storage beyond eggs: This basket is great for holding fruit, small kitchen tools, or even as a decorative vase.
- Test stability: Before final gluing, dry-fit the pieces to ensure the basket sits flat and stable. Adjust if needed.
- Choose the right size: For standard eggs, a basket with a 10-inch bowl and 6-inch plate is ideal. Adjust based on your egg size and aesthetic preference.
- Seal the adhesive: Once fully cured, apply a thin layer of clear ceramic sealant over the glued seam for added water resistance and durability.
Once complete, your ceramic countertop egg basket will be a functional centerpiece in your kitchen. It’s perfect for displaying fresh eggs from your hens, organizing baking supplies, or simply adding a touch of handmade charm to your space.
This project is not only practical but also sustainable—upcycling old ceramic pieces gives them new life while reducing waste. Whether you’re crafting for function, beauty, or both, your homemade egg basket is sure to impress.
Ready to start? Gather your materials, set aside some time, and enjoy the satisfaction of creating something both beautiful and useful for your home.
Happy crafting!
