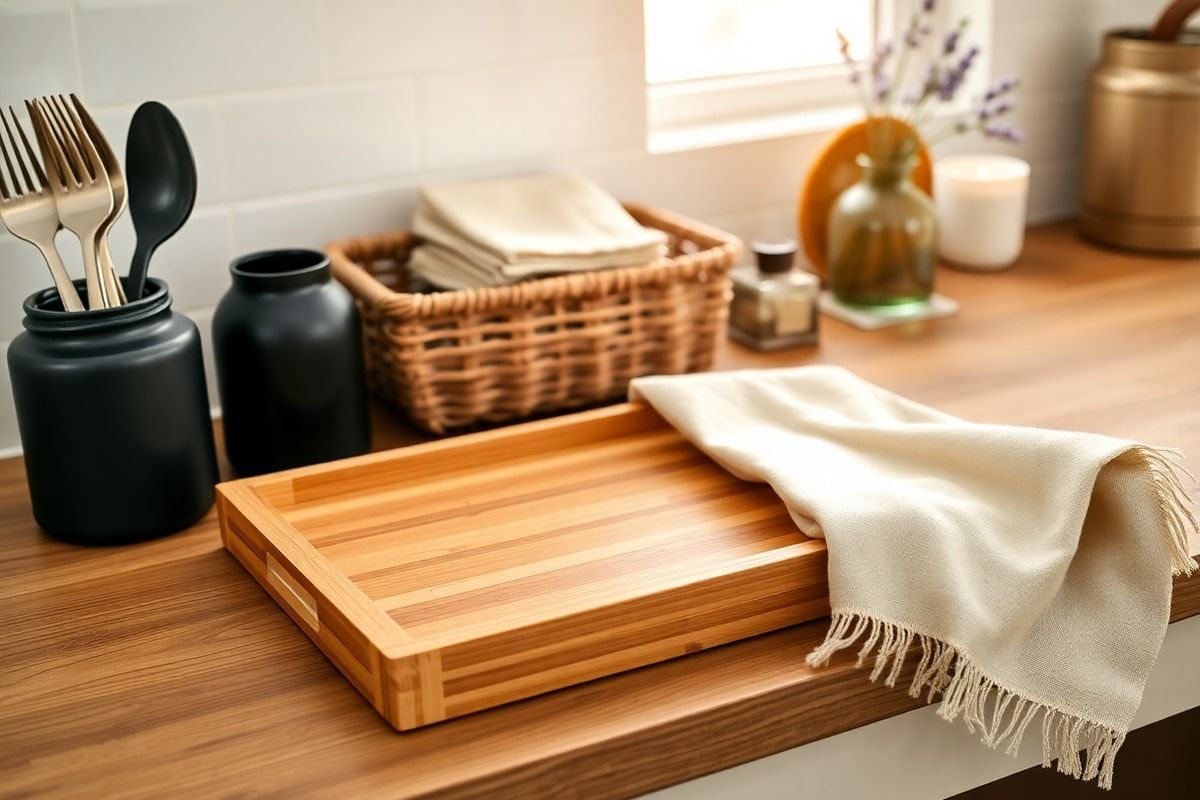
Storing jars properly is essential for both food preservation and pantry organization. Whether you're a home cook, a meal-prep enthusiast, or someone looking to declutter, knowing how to organize and store jars can save you time, space, and frustration. A well-organized pantry not only makes it easier to find ingredients but also extends the shelf life of your preserved foods.
Materials needed
- Glass jars with lids (various sizes: small, medium, large)
- Labels and a permanent marker
- Shelf organizers or risers (optional)
- Stackable bins or clear containers (optional)
- Rubber bands or jar grips (optional)
- Food-safe desiccant packs (for long-term storage)
- A vacuum sealer (optional, for extended preservation)
Preparation steps
Step 1: Clean and Inspect Jars
Before storing any food, ensure your jars are clean and free from cracks or chips. Wash them in warm, soapy water and rinse thoroughly. For a deeper clean, you can run them through the dishwasher. Inspect the rims and lids to make sure they are not warped or damaged, as this can compromise the seal. Discard any jars or lids that are compromised to prevent food spoilage.
Step 2: Dry Completely
After washing, dry the jars and lids thoroughly. Moisture is the enemy of long-term food storage, as it can lead to mold, mildew, or bacterial growth. Use a clean kitchen towel or let them air-dry upside down on a drying rack. Ensure that no water remains in the jar or on the lid before storing food.
Assembly
Step 3: Choose the Right Storage System
How you store your jars depends on your space and needs. Here are a few effective storage systems:
Shelf Organization: Use sturdy, adjustable shelves in your pantry to store jars. Place larger jars at the bottom and smaller ones on top to prevent toppling. Use shelf risers to create extra vertical space for smaller jars, allowing you to stack them without toppling over.
Stackable Bins: If your pantry is deep, use clear, stackable bins to group similar jars together (e.g., canned goods, baking supplies, spices). Label each bin for easy identification and to maintain organization over time.
Door Storage: Install over-the-door organizers or racks to store small jars like spices, condiments, or small preserves. This maximizes vertical space and keeps frequently used items within easy reach.
Magnetic Strips: For a modern and space-saving solution, mount magnetic strips on the inside of cabinet doors or walls and use metal lids to store jars horizontally. This is especially useful for small jars or spices.
Step 4: Label and Date Your Jars
Labeling is key to keeping your pantry organized and ensuring you use items before they expire. Use a permanent marker or chalkboard labels to write the contents and the date of storage on the lid or side of the jar. For a more polished look, use a label maker or printable labels. Group jars by type (e.g., grains, jams, sauces) and store them in a way that makes sense for your cooking habits.
Mistakes to avoid
Overfilling Jars: Avoid packing jars too tightly with food, as this can prevent proper sealing and lead to spoilage. Leave about 1 inch of headspace for liquids and ½ inch for dry goods.
Storing Jars Without Labels: Without labels, it’s easy to forget what’s inside or when the food was stored. This can lead to food waste or the accidental consumption of expired items.
Ignoring Temperature and Humidity: Store jars in a cool, dry place away from direct sunlight and heat sources. High humidity can cause mold and rust, while heat can degrade food quality and weaken seals.
Using Damaged Jars or Lids: Even minor cracks, chips, or warped lids can compromise the seal, allowing bacteria to enter and spoil the food. Always inspect jars before use.
Stacking Too High: Stacking jars too high increases the risk of toppling and breaking. Keep stacks no more than 3-4 jars high, and use shelf risers for stability.
Pro tips
Use the FIFO Method: “First In, First Out” is a great way to manage your pantry. Place newer items at the back and older items at the front so you use them first and reduce waste.
Group by Frequency of Use: Store the jars you use most often in the most accessible spots. Less frequently used items can be stored on higher or lower shelves.
Keep a Pantry Inventory: Maintain a list of what’s in your pantry, including expiration dates, to avoid buying duplicates and to keep track of what needs to be used up.
Use Vacuum Sealers for Long-Term Storage: If you’re preserving food for months or years, consider using a vacuum sealer to remove air and extend shelf life. This is especially useful for dried goods like grains, flour, or herbs.
Repurpose Jars for Other Uses: Don’t limit jars to food storage! Use them for organizing craft supplies, office items, bathroom essentials, or even as makeshift vases. This reduces waste and gives jars a second life.
Add Desiccant Packs for Dry Goods: Place food-safe silica gel packs or oxygen absorbers in jars storing dry goods like rice, pasta, or coffee. This helps prevent moisture and pests, keeping your food fresh longer.
Rotate Stock Regularly: Check your pantry every few months to rotate stock, discard expired items, and reorganize as needed. This keeps your storage system efficient and up-to-date.
With these tips, you’ll not only keep your pantry tidy and functional but also extend the life of your preserved foods. A well-organized pantry saves time, reduces stress, and promotes sustainable living by minimizing food waste.
Now it’s time to roll up your sleeves and transform your pantry into a model of efficiency. Happy organizing!