Adding cozy ambiance to your home doesn’t have to be expensive. With this simple DIY pillar column candle holder tutorial, you can craft an elegant and functional piece that elevates your decor while keeping your space warm and inviting. Whether you're hosting a dinner party or just unwinding after a long day, a handmade candle holder brings personality and charm to any room. Let’s get started!
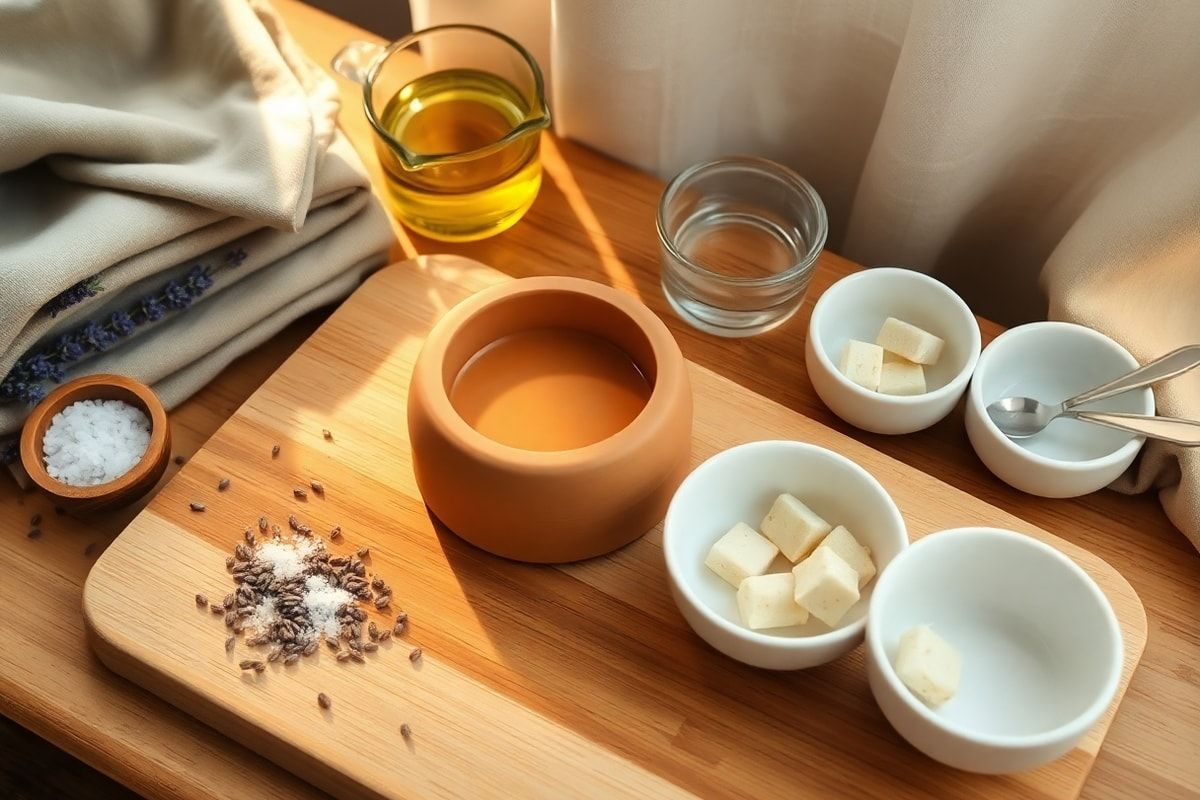
Materials Needed
- A wooden pillar or column base (4–6 inches tall, 2–4 inches in diameter)
- A glass or ceramic candle cup (fits snugly into the top of the pillar)
- Strong adhesive (E6000, hot glue gun with glue sticks, or a strong craft glue)
- Sandpaper (120-grit and 220-grit)
- Pencil and measuring tape
- Ruler
- Painter’s tape (optional, for masking areas)
- Acrylic paint or wood stain (optional, for customizing the look)
- Clear sealant spray (optional, for protecting the finish)
- Soft cloth for cleaning
- Drill with a small drill bit (if adding drainage)
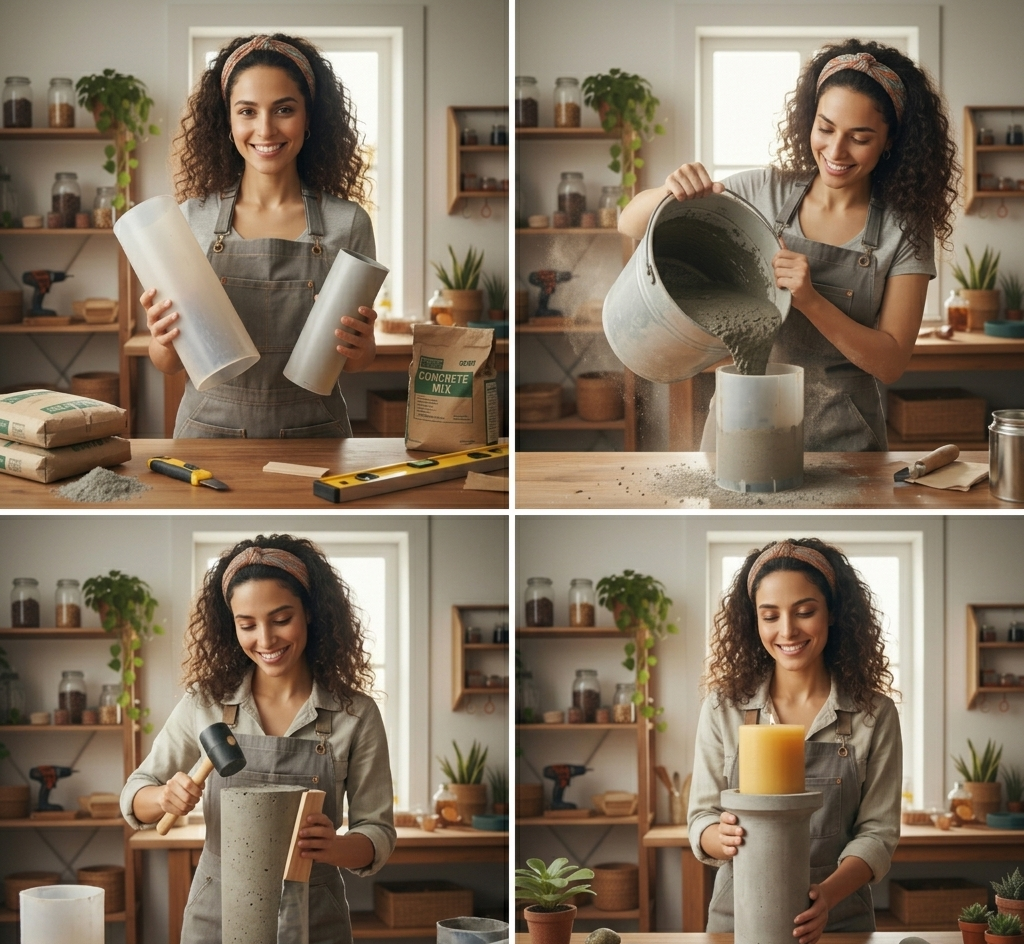
Preparation Steps
Step 1: Choose and Prepare Your Pillar
Select a wooden pillar that fits your desired height and diameter. Look for a smooth, knot-free piece for the best finish. If your pillar has rough edges, lightly sand it using 120-grit sandpaper, then smooth it further with 220-grit for a polished look. Wipe away dust with a soft cloth.
Tip: If you want to change the color, apply acrylic paint or wood stain at this stage. Allow it to dry completely before moving on.
Step 2: Prepare the Candle Cup
Measure the diameter of your candle cup. It should fit securely into the top of the pillar. If needed, use sandpaper to slightly smooth the edges of the cup for a better fit.
For safety, consider drilling a small drainage hole in the bottom of the candle cup using a drill bit slightly larger than your wick. This prevents wax buildup and makes cleanup easier. Clean the cup thoroughly to remove any debris.
Optional: Apply a thin coat of sealant spray to the inside of the cup to protect against wax stains.
Assembly
Step 3: Attach the Candle Cup to the Pillar
Place the candle cup in the center of the top of the pillar. Use a pencil to lightly mark the area where the cup will sit. This helps ensure precise placement.
Apply a small amount of strong adhesive (like E6000) to the bottom rim of the candle cup. Press it firmly onto the marked spot on the pillar. Hold in place for 30–60 seconds to allow the adhesive to set. For extra security, wrap painter’s tape around the edges and let it dry for at least 2 hours (or as recommended by the adhesive instructions).
If using a hot glue gun, apply a bead of glue around the rim and press the cup into place. Hot glue sets quickly but may not be as durable as E6000 for long-term use.
Step 4: Let It Dry and Test
Allow the adhesive to cure fully—usually 24 hours for best results. Avoid moving or using the candle holder during this time. Once dry, place a pillar candle into the cup and light it to test stability. The candle holder should remain steady and balanced. If it wobbles, reapply adhesive or adjust the cup placement.
Mistakes to Avoid
- Using weak adhesive: Avoid regular craft glue or school glue. These won’t hold under heat or weight. Always use E6000, hot glue (for temporary use), or a wood glue rated for indoor use.
- Skipping the sanding step: Rough or uneven surfaces make it harder for the adhesive to bond. Take time to sand and clean the pillar before attaching the cup.
- Ignoring drainage: Without a drainage hole, melted wax can pool and create a mess. Always drill a small hole if your cup doesn’t have one.
- Overloading the candle: Use pillar candles that are slightly smaller than the cup’s diameter. A candle that’s too large can cause wax to overflow and damage the wood.
- Rushing the drying time: Skipping the full curing period can lead to the candle cup detaching over time. Be patient—good things come to those who wait!
Pro Tips
- Customize your design: Use stencils and paint to add patterns or designs to your pillar. Metallic paints or whitewash techniques can give it a rustic, modern, or coastal look.
- Mix materials: Pair a wooden pillar with a brass or ceramic candle cup for a contemporary vibe. Or use a reclaimed wood pillar with a matte black cup for an industrial feel.
- Add multiple cups: For a tiered look, attach two or three smaller candle cups at different heights on a tall pillar. Perfect for creating a dramatic centerpiece.
- Use heat-resistant adhesive: If you plan to use larger candles, opt for high-temperature glue or construction adhesive to ensure safety.
- Seal the wood: After painting or staining, apply a clear sealant to protect against moisture and heat. This extends the life of your candle holder.
- Repurpose old items: Look for wooden spools, old candlesticks, or even small tree stumps to use as bases. Upcycling adds eco-friendly flair to your project.
Creating your own pillar column candle holder is a rewarding project that adds warmth and style to your home. Whether you’re crafting for a special occasion or just want to brighten up your space, this DIY guide makes it easy to achieve professional-looking results with minimal tools and time. Once you’ve mastered the basics, experiment with different colors, textures, and sizes to create a collection of candle holders that reflect your personal style.
Don’t be afraid to personalize your creation. Add family initials, seasonal motifs, or even embed small decorative stones into the wood base. The possibilities are endless!
Ready to light up your decor? Grab your materials, follow these steps, and enjoy the cozy glow of your handmade candle holder. Happy crafting!