Why use shutters for a headboard?
Trust me, old shutters are hidden gems! They already have that vintage charm that adds character to a room. Plus, it's a super eco-friendly DIY project—recycling is chic!
Pro tip: Wooden shutters work best, but PVC or metal ones can totally work with a little creativity.
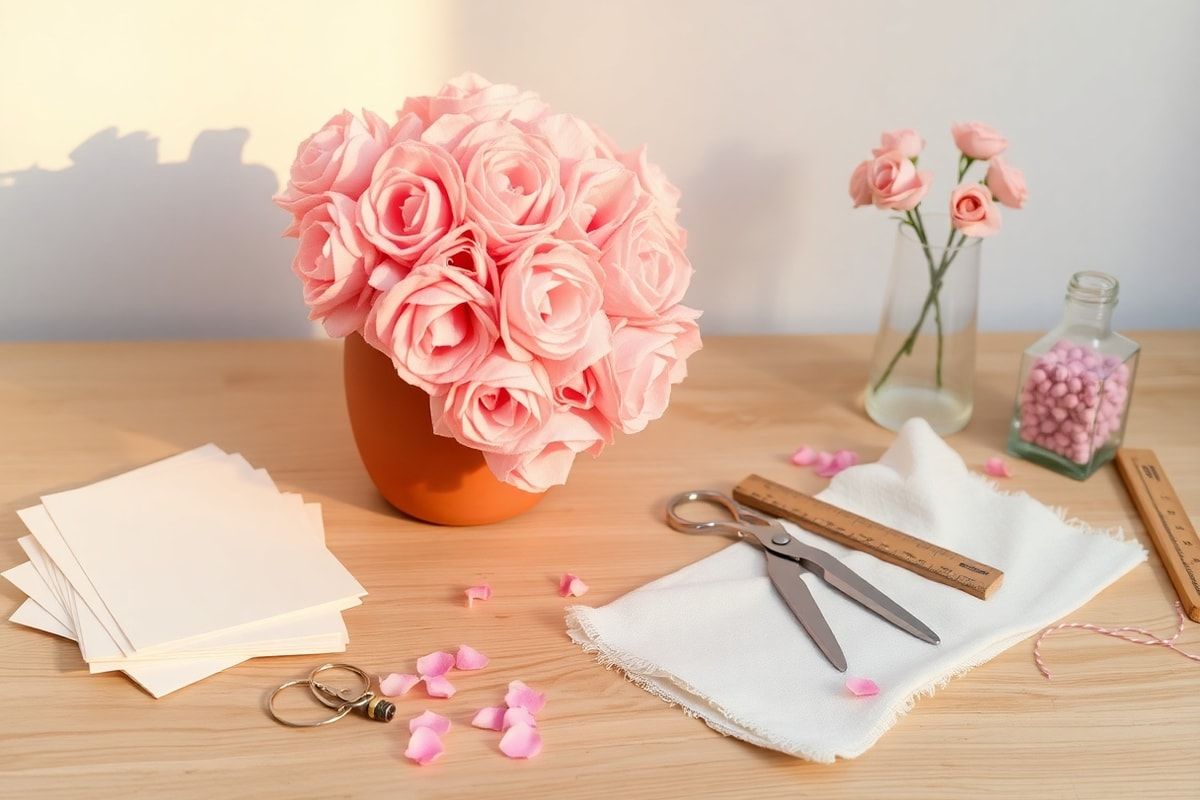
What you'll need
Quick tip: Before you start, make sure your shutters are in good shape. If some slats are damaged, replace or paint them for a smoother look.
- Old shutters (1 or 2, depending on size)
- Paint and brushes (optional)
- Screws and anchors
- Drill
- Carpenter's square
- Sandpaper
How to make it
1. Prep the shutters
Take apart the shutters by removing hinges and hardware. Lightly sand to smooth out rough spots. If you want a different color, now's the time to paint!
2. Assemble
Lay the shutters flat and check alignment. Secure them together with screws (hidden on the back for a clean look).
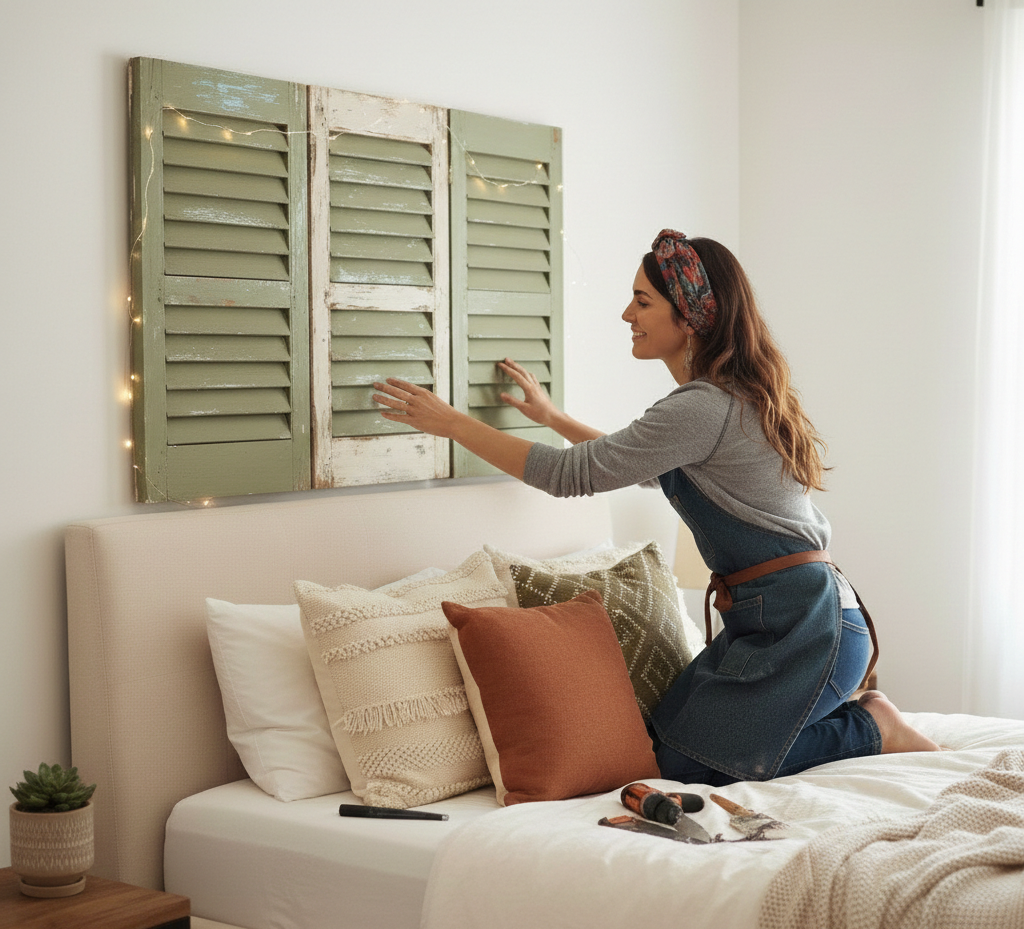
3. Mount to the wall
Measure the perfect spot above your bed. Mark the screw holes with a pencil. Drill and secure firmly to the wall.
Customization ideas
Honestly, this is where it gets fun! You can:
- Add LED lights between the slats
- Paint each slat a different color
- Hang photos or small mirrors
- Add built-in shelves for books
Care tips
Quick tip: Keep your headboard looking fresh by dusting regularly with a microfiber cloth. If you painted it, a coat of varnish will protect the finish.
Final thoughts
With this DIY headboard, you get a one-of-a-kind, handmade piece that tells a story. Plus, you did something good for the planet! Ready to give it a try?