Hello, fellow DIY enthusiasts and design lovers! Sara here from HomeReadyHub, and today we're diving into a project that perfectly marries modern aesthetics with practical functionality: crafting your very own geometric metal design wall hook. In a world increasingly embracing minimalist and industrial chic, a custom-made metal hook isn't just a place to hang your coat or keys – it's a statement piece, a touch of personalized art that elevates your home decor. Forget flimsy plastic hooks or generic store-bought options; this tutorial empowers you to create a durable, stylish, and utterly unique organizational solution. Whether you're looking to add a contemporary edge to your entryway, a chic spot for towels in the bathroom, or a sleek display for accessories in your bedroom, a handmade geometric metal hook is the perfect addition. It’s a project that might seem intimidating at first, but with the right tools, a bit of patience, and our step-by-step guide, you’ll be amazed at what you can achieve. Let's transform simple metal rods into a functional piece of art that reflects your personal style and adds a sophisticated touch to any wall.
Materials Needed
- Metal Rods or Wire: Choose a material like steel, aluminum, or copper. For beginners, a softer metal like aluminum or copper (1/8 to 1/4 inch thickness/gauge) is easier to bend. Steel offers more strength but requires more effort.
- Pliers Set: Essential for bending and shaping. You'll want flat-nose pliers for sharp angles, round-nose pliers for curves, and sturdy wire cutters for clean cuts.
- Measuring Tape or Ruler: For precise measurements of your metal pieces.
- Fine-Tip Marker or Scribe: To mark your cutting and bending points on the metal.
- Safety Gloves: To protect your hands from sharp edges and give you a better grip.
- Safety Glasses: Crucial for protecting your eyes from flying metal fragments during cutting or shaping.
- Bench Vise (Optional but Recommended): A bench vise provides stability and leverage, making bending thicker metal much easier and more precise.
- Metal File or Fine-Grit Sandpaper: For smoothing any sharp edges or burrs after cutting.
- Strong Metal Adhesive or Epoxy: If your design involves joining multiple metal pieces without welding. Look for industrial-strength options.
- Drill and Drill Bits: To create pilot holes for mounting screws in your wall and potentially in the metal hook itself if you're not using adhesive mounts.
- Wall Anchors and Screws: Appropriate for your wall type (drywall, plaster, concrete) to ensure secure mounting.
- Level: To ensure your finished hook hangs perfectly straight on the wall.
- Optional: Metal Primer and Spray Paint: If you wish to color or protect your hook. Choose paints specifically designed for metal.
- Optional: Clear Protective Sealant: To protect the paint or the natural metal finish from corrosion and wear.
Preparation Steps
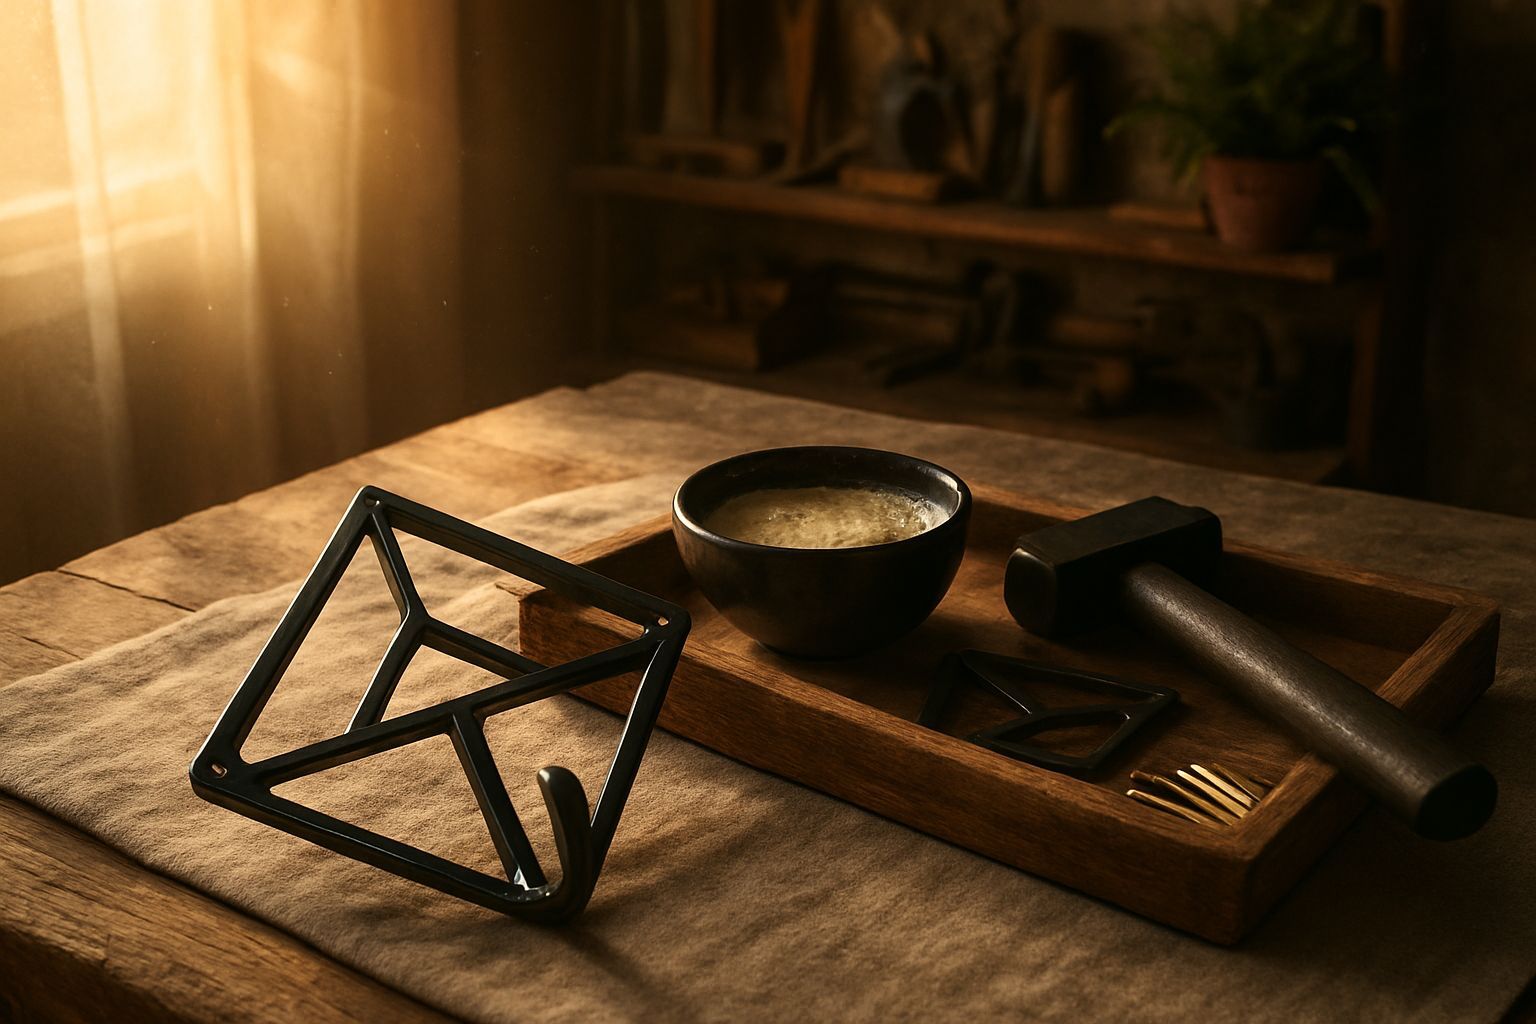
Step 1: Design Your Geometric Masterpiece
Before you even touch a tool, the most crucial step is to meticulously design your geometric wall hook. This isn't just about sketching; it's about planning every angle and dimension. Start by brainstorming shapes that appeal to you – triangles, squares, hexagons, or a combination thereof. Consider how these shapes can be integrated to form both the decorative element and the functional hook. Will the hook protrude from one of the geometric points? Will it be a separate piece attached to the main design? Sketch out several ideas on paper, experimenting with different sizes and configurations. Once you have a concept, draw a detailed, to-scale diagram. This diagram should clearly indicate all measurements for each segment of your metal design, the angles of your bends, and where the hook mechanism will be positioned. Pay close attention to how the hook will attach to the wall – will it have small loops for screws, or will the design itself incorporate mounting points? This detailed plan will serve as your blueprint, minimizing errors and ensuring a cohesive, professional-looking final product.
Step 2: Measure, Mark, and Cut Your Metal
With your design finalized, it's time to transfer those precise measurements onto your chosen metal rods or wire. Don your safety gloves and glasses before you begin. Using your measuring tape or ruler and a fine-tip marker or scribe, carefully mark the lengths of each segment and the points where you'll make your bends. Accuracy here is paramount, as even slight discrepancies can throw off the symmetry of your geometric design. If you're using softer wire, sturdy wire cutters will suffice for cutting. For thicker metal rods, you might need a small hacksaw or a specialized metal cutting tool. Make your cuts slowly and deliberately to ensure clean edges. After cutting, inspect each piece. Metal cutting often leaves sharp edges or burrs; use your metal file or fine-grit sandpaper to smooth these down. This not only makes the pieces safer to handle but also contributes to a more polished final appearance. Take your time with this step, as well-prepared pieces are the foundation for a successful and visually appealing geometric hook.
Assembly
Step 3: Bend and Shape the Metal
Now comes the exciting part: bringing your geometric design to life through bending. Again, ensure your safety gloves and glasses are on. If you have a bench vise, secure your metal piece firmly at the first marked bending point. This provides critical stability. Using your flat-nose pliers, carefully begin to bend the metal at the marked angles according to your design. For sharper, more precise angles, flat-nose pliers are ideal. If your design incorporates curves, switch to round-nose pliers. Apply steady, even pressure, and work slowly. Avoid over-bending and then trying to bend back, as this can fatigue and weaken the metal, potentially causing it to snap. For more complex or consistent bends, consider making a simple bending jig out of wood or scrap metal. As you shape each segment, constantly refer back to your design blueprint to ensure accuracy in both angle and dimension. Once the main geometric frame is complete, focus on creating the actual hook element. This might involve a simple curve or a more intricate loop, depending on your intended use. Ensure the hook is robust enough to hold its intended items and is smoothly integrated into the overall design. Check for symmetry and alignment as you go, making small adjustments as needed.
Step 4: Secure, Finish, and Mount Your Hook
With all your pieces bent and shaped, it’s time to finalize your geometric hook. If your design consists of multiple separate metal pieces, carefully join them using a strong metal adhesive or epoxy. Apply the adhesive sparingly but thoroughly at the contact points, ensuring a secure bond. Allow ample time for the adhesive to cure completely, following the manufacturer's instructions, which can sometimes take 24 hours or more. Once bonded (or if your hook is a single piece), give the entire structure a final inspection. Use your metal file or sandpaper one last time to smooth any remaining rough edges or imperfections, ensuring the hook is safe to handle and won't snag items. Clean the metal thoroughly with a damp cloth to remove any dust, oil, or adhesive residue. If you plan to paint your hook, apply a metal-specific primer first, followed by several thin, even coats of spray paint. Allow each coat to dry fully. For added durability and protection, especially if the hook will be exposed to moisture, apply a clear protective sealant. Finally, prepare for mounting. If your design includes pre-drilled holes or loops, mark their positions on your wall. Use a level to ensure perfect alignment. Drill pilot holes into the wall, insert appropriate wall anchors, and then securely fasten your geometric metal hook with screws. If your design is meant to float without visible screws, consider using heavy-duty, invisible adhesive strips rated for the weight, or integrate a hidden mounting plate into your design. Step back and admire your new, handcrafted geometric metal wall hook – a testament to your DIY prowess!
Mistakes to Avoid
Embarking on a DIY project always comes with a learning curve, and creating a geometric metal hook is no exception. To ensure a smooth process and a stunning outcome, avoid these common pitfalls. Firstly, don't skip the design phase; rushing this can lead to uneven shapes and wasted materials. Always wear your safety glasses and gloves – metal shards and sharp edges are a real hazard. Inaccurate measurements are another frequent mistake; measure twice, cut once! Using inadequate tools can also cause frustration and poor results; invest in decent pliers and cutters. Avoid over-bending or repeatedly bending metal in the same spot, as this weakens the material and can lead to breakage. Neglecting to smooth rough edges isn't just unsightly, it's a safety risk. Lastly, don't underestimate the importance of proper wall mounting; a beautiful hook is useless if it falls off the wall, so choose appropriate anchors for your wall type.
Pro Tips
Elevate your geometric metal hook from good to great with these expert insights. For beginners, start with simpler shapes like squares or triangles before attempting complex polygons. Practice your bends on scrap metal to get a feel for the material and tool pressure. To ensure consistent angles, especially for repetitive shapes, consider fabricating a simple bending jig from wood. Experiment with different metal finishes: a brushed look, a high polish, or a vibrant spray paint can dramatically change the aesthetic. For a larger impact, create a series of smaller, complementary geometric hooks and arrange them as a wall art installation. Copper wire, while softer, develops a beautiful natural patina over time, adding character. If you want a truly seamless look, design your hook so that the mounting screws are hidden behind a part of the geometric structure, or use a strong, construction-grade adhesive to attach a small, flat plate to the back of your hook, which can then be mounted to the wall with screws, keeping the front pristine. Always ensure your design considers the weight of the items it will hold.
And there you have it – a comprehensive guide to crafting your very own geometric metal design wall hook! This project is more than just a functional item; it's an opportunity to infuse your living space with a touch of modern artistry and personal flair. The satisfaction of creating something beautiful and useful with your own hands is truly unmatched. Remember, every bend, cut, and finish contributes to the unique character of your piece. Don't be afraid to experiment with different metals, colors, or geometric configurations to truly make it your own. We at HomeReadyHub love seeing your creations, so once your masterpiece is proudly displayed, be sure to share photos with us! Happy crafting, and may your walls be ever stylish and organized!