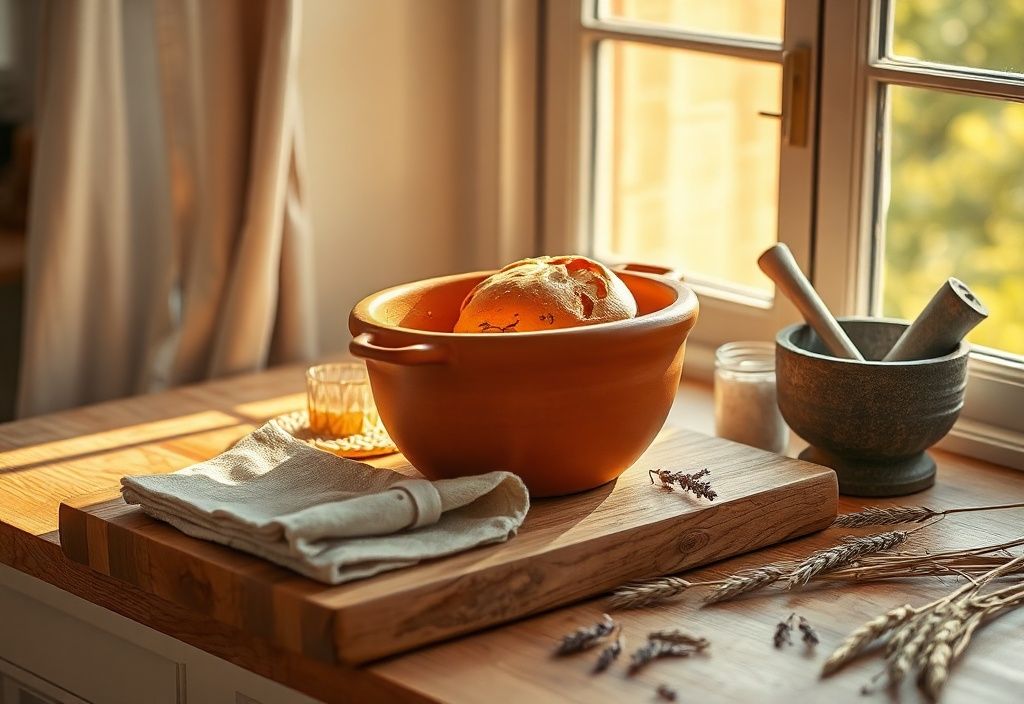
Hello HomeReadyHub family! Sara here, and today we're diving into a project that combines rustic charm with practical elegance: crafting your very own ceramic bread basket. Imagine fresh, warm bread nestled in a beautiful, handmade vessel – a true centerpiece for any meal. Beyond its aesthetic appeal, a ceramic bread basket offers excellent thermal properties, keeping your rolls warm longer, and its unique texture adds a touch of artisanal sophistication to your kitchen and dining table. While it might seem daunting at first, working with clay is an incredibly rewarding process, allowing you to create something truly unique and personal. This tutorial will guide you through each step, from designing your basket to preparing it for its final firing, ensuring you have all the knowledge to bring your ceramic vision to life. Let’s get our hands a little dirty and create something wonderful!
Materials needed
- Pottery Clay: A good general-purpose stoneware or earthenware clay. Consider one with some grog for added strength and reduced warping. Approximately 5-10 lbs, depending on your desired basket size.
- Canvas or Bat: For a non-stick work surface.
- Rolling Pin (or Slab Roller): For creating even clay slabs.
- Cutting Tools: A pottery needle tool, fettling knife, or craft knife for precise cutting.
- Scoring Tool: A fork, serrated rib, or dedicated scoring tool for roughing up clay surfaces.
- Water & Sponge: For smoothing, cleaning, and creating slip.
- Ribs (Metal & Rubber/Wood): For shaping, smoothing, and compressing clay.
- Wire Cutter: For cutting clay from the block.
- Ruler & Template Materials: Cardboard or paper for creating templates for your basket's base and sides.
- Small Bowls/Containers: For water and slip.
- Plastic Sheeting/Bags: For slow drying and keeping clay moist.
- Kiln Access: Essential for firing your ceramic piece (either your own or a local pottery studio).
- Underglazes or Glazes (Optional): For decorating and sealing your finished basket (ensure they are food-safe if intended for direct food contact).
- Brushes: For applying slip or glazes.
Preparation steps
Step 1: Designing Your Basket & Preparing Clay
The first step in creating your ceramic bread basket is envisioning its form and preparing your raw material. Begin by sketching out your design. Consider the size and shape – will it be a classic oval, a rustic rectangle, or a unique free-form creation? Think about the depth, the angle of the walls, and any decorative elements like handles or feet. Will it have ventilation holes? A good design balances aesthetics with functionality. Once you have a clear plan, it’s time to prepare your clay. Take a block of your chosen clay and begin wedging it. Wedging is crucial for removing air bubbles, aligning the clay particles, and achieving a consistent moisture content throughout the clay. This process helps prevent cracks and blowouts during firing. Knead the clay vigorously on a canvas surface or a plaster bat until it feels uniform and pliable, free from any hard spots or soft areas. Aim for at least 5-10 minutes of wedging to ensure thorough preparation. This foundational step is vital for the success of your entire project.
Step 2: Rolling & Cutting Slabs
With your clay perfectly wedged, it’s time to transform it into the building blocks of your basket: slabs. Place a portion of your wedged clay on your canvas workspace. Using a rolling pin or a slab roller, begin to flatten the clay evenly. Consistency in thickness is key here, as uneven slabs can lead to warping or cracking during drying and firing. Aim for a thickness of about 1/4 to 3/8 inch (0.6 to 1 cm) for the base and walls, which provides good structural integrity without being overly heavy. Use guide sticks on either side of your clay if you're using a rolling pin to ensure uniform thickness. Once you have a large, even slab, use your pre-made paper or cardboard templates to cut out the base and side pieces for your basket. Carefully place your templates on the slab and use a fettling knife or needle tool to cut around them. Make sure your cuts are clean and precise, as this will greatly impact how well your pieces fit together. Gently lift the cut pieces and set them aside on a separate bat or piece of plastic, ensuring they don't distort. Keep any excess clay covered to prevent it from drying out.
Assembly
Step 3: Constructing the Base & Walls
Now for the exciting part: assembling your basket! Take your cut base piece and place it on your work surface. Next, prepare your side pieces. For a strong bond, you'll need to use the 'score and slip' method. First, score the edges of the base where the walls will attach, creating a crosshatch pattern with your scoring tool. Do the same on the bottom edges of your side pieces. Then, create a thick paste called 'slip' by mixing a small amount of clay with water until it reaches a yogurt-like consistency. Apply a generous amount of slip to the scored edges of both the base and the side pieces. Carefully attach the first side piece to the base, pressing firmly along the scored and slipped joint. Repeat this process for all the side pieces, ensuring they meet snugly at the corners. For added strength, you can add a small coil of clay along the interior seams where the walls meet the base and where the wall pieces meet each other. Smooth these coils into the joint with your finger or a rubber rib, creating a seamless and robust connection. Take your time to ensure each joint is secure and smooth, as this is critical for the basket’s stability.
Step 4: Refining Form & Preparing for Firing
With the basic structure of your bread basket assembled, it’s time to refine its form and prepare it for the kiln. Use a damp sponge and various ribs to smooth all the surfaces, inside and out. Pay particular attention to the seams you just reinforced; blend them seamlessly into the walls. This is also the stage to add any final decorative touches, such as a rolled rim around the top edge, small feet to elevate the basket, or even subtle texture using stamps or fabric. If you're adding handles, score and slip them securely to the basket walls, reinforcing with small coils if necessary. Once you’re satisfied with the form and finish, the most critical next step is slow and even drying. Uneven drying can lead to warping, cracking, or even breakage during firing. Loosely cover your basket with plastic sheeting, allowing it to dry slowly over several days to a week, or even longer for larger pieces. Gradually expose it to more air as it stiffens. The clay must reach a 'bone dry' stage, meaning all moisture has evaporated, before it can be bisque fired. This slow drying process is paramount to preventing stress on the clay and ensuring a successful outcome.
Mistakes to avoid
Creating with clay is a learning process, and avoiding common pitfalls can save you a lot of frustration. One of the biggest mistakes is **insufficient wedging**, leading to air bubbles that can cause your piece to explode in the kiln. Another critical error is **poor scoring and slipping**. If the surfaces aren't roughed up enough or if there isn't enough slip, your joints will be weak and prone to separating. **Uneven slab thickness** is a common issue that results in warping during drying and firing, so take your time with the rolling pin. **Rushing the drying process** is a major culprit for cracks; always allow your piece to dry slowly and evenly, completely uncovered only when it's leather hard. Avoid **overworking the clay** once it's been assembled, as this can introduce stress and weaken the structure. Finally, ensure you use **food-safe glazes** if your basket will come into direct contact with food, and always check the firing temperature compatibility of your clay and glazes to prevent disastrous kiln outcomes.
Pro tips
To elevate your ceramic bread basket from good to great, consider these professional tips. Firstly, **use templates** for all your cuts. This ensures symmetry and makes assembly much smoother. For complex shapes, consider making a paper model first. Secondly, **compress your slabs** after rolling. Gently rub a metal rib across both sides of your slab to compact the clay particles, which reduces warping and increases strength. Thirdly, **don't be afraid to experiment with texture**. You can press lace, textured fabric, or even natural materials like leaves into your slabs before cutting for a unique decorative effect. Fourthly, **consider ventilation holes** in your design. Small holes in the base or sides can help bread stay crispier by allowing moisture to escape. Fifthly, **understand clay shrinkage**. All clay shrinks as it dries and fires. Research your specific clay's shrinkage rate (usually 10-15%) to anticipate the final size of your basket. Finally, **invest in quality tools**. While you can start with basics, good ribs, a sharp fettling knife, and a sturdy rolling pin will make your work much more enjoyable and precise. Always clean your tools thoroughly after each use to prolong their life. When it comes to firing, always consult with your kiln technician or follow your kiln's instructions meticulously for bisque and glaze firings to achieve the best results.
And there you have it – the journey from a lump of clay to a beautiful, functional ceramic bread basket! This project is more than just making an object; it's about connecting with an ancient craft, expressing your creativity, and adding a truly personal touch to your home. The satisfaction of pulling your finished, glazed basket from the kiln is unparalleled, a testament to your patience and skill. Whether it becomes a cherished family heirloom or a thoughtful handmade gift, your ceramic bread basket will be a conversation starter and a source of pride. Don't be discouraged by imperfections; they are part of the handmade charm. So, gather your materials, embrace the process, and let your imagination take shape. We can't wait to see your creations! Share your finished bread baskets with us on social media using #HomeReadyHubCeramics. Happy potting!
