Spring is a season of renewal, vibrant colors, and cheerful celebrations. As Easter approaches, many of us look for creative ways to bring that festive spirit into our homes. While Easter baskets and egg hunts are beloved traditions, there's another charming custom that's gaining popularity: the Easter tree. Inspired by the German 'Osterbaum,' an Easter tree is a delightful way to showcase beautifully decorated eggs and other spring embellishments on natural branches, creating a stunning focal point that embodies the joy and freshness of the season. It’s a versatile decoration that can be as simple or as elaborate as you like, perfect for a dining table centerpiece, a cheerful corner display, or even an outdoor statement piece. Best of all, it's a wonderfully rewarding DIY project that the whole family can enjoy. At HomeReadyHub, we believe in making your home ready for every occasion, and today, I'm thrilled to guide you through crafting your very own Easter tree, transforming simple branches and eggs into a breathtaking display of spring elegance.
Materials needed
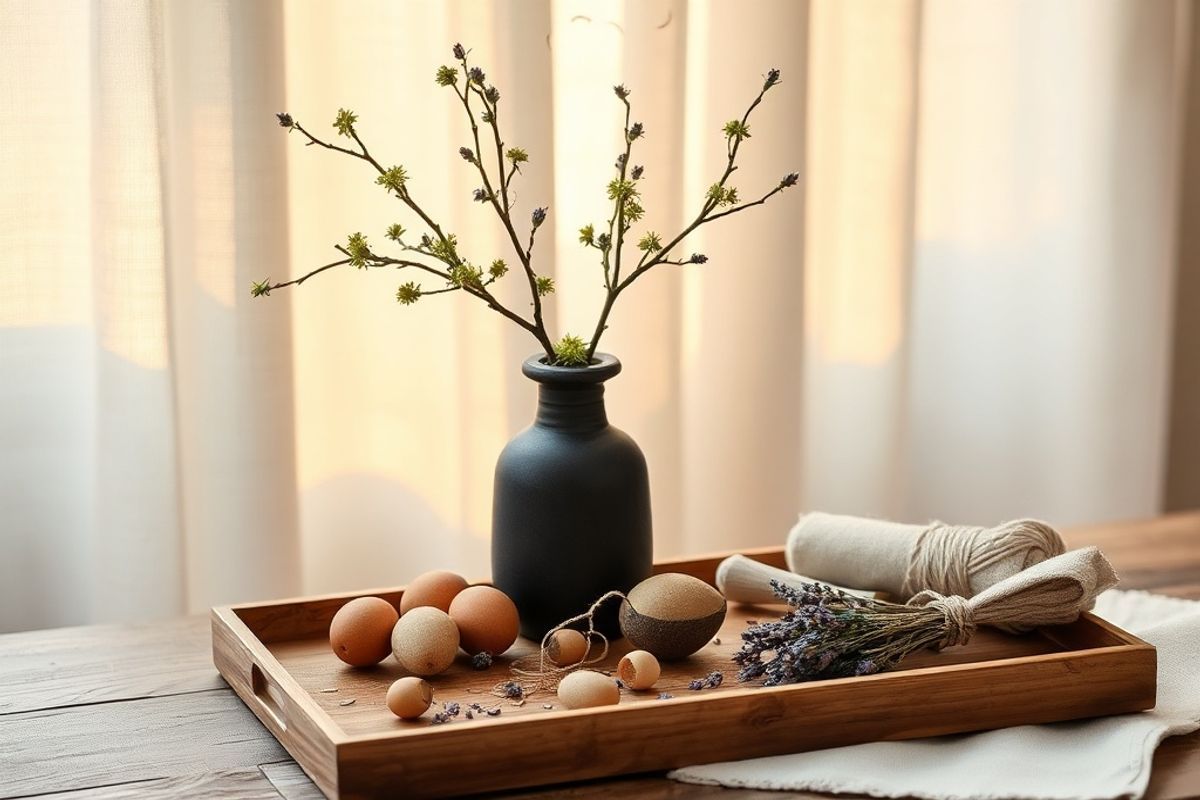
- **Sturdy Branches:** Look for branches that are interesting in shape and have a good number of smaller offshoots. Forsythia, pussy willow, birch, dogwood, or even pruned branches from your garden work beautifully. Aim for branches that are proportionate to your intended display space.
- **Vase, Pot, or Container:** Choose a container that is heavy and stable enough to support your branches without tipping. Ceramic pots, glass vases, galvanized buckets, or even decorative baskets work well.
- **Container Filler/Stabilizer:** To secure your branches upright, you'll need something to fill the container. Options include floral foam, pebbles, river rocks, sand, plaster of Paris, or even small bags of dry cement mix (for very large, heavy branches).
- **Easter Eggs for Decoration:**
- **Hollow Plastic Eggs:** Lightweight, durable, and readily available.
- **Blown-Out Real Eggs:** A classic choice, offering a delicate, authentic feel.
- **Wooden Eggs:** Reusable and sturdy, perfect for painting.
- **Papier-Mâché Eggs:** Lightweight and easy to decorate.
- **Egg Decorating Supplies:** Paint (acrylic, tempera, spray paint), paintbrushes, markers, glitter, glue (PVA or craft glue), decoupage supplies (Mod Podge, decorative paper, fabric scraps), natural dyes (onion skins, turmeric, beet juice) if using real eggs.
- **Hanging Materials:** Thin ribbon, decorative string, baker's twine, fishing line, or small S-hooks for attaching eggs to branches.
- **Optional Additional Embellishments:** Small artificial flowers (cherry blossoms, daffodils), feathers, tiny bird figurines, faux moss, fairy lights (battery-operated), small bows, or delicate ornaments.
- **Tools:** Scissors, wire cutters (if trimming branches), a small drill or dremel (for blowing out eggs or making hanging holes in wooden eggs), a hot glue gun (optional, for securing embellishments), protective drop cloth or newspaper, and a cleaning cloth.
Preparation steps
Step 1: Selecting and Preparing Your Branches
The foundation of your Easter tree is the branches, so choosing the right ones is crucial. Venture into your garden, a local park (with permission!), or even a craft store to find branches that speak to you. Look for interesting shapes, natural twists, and a good spread of smaller twigs that will serve as perfect hanging spots for your eggs. If you're using fresh-cut branches, allow them to dry for a few days indoors to prevent any moisture issues. Once you have your branches, give them a good clean. Wipe off any dirt, dust, or lingering debris with a damp cloth. If desired, you can leave the branches in their natural state for an organic, rustic look, or you can enhance them. For a more sophisticated or modern aesthetic, consider spray painting them white, gold, silver, or even a soft pastel color. If painting, ensure you do so in a well-ventilated area and allow ample drying time, following the paint manufacturer's instructions for multiple coats if needed. Trim any unruly or excessively long pieces to ensure they fit well within your chosen container and space.
Step 2: Decorating Your Easter Eggs
This is where the real fun begins and your creativity can shine! If you're using real eggs, the first step is to carefully blow out their contents. Use a small drill bit or dremel to make a small hole at each end of the egg, then gently blow through one hole to expel the yolk and white from the other. Rinse the hollowed-out eggs thoroughly and let them dry completely before decorating. For plastic, wooden, or papier-mâché eggs, you can jump straight to decorating.
There are endless possibilities for egg decoration: * **Painting:** Use acrylic paints to create intricate designs, stripes, polka dots, or solid colors. * **Marbling:** Achieve a beautiful swirled effect with specialized marbling kits or by floating oil paints on water. * **Glitter:** Apply a thin layer of glue and sprinkle with fine glitter for a sparkling finish. * **Decoupage:** Cut out small images from decorative paper, fabric, or napkins and glue them onto the eggs using Mod Podge for a vintage or patterned look. * **Natural Dyes:** For a more traditional and eco-friendly approach, use natural dyes from ingredients like onion skins (brown/orange), turmeric (yellow), or beet juice (pink). * **Markers:** Use permanent markers for simple drawings, patterns, or even calligraphy.
Once your eggs are decorated and completely dry, it's time to add the hanging mechanism. For blown-out eggs, thread a piece of thin ribbon or fishing line through one of the holes using a needle or a bent paperclip, tying a knot inside the egg to secure it. For plastic or wooden eggs, you might find ones with pre-drilled holes or small loops. If not, carefully drill a tiny hole at the top, or use a hot glue gun to attach a small loop of ribbon or twine to the top of the egg. Ensure all loops are securely fastened and strong enough to hold the egg's weight.
Assembly
Step 3: Arranging Your Branches in the Container
Now that your branches are prepped and your eggs are decorated, it's time to bring your Easter tree to life. Begin by selecting a container that is appropriate in size and weight for your branches. A wide, heavy base will ensure stability. Place your chosen filler material into the container. If using floral foam, cut it to fit snugly. If using pebbles, sand, or rocks, fill the container about two-thirds full. Start inserting your largest branches first, positioning them to create a balanced and visually appealing structure. Think about creating height and width, allowing enough space between branches for your eggs to hang freely without overcrowding. Use the filler material to firmly anchor the branches. If using plaster of Paris or dry cement, mix it according to package directions and pour it around the branches, holding them in place until the mixture sets. For smaller trees, simply arranging the branches and securing them with heavy rocks can suffice. Step back frequently to assess the arrangement from different angles, adjusting as needed until you're happy with the overall shape and stability.
Step 4: Hanging Your Decorations
With your branches securely in place, it’s time for the most exciting part: adorning your tree with your beautiful Easter eggs and other embellishments. Start by hanging your decorated eggs. Distribute them evenly around the tree, varying their heights and depths to create visual interest. Don't just hang them all at the tips of the branches; place some closer to the main stem to add dimension. Aim for a balanced look, but don't be afraid of a little charming asymmetry. After the eggs are in place, you can add any additional embellishments you've prepared. Tuck in small artificial flowers, perch tiny bird figurines on branches, or drape strands of delicate fairy lights for a magical glow. You can also tie small bows onto some branches or add faux moss at the base of your container for a natural touch. Continue to step back and observe your tree as you add each element, ensuring the overall design is cohesive and delightful. The goal is to create a sense of abundance and spring cheer without making the tree look cluttered or top-heavy.
Mistakes to avoid
- **Overloading the Branches:** While it's tempting to hang every egg you've decorated, too many decorations can make your tree look cluttered and even cause branches to sag or break. Aim for a balanced, airy look.
- **Using a Too-Light Container:** An unstable container is a recipe for disaster. Ensure your vase or pot is heavy enough to support the weight of the branches and all your decorations, especially if your branches are tall or thick.
- **Uneven Weight Distribution:** If all your heaviest eggs are on one side, your tree might lean or even topple. Distribute heavier items evenly around the tree.
- **Not Securing Branches Properly:** Loose branches will shift and can cause decorations to fall. Use ample filler material to ensure your branches are firmly anchored and stable.
- **Rushing Egg Decoration:** Allow paints and glues to dry completely before handling or hanging eggs. Smudges or sticky surfaces can ruin your hard work.
- **Ignoring Scale:** Consider the size of your space and the tree itself. A massive tree in a small room can feel overwhelming, while tiny branches might get lost in a large area.
- **Forgetting to Clean Branches:** Dust and debris on branches can detract from the overall aesthetic. A quick wipe-down makes a big difference.
Pro tips
- **Theme Your Tree:** Give your Easter tree a cohesive theme. This could be a color palette (pastels, brights, metallics), a style (rustic, whimsical, elegant), or even a specific motif (bunnies, flowers, birds). This helps in selecting decorations and creates a polished look.
- **Add Lights for Evening Sparkle:** Battery-operated fairy lights woven through the branches can add a magical glow, especially beautiful in the evenings or in a dimly lit room. Choose warm white lights for a cozy feel or colorful ones for a playful vibe.
- **Incorporate Fresh Spring Flowers:** For an extra touch of freshness, place a small vase of fresh daffodils, tulips, or hyacinths at the base of your Easter tree. This adds fragrance and a vibrant pop of living color.
- **Make It a Family Activity:** Decorating eggs and assembling the tree is a fantastic project for all ages. Assign different tasks, from painting to hanging, and make it a cherished family tradition.
- **Consider an Outdoor Easter Tree:** If you have a sturdy tree or bush in your yard, you can transform it into a grand outdoor Easter tree. Use weather-resistant decorations and larger eggs for impact.
- **Utilize Edible Decorations:** For a fun twist, hang small, individually wrapped candies, decorated cookies with a hole for ribbon, or even small chocolate eggs. Just be prepared for them to disappear quickly!
- **Store Carefully for Next Year:** If your branches are sturdy and your eggs are well-made, you can often reuse them. Carefully remove decorations, wrap fragile eggs in tissue paper, and store branches in a dry, safe place for future Easters.
- **Start with a Vision Board:** Before you begin, gather inspiration from magazines, Pinterest, or Instagram. Create a small vision board to help you visualize your desired look and guide your material choices.
Creating an Easter tree is more than just a craft project; it's an opportunity to infuse your home with joy, creativity, and the delightful spirit of spring. From selecting the perfect branches to meticulously decorating each egg, every step is a chance to express your personal style and create something truly unique. Whether you opt for a minimalist design with natural wood and white eggs or a vibrant explosion of color and whimsy, your homemade Easter tree will undoubtedly become a cherished centerpiece, sparking conversations and spreading smiles. So gather your materials, invite your loved ones, and embark on this wonderful journey of crafting. Happy Easter, and happy decorating from all of us at HomeReadyHub!
