Introduction
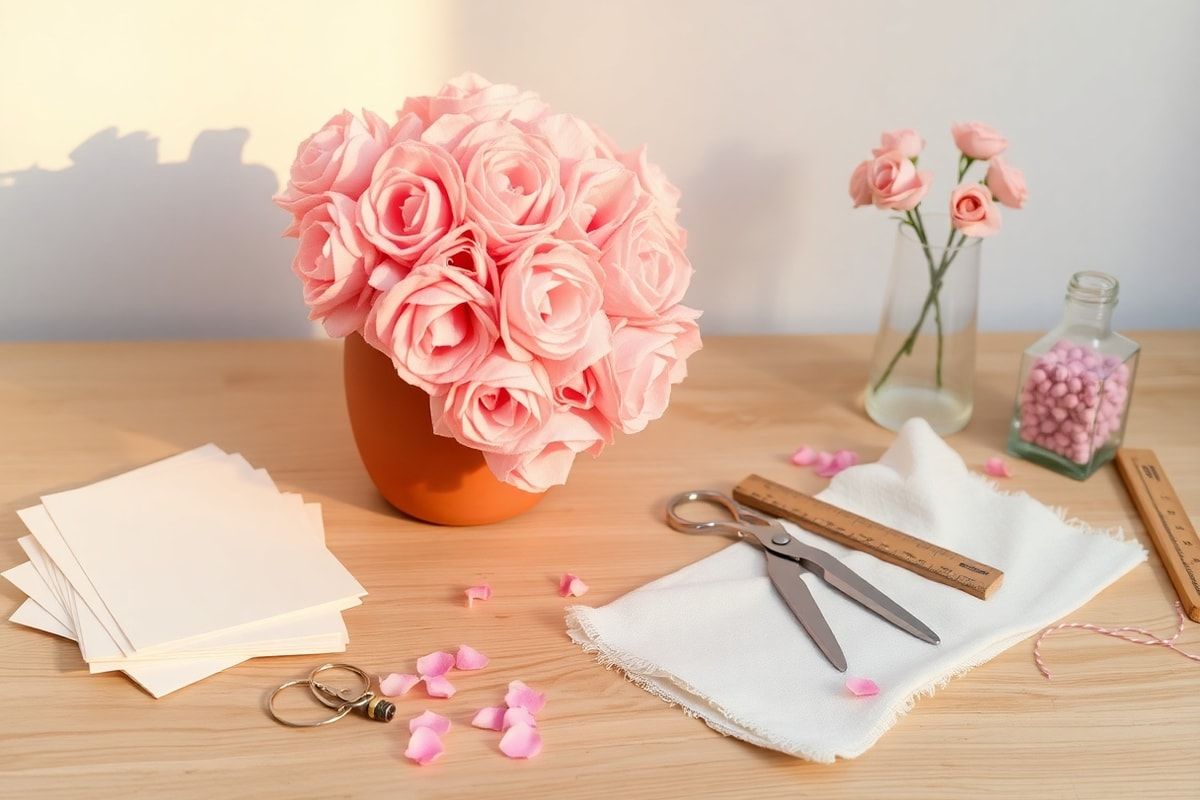
Materials Needed
- Wooden clothespins (10-20, depending on the length of your garland)
- Twine, jute rope, or ribbon (about 6-8 feet long)
- Scissors
- Hot glue gun and glue sticks
- Small photos (printed and trimmed to fit the clothespins)
- Optional: Paint, markers, or washi tape for decorating clothespins
Preparation Steps
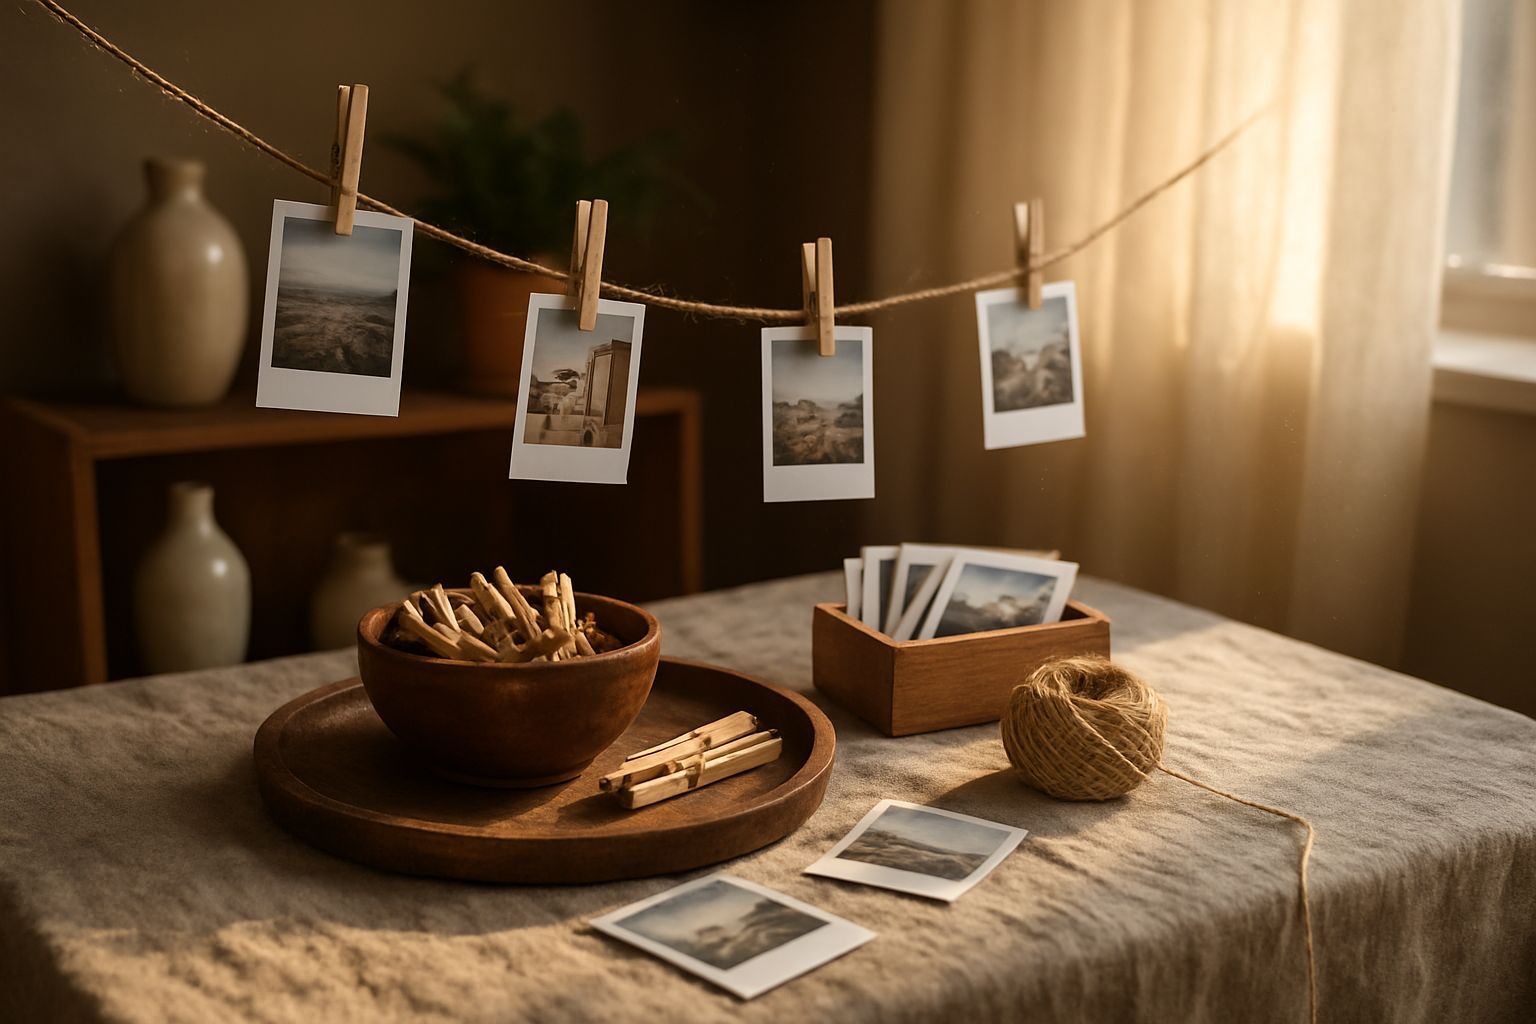
Step 1: Prepare the Clothespins
If you want to add a personal touch, you can decorate the clothespins before assembling the garland. Use paint, markers, or washi tape to add color or patterns. Let them dry completely before moving on to the next step.
Step 2: Trim the Photos
Print and trim your photos to fit the size of the clothespins. The photos should be small enough to clip onto the clothespins without overlapping or looking cramped. Aim for a size of about 2x3 inches per photo.
Assembly
Step 3: Attach the Clothespins to the String
Lay out your twine, jute rope, or ribbon on a flat surface. Using a hot glue gun, apply a small amount of glue to the back of each clothespin. Press the clothespin onto the string, holding it in place for a few seconds to ensure it adheres. Repeat this process, spacing the clothespins evenly along the string.
Step 4: Clip the Photos onto the Clothespins
Once all the clothespins are securely attached to the string, it's time to add the photos. Clip each photo onto a clothespin, making sure they are evenly distributed along the garland. You can arrange them in chronological order, by theme, or randomly for a more eclectic look.
Mistakes to Avoid
1. Using photos that are too large or too small for the clothespins. Ensure they fit well to avoid a messy look.
2. Overloading the clothespins with too many photos. Stick to one photo per clothespin for a clean and organized appearance.
3. Not securing the clothespins properly. Make sure the hot glue is fully dry before handling the garland to prevent any clothespins from falling off.
Pro Tips
1. For a more rustic look, use natural twine or jute rope instead of ribbon.
2. If you're making the garland for a specific event, choose photos that match the theme or color scheme.
3. To make the garland more durable, you can reinforce the clothespins with a small dab of glue on the hinge before attaching them to the string.
Conclusion