Upcycling wooden pallets into stylish and functional furniture is a fantastic way to add rustic charm to your home while being eco-friendly. Pallets are widely available, often free or low-cost, and can be repurposed into everything from coffee tables and shelves to beds and outdoor seating. Whether you're a beginner or an experienced DIYer, this guide will walk you through the entire process—from selecting materials to finishing touches—so you can create beautiful, one-of-a-kind pieces with ease.
Materials Needed
- Wooden pallets — Look for heat-treated (HT) pallets marked with "HT" (not "MB" which means chemically treated). Avoid painted or chemically treated pallets unless they are intended for indoor use.
- Sandpaper or an electric sander — 80- and 120-grit for smoothing surfaces.
- Wood stain or paint — Choose a color that matches your decor. Water-based or eco-friendly options are best for indoor use.
- Brushes or foam applicators — For applying stain or paint evenly.
- Wood glue — For reinforcing joints and attaching parts.
- Screws and a drill — Use rust-resistant screws for outdoor pieces; standard screws work for indoor furniture.
- Wood filler — To fill cracks, holes, or gaps in the wood.
- Clear polyurethane varnish or sealant — Protects the wood from moisture and wear.
- Measuring tape, pencil, and level — For accurate cuts and assembly.
- Circular saw or jigsaw — For cutting pallets to size (if needed).
- Clamps — Help hold pieces in place during assembly.
- Hardware (hinges, handles, wheels, etc.) — Depending on the project (e.g., wheels for a mobile side table).
Preparation Steps
Step 1: Choose and Source Pallets
Start by sourcing clean, undamaged pallets. Check local businesses, warehouses, or online marketplaces (like Facebook Marketplace or Craigslist) for free pallets. Avoid pallets used for transporting chemicals or hazardous materials. Look for symbols like "HT" (heat-treated) or the IPPC logo (International Plant Protection Convention) to ensure safety.
Inspect each pallet for:
- Cracks, splits, or rot
- Loose or protruding nails
- Signs of chemical treatment (strong smell, oily residue)
Clean the pallets with warm soapy water and a brush to remove dirt and debris. Let them dry completely before proceeding.
Step 2: Disassemble (Optional) or Clean Pallets
You have two options: use the pallets as-is or disassemble them into individual slats for more design flexibility.
Option A: Use Pallets Whole
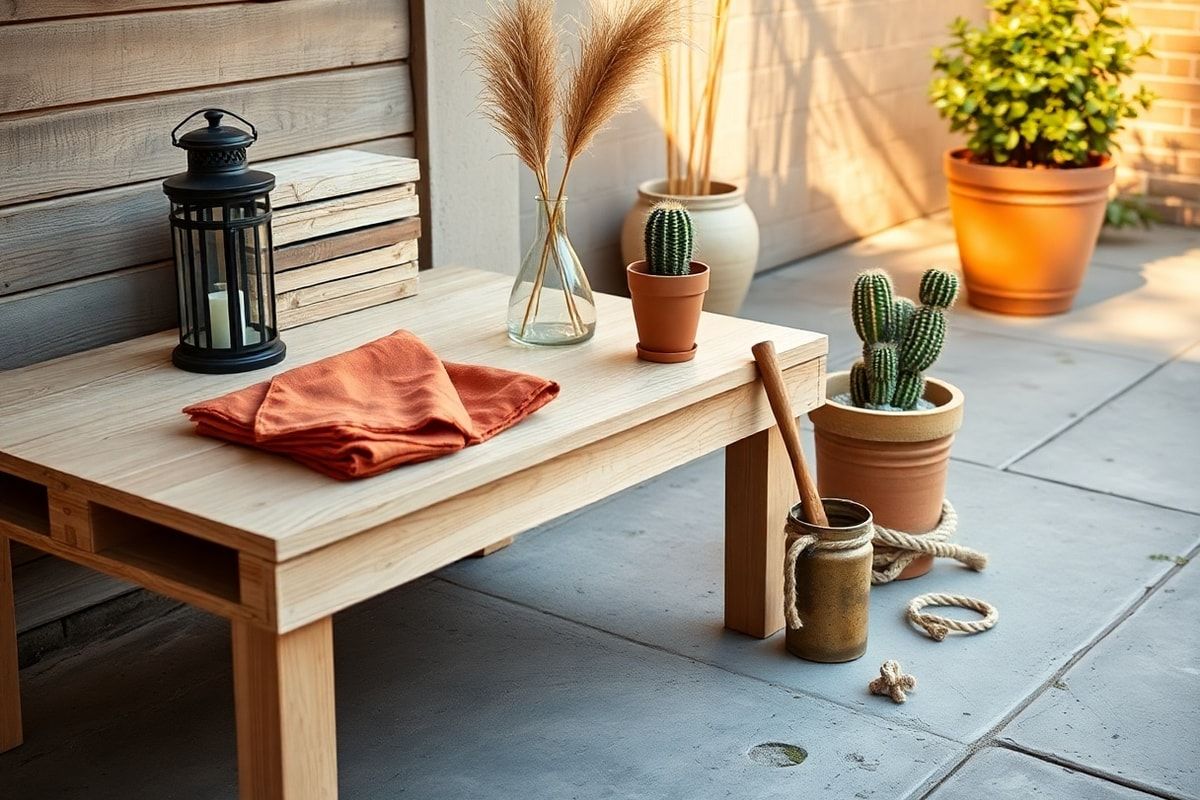
If you're making a coffee table, bench, or wall shelf, you can use the pallet in its original form. Sand the top surface thoroughly to remove splinters and rough edges.
Option B: Disassemble for Custom Pieces
To create custom furniture like bookshelves or bed frames, carefully disassemble the pallet using a crowbar or pry bar. Remove nails and hammer them flat. Sand each slat individually for a smooth finish.
Tip: Label or organize the slats by size to make assembly easier later.
Assembly
Step 3: Design and Plan Your Project
Sketch out your design or find inspiration from online platforms like Pinterest or YouTube. Consider the following:
- Function — Will it be a table, shelf, or bed?
- Dimensions — Measure your space and the pallet slats to ensure a perfect fit.
- Style — Rustic, modern, or industrial? Stain, paint, or leave natural?
For example, to make a simple pallet coffee table:
- Use two pallets stacked vertically.
- Add wheels or hairpin legs for mobility.
- Secure with screws and wood glue at the corners.
Step 4: Assemble the Furniture
Here’s a step-by-step guide to assembling a pallet coffee table:
- Base Construction — Place one pallet flat on the ground. This will serve as the base.
- Legs or Supports — If using the second pallet as a top, stand it vertically on one side of the base pallet. Use screws and wood glue to attach the vertical pallet to the base at a 90-degree angle. Repeat on the opposite side to create a box-like structure.
- Reinforce Joints — Add diagonal braces between the legs for stability. Use additional slats cut to size as supports.
- Attach Wheels or Legs (Optional) — Screw in furniture casters to the bottom corners if you want a mobile table. Alternatively, attach wooden legs cut from pallet slats.
- Smooth Edges — Sand any rough edges or protruding screws.
For a palette bookshelf:
- Disassemble pallets into individual slats.
- Cut slats to desired lengths for shelves and sides.
- Assemble a rectangular frame using screws and wood glue.
- Attach shelves at equal intervals using L-brackets or dado joints.
- Sand and finish with stain or paint.
Mistakes to Avoid
- Using chemically treated pallets indoors — These can release harmful fumes. Always check for "HT" marking.
- Skipping the sanding step — Pallet wood is rough and splinter-prone. Sand thoroughly to avoid injuries and a poor finish.
- Ignoring structural integrity — Pallet wood is designed for heavy loads but not always for furniture use. Reinforce joints with screws and glue to prevent wobbling.
- Overlooking moisture protection — Use a sealant or varnish to protect the wood from humidity, especially for outdoor or bathroom furniture.
- Rushing the design — Sketch your project first. Measure twice, cut once to avoid costly mistakes.
- Using the wrong hardware — Outdoor projects need rust-resistant screws. For indoor use, standard screws are fine.
Pro Tips
Tip 1: Use Eco-Friendly Finishes
Opt for water-based stains, paints, or natural oils (like linseed oil) to reduce VOC emissions and create a safer indoor environment. These finishes are also easier to clean up and dry faster.
Tip 2: Add Wheels or Casters
Make your pallet furniture mobile by attaching furniture casters. This is ideal for side tables, bar carts, or storage units that you may want to move frequently.
Tip 3: Incorporate Lighting
Add LED strip lights, fairy lights, or even built-in lamps to enhance the ambiance. A pallet headboard with integrated lighting can transform a bedroom into a cozy retreat.
Tip 4: Mix Materials
Combine pallet wood with metal, glass, or acrylic for a modern twist. For example, use metal hairpin legs with a pallet shelf, or add a glass top to a pallet coffee table for a sleek look.
Tip 5: Personalize with Decorative Elements
Add stencils, decals, or hand-painted designs to give your furniture a unique touch. You can also use stencils to create patterns like chevrons or geometric shapes.
Tip 6: Create Multi-Functional Pieces
Build storage benches with lift-up tops, or make a pallet bed with built-in drawers. These dual-purpose pieces maximize space and add value to your home.
Tip 7: Repurpose Pallet Slats Creatively
Don’t limit yourself to furniture. Use pallet slats to create:
- Wall art or photo frames
- Vertical gardens or herb planters
- Room dividers or headboards
- Kitchen pot racks or utensil holders
The possibilities are endless!
Before you begin, remember that upcycling is about creativity and sustainability. Don’t be afraid to experiment, make mistakes, and learn as you go. Each piece you create will be as unique as you are.
Safety First: Always wear gloves, safety glasses, and a dust mask when sanding or cutting wood. Work in a well-ventilated area, especially when using stains or sealants.
With these tips and steps, you’re ready to transform humble pallets into stunning, functional furniture that reflects your style and reduces waste. Happy upcycling!
