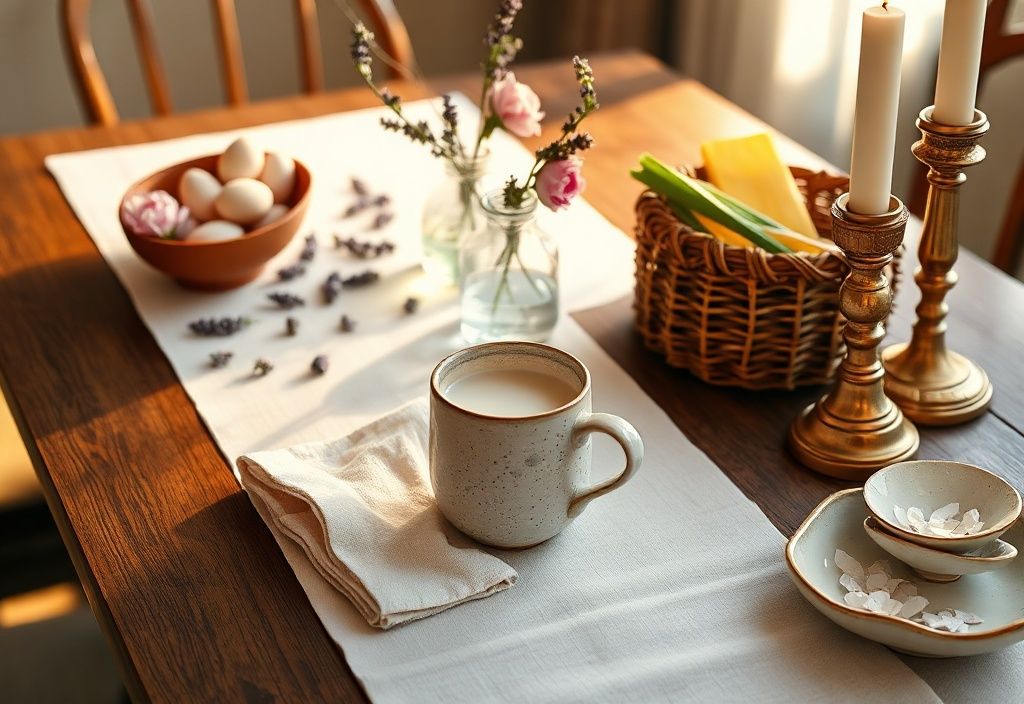
Spring is in the air, and so is the excitement for Easter! Whether you're hosting a family brunch, an afternoon tea, or a festive dinner, a beautifully decorated Easter table sets the tone for a joyful celebration. This year, skip the store-bought decor and create a handmade, spring-inspired Easter table setting that reflects the freshness of the season. From pastel hues to natural textures, we’ll guide you through crafting a charming and personalized Easter table decor that’s both budget-friendly and stunning.
Materials Needed
- Fresh flowers (tulips, daffodils, or hyacinths in soft pastels)
- Mini Easter eggs (ceramic, chocolate, or wooden)
- Linen or fabric runners (white, pale yellow, or mint green)
- Candles (small tea lights or taper candles in pastel holders)
- Decorative branches (bare or with fresh green leaves)
- Ribbon or twine (for tying elements together)
- Glass jars or vases (for holding flowers or eggs)
- Washi tape or stencils (for personalizing place cards)
- Scissors, hot glue gun, and double-sided tape
Preparation Steps
Step 1: Choose Your Color Palette
Easter is all about pastels and soft neutrals—think blush pink, mint green, buttery yellow, lavender, and white. If you prefer a more modern look, opt for a monochromatic scheme (all greens or all whites) with metallic accents like gold or copper. For a rustic touch, incorporate natural wood tones and earthy greens.
Pick 2-3 colors for your table setting and gather materials that fit within that palette. For example:
- Soft Pastels: Pink, mint, and white with gold accents
- Earthy Tones: Sage green, cream, brown, and soft terracotta
- Classic White: White linens, clear glass, and silver/gold candle holders
Step 2: Gather Fresh Spring Elements
Nothing says spring like fresh flowers and greenery. Visit your local florist or grocery store for affordable blooms like:
- Tulips (symbolize rebirth and perfect for Easter)
- Daffodils (cheerful and in-season)
- Hyacinths (fragrant and vibrant)
- Eucalyptus or ferns (for foliage texture)
If you prefer low-maintenance decor, opt for dried flowers or faux blooms in pastel shades. You can also incorporate foraged branches (like cherry blossom stems) or pussy willows for a natural touch.
Assembly
Step 3: Create a Base Layer
The foundation of your Easter table decor starts with the table runner or linen. Choose a fabric that complements your color palette:
- For a classic look: A white linen runner with delicate stitching
- For a pop of color: A pastel fabric runner (place it horizontally or diagonally)
- For a rustic feel: Burlap or linen with a lace trim
Pro Tip: If you don’t have a long runner, use multiple smaller fabrics (like napkins or tea towels) arranged in a staggered pattern.
Step 4: Add a Centerpiece
Your centerpiece sets the focal point of the table. Here are three easy ideas:
Option 1: Floral Arrangement
- Fill a low, wide vase or glass pitcher with water.
- Trim stems of your fresh flowers at an angle and arrange them loosely for a natural look.
- Add sprigs of greenery or small branches for height.
- Place a few mini Easter eggs around the base of the vase.
Option 2: Branch & Egg Display
- Find a sturdy branch (about 1-2 feet long) or use a decorative candlestick holder for height.
- Hot-glue mini Easter eggs onto the branches at varying heights.
- Place the branch in a vase or tie it to the back of a chair for a whimsical touch.
Option 3: Tiered Cake Stand
- Use a cake stand or tiered tray to layer elements.
- Place a small vase of flowers on the top tier, a mini basket of eggs on the middle, and a candle on the bottom.
- Add scattered petals or confetti for extra charm.
Mistakes to Avoid
While creating your Easter table decor, steer clear of these common pitfalls:
- Overcrowding the table: A cluttered table can feel overwhelming. Stick to 2-3 focal points (e.g., a centerpiece, place settings, and a candle display).
- Ignoring balance: If one side of the table is overly decorated, add similar elements to the other side for symmetry.
- Choosing the wrong vase height: Tall centerpieces can block conversation, while too-short arrangements may get lost. Aim for medium height (6-12 inches).
- Using too many colors: Stick to 2-3 hues to avoid a chaotic look. Neutrals (white, cream, beige) help balance bold pastels.
- Forgetting functionality: Ensure there’s enough space for guests to place plates and glasses. Leave at least 24 inches between place settings.
Pro Tips
Elevate your Easter table decor with these expert tricks:
- Mix textures: Combine smooth ceramics with rough linen, or glossy eggs with matte flowers for visual interest.
- Add personal touches: Handwrite place cards with calligraphy or use mini chalkboards for a rustic vibe.
- Incorporate scents: Add a few drops of essential oil (like lavender or citrus) to a bowl of potpourri or scatter scented sachets under the table runner.
- Use unexpected containers: Hollow out mini pumpkins for egg holders, or place eggs in small teacups for a vintage look.
- Play with lighting: String fairy lights under the table or use LED candles for a warm, cozy glow.
- Repurpose household items: Turn wine bottles into vases by wrapping them in twine, or use mason jars for rustic charm.
- Layer heights: Use books, cake stands, or small boxes to create varying levels for your decor.
Budget Hack: Thrift stores often have inexpensive vases, candlesticks, and linens. Spray-paint them in your chosen color palette for a custom look!
Final Touches
Once your main decor is in place, add these finishing details to complete the look:
- Napkin folds: Use a simple tulip fold or tie napkins with twine and a mini egg for a festive touch.
- Place settings: Write guests’ names on pastel paper and tuck them under the napkin, or use mini chalkboards.
- Confetti or petals: Scatter gold foil confetti, dried flower petals, or pastel M&Ms on the table for a playful element.
- Music and ambiance: Play soft instrumental music or nature sounds to enhance the springtime mood.
Remember, the key to a beautiful Easter table is balance and personalization. Don’t be afraid to experiment with colors and textures until you find a combination that feels right for you!
Now, it’s time to set the table and enjoy your handcrafted Easter feast!
Happy decorating, and have a wonderful Easter celebration!
