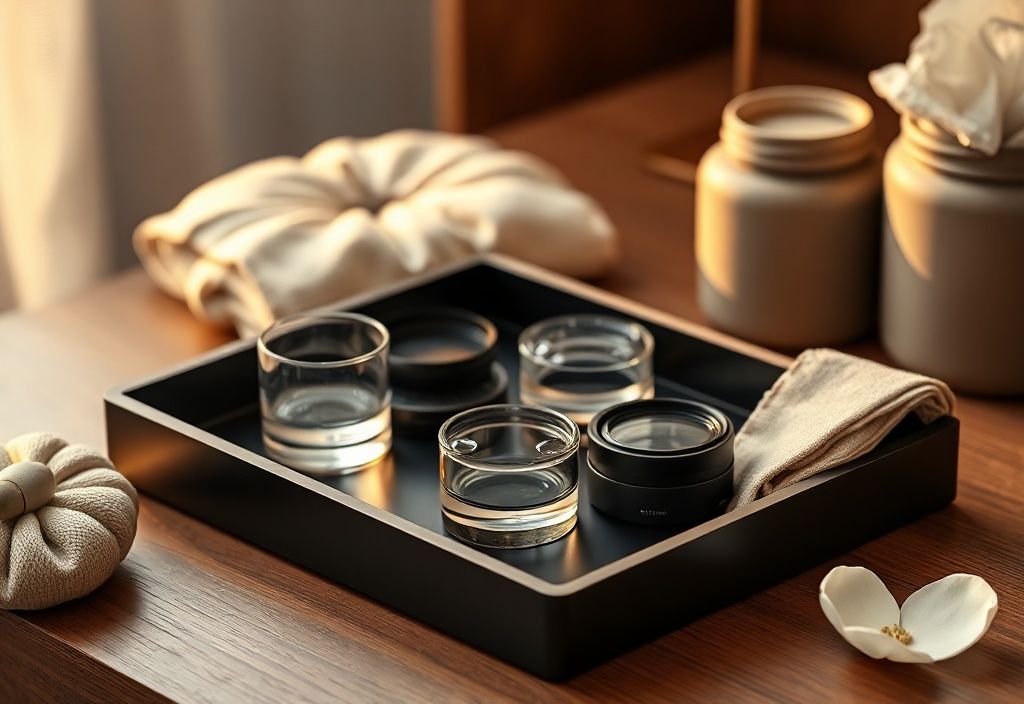
Do you struggle with foggy glasses every time you step into a warm room or during a sudden temperature change? Foggy lenses aren’t just inconvenient—they can be dangerous, especially when driving or working in a kitchen. While commercial anti-fog sprays and wipes are widely available, many contain harsh chemicals that can damage lens coatings or leave residue over time.
Fortunately, you can make a safe, effective, and budget-friendly anti-fog lens cleaner at home using simple, natural ingredients. This DIY solution works on prescription glasses, sunglasses, safety goggles, and even camera lenses. In this comprehensive guide, we’ll walk you through the entire process—from gathering materials to applying the cleaner—for long-lasting, fog-free clarity.
Materials Needed
Before you begin, gather these easy-to-find ingredients and tools:
- A small spray bottle (preferably glass or BPA-free plastic, 100–150 ml capacity)
- Distilled water (tap water may leave mineral deposits)
- White vinegar (natural disinfectant and degreaser)
- Dish soap (mild, preferably fragrance-free)
- Rubbing alcohol (70% isopropyl alcohol, optional for faster drying)
- Paper towels or a microfiber cloth (for cleaning lenses)
- Optional: a few drops of essential oil (like lavender or tea tree for scent and added antibacterial properties)
✅ Pro tip: Avoid using paper towels with rough textures—they can scratch sensitive lens coatings. Always use a soft microfiber lens cloth.
Preparation Steps
Step 1: Sanitize Your Spray Bottle
Clean the spray bottle thoroughly with warm soapy water to remove any dust, residue, or bacteria. Rinse well, then let it air-dry completely. This ensures your cleaner stays fresh and uncontaminated.
If the bottle has a strong odor (common with recycled spray bottles), soak it in a 50/50 mix of water and vinegar for 30 minutes, then rinse and dry.
Step 2: Prepare the Anti-Fog Solution
In your clean spray bottle, combine the following ingredients:
- 60 ml distilled water
- 30 ml rubbing alcohol (70% isopropyl alcohol)
- 10 ml white vinegar
- 1–2 drops of dish soap
- Optional: 2–3 drops of essential oil (e.g., tea tree for antibacterial action)
Gently swirl the mixture to blend the ingredients. Do not shake vigorously to avoid creating suds.
🔍 Why these ingredients work:
- Distilled water: Prevents mineral buildup on lenses.
- Rubbing alcohol: Evaporates quickly, reducing fog formation.
- Vinegar: Cuts through oils and residues left by fingerprints.
- Dish soap: Helps lift microscopic dirt without leaving streaks.
Assembly
Step 3: Apply the Cleaner to Your Lenses
Before applying the cleaner, make sure your glasses are at room temperature. Sudden temperature changes can cause fogging, so let your glasses adjust if you’ve just come in from the cold.
Hold your glasses by the bridge or temples to avoid leaving fingerprints on the lenses. Spray the solution lightly—only 1–2 sprays are usually enough. Do not over-saturate the lenses.
Use your microfiber cloth to gently wipe the lenses in a circular motion, starting from the center and moving outward. Apply light pressure; avoid pressing too hard to prevent damaging anti-reflective or scratch-resistant coatings.
For tough fingerprints or smudges, apply a tiny dab of the dish soap solution directly to the cloth and wipe gently.
Step 4: Let the Glasses Dry Completely
Allow your glasses to air-dry for 30–60 seconds. The alcohol content helps speed up evaporation, reducing the chance of water spots or streaks.
Once dry, inspect your lenses under good lighting. If any streaks remain, buff them gently with a clean corner of your microfiber cloth.
Your glasses should now be crystal clear and fog-resistant for several hours, especially in high-humidity environments.
Mistakes to Avoid
Even the best DIY cleaner can cause issues if misused. Avoid these common pitfalls:
- Using tap water: Contains minerals that can leave white residue on lenses over time.
- Over-spraying: Too much liquid can seep into the frames, causing fogging from inside or damaging the material.
- Using paper towels: They can scratch lenses or leave lint behind.
- Applying cleaner to hot or cold lenses: Temperature shock can cause condensation or even damage lens coatings.
- Mixing with harsh chemicals: Never add bleach, ammonia, or strong solvents—they can strip lens coatings and irritate your eyes.
Pro Tips
Take your anti-fog routine to the next level with these expert suggestions:
- Storage tip: Keep your spray bottle in a cool, dry place away from direct sunlight to preserve the solution’s effectiveness.
- Reapply as needed: After 4–6 hours of wear, or if lenses fog up again, apply a quick wipe with a microfiber cloth dampened with your cleaner.
- For extra protection: Add a drop of baby shampoo instead of dish soap—it’s gentler on sensitive eyes and coatings.
- Prevent fog before it starts: During cold weather, warm your glasses slightly before going outside (e.g., hold them near a heater for a minute). This reduces the temperature difference that causes fogging.
- Test on a small area first: If you have new or expensive glasses, test the cleaner on a tiny corner of the lens to ensure compatibility.
- Travel-friendly version: Pour the solution into a small travel-sized spray bottle for on-the-go use.
💡 Did you know? The anti-fog effect works best when the cleaner is applied to clean lenses. Always start with a clean surface before applying any treatment.
If you prefer a no-spray option, you can also apply a thin layer of the solution to your lenses with a microfiber cloth, then buff dry. This method is great for glasses with sensitive coatings.
Store-bought anti-fog wipes are convenient, but homemade versions are more customizable and free of preservatives. Plus, they cost a fraction of the price!
For those with prescription glasses, always check with your optician before using any new cleaning method, especially if your lenses have special coatings like anti-glare or blue light filtering.
🌿 Bonus: This cleaner also works on swim goggles, camera lenses, and binoculars—just avoid using it on plastic screens or electronics unless specified.
Conclusion
Foggy glasses don’t have to be a daily frustration. With this simple, effective, and chemical-free DIY anti-fog lens cleaner, you can enjoy clear vision—whether you're cooking, exercising, or stepping out in the cold. This homemade solution is not only safer for your eyes and lenses but also more sustainable than disposable wipes or aerosol sprays.
By following the steps carefully and avoiding common mistakes, you’ll protect your lenses and maintain peak performance. Keep a small bottle of this cleaner in your bag, car, or workspace for instant fog relief whenever needed.
Try it today and experience the joy of seeing the world clearly—without the fog.
👓 See clearly. Feel confident. Stay ready.
