Clay masks are a skincare staple for deep cleansing, detoxifying, and refining pores. But did you know you can make an effective clay mask at home using modeling powder? This affordable, accessible ingredient mimics the benefits of professional clay masks while offering customizable ingredients for your skin type. Whether you're battling oily skin, dryness, or dullness, a clay mask made with modeling powder can help restore your complexion’s natural glow.
In this tutorial, we’ll guide you through the process of making a nourishing, effective clay mask using modeling powder. All you need are a few simple ingredients, and you’ll be on your way to clearer, brighter skin in no time.
Materials Needed
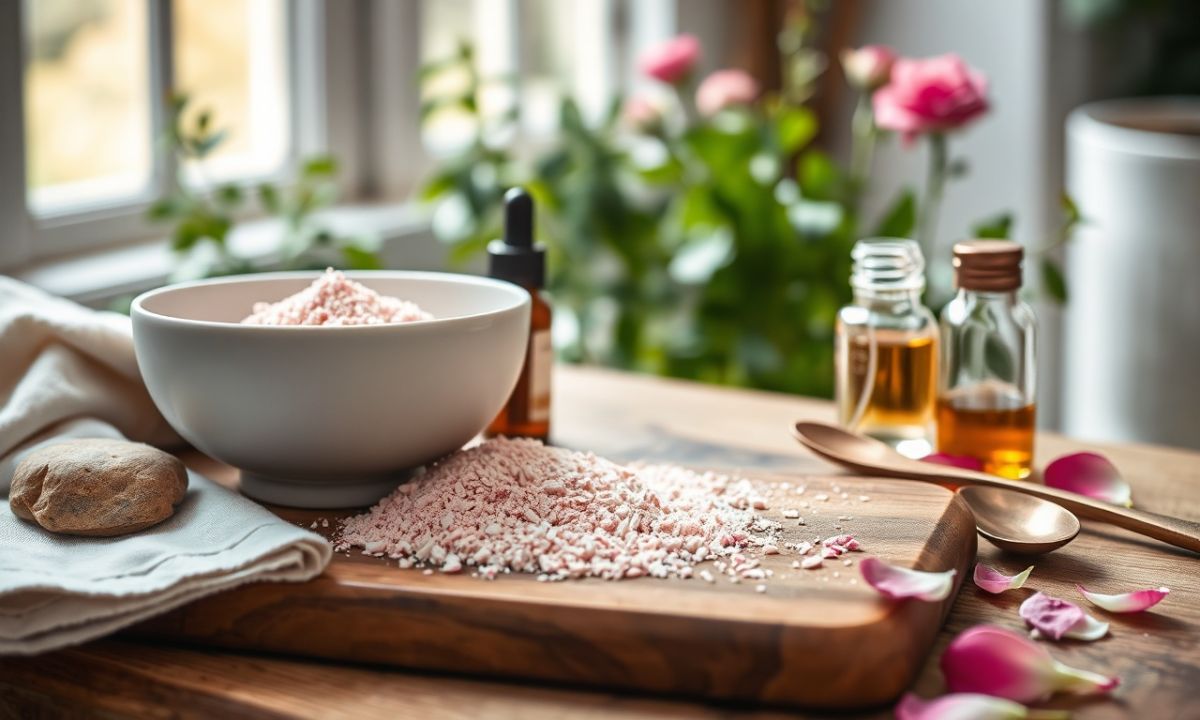
- Modeling powder (kaolin clay or cosmetic-grade bentonite clay recommended) – acts as the base for detoxification and oil control.
- Warm water – to create a smooth paste.
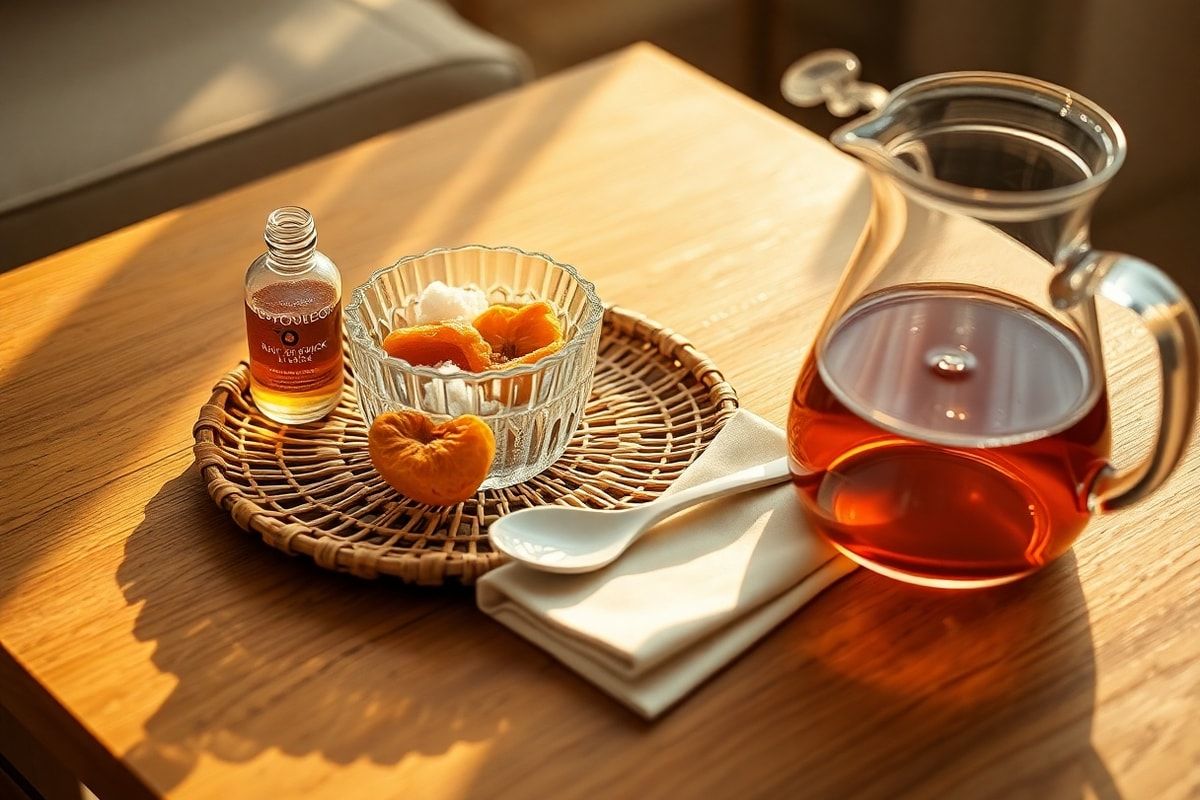
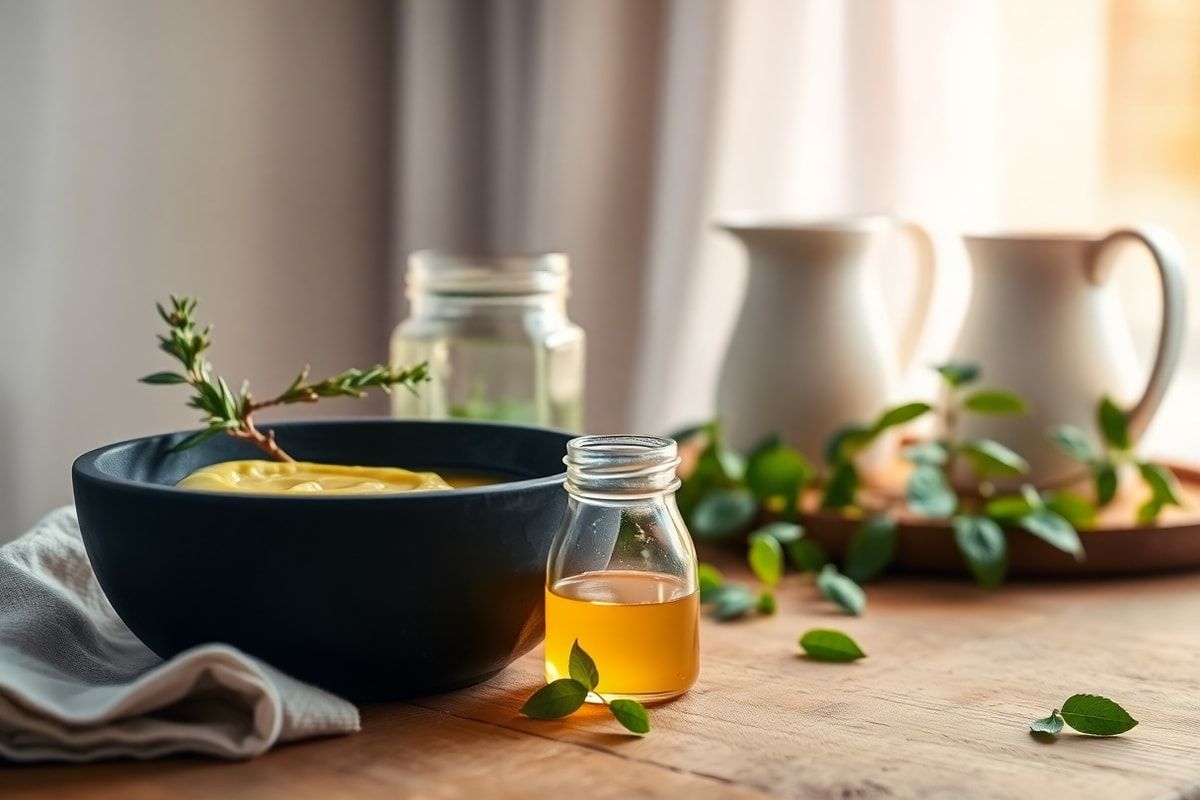
- Honey (optional) – a natural humectant that hydrates and soothes.
- Yogurt or aloe vera gel (optional) – adds moisture and calms sensitive skin.
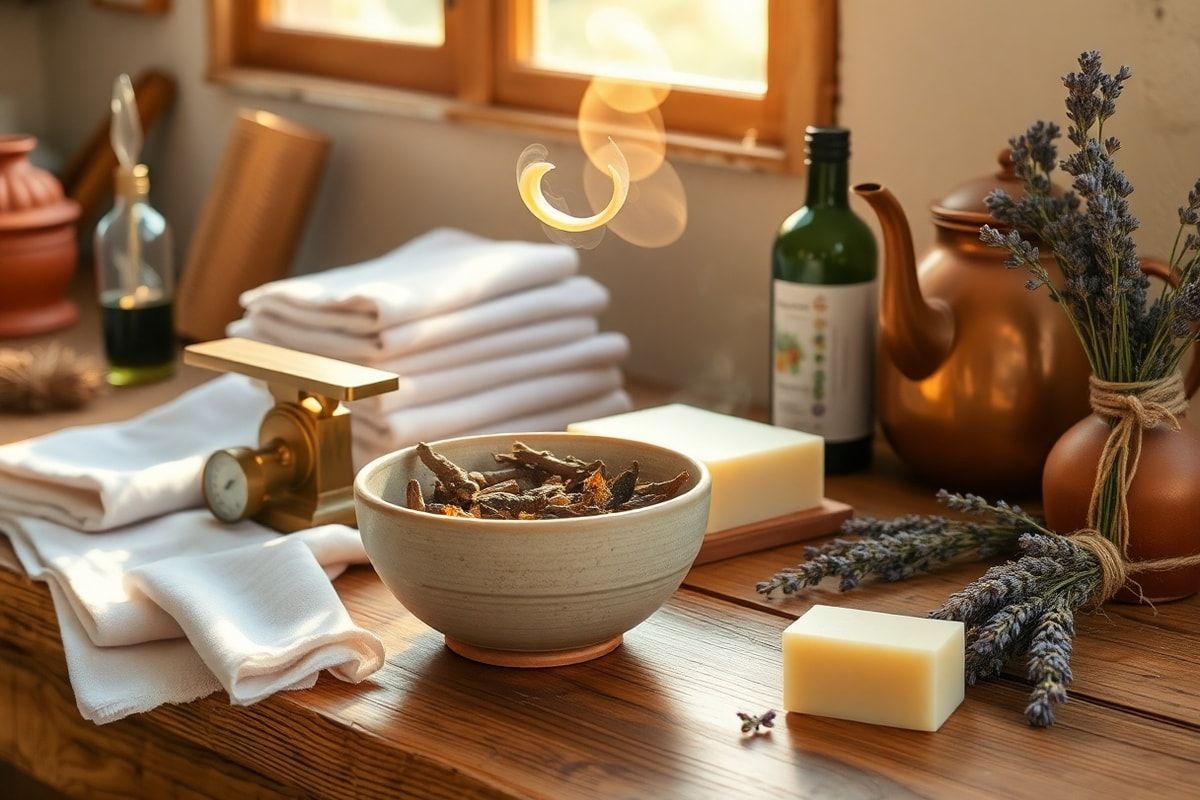
- Tea tree oil or lavender essential oil (optional) – for antibacterial and soothing properties.
- Spoon and bowl – for mixing.
- Facial brush or clean fingers – for application.
- Lukewarm water and soft cloth – for rinsing.
✅ Pro tip: Always use cosmetic-grade clay or modeling powder labeled safe for skin use. Avoid industrial modeling powders that may contain additives.
Preparation Steps
Step 1: Choose Your Clay Base
Modeling powder often contains kaolin clay or bentonite clay, both excellent for skin detoxification. Kaolin is gentle and suitable for dry or sensitive skin, while bentonite is more absorbent and ideal for oily or acne-prone skin.
Check the label on your modeling powder. If it contains aluminum silicate or calcium bentonite, it’s likely safe for topical use. If in doubt, opt for a dedicated cosmetic clay available at health stores.
Step 2: Gather Your Add-Ins (Optional)
Customize your mask based on your skin’s needs:
- For dry skin: Add 1 teaspoon of honey and 1 teaspoon of plain yogurt.
- For oily/acne-prone skin: Add 2–3 drops of tea tree essential oil or a pinch of turmeric (ensure no allergies).
- For sensitive skin: Use aloe vera gel instead of water for a soothing base.
- For dull skin: Add a spoon of fresh lemon juice (use cautiously; avoid if skin is irritated or sun-exposed).
⚠️ Always do a patch test before applying any new mask to your face.
Assembly
Step 3: Mix the Ingredients
- Pour 1 tablespoon of modeling powder into a clean bowl.
- Gradually add 2–3 teaspoons of warm water while stirring with a spoon. Start with less water to avoid a runny mixture.
- Mix until you achieve a thick, smooth paste. It should hold its shape when spooned but still be spreadable.
- If using add-ins, stir them in gently after the base is formed.
✅ Consistency tip: The mask should be like Greek yogurt — not too thin, not too thick.
Step 4: Apply the Mask
- Cleanse your face thoroughly and pat dry.
- Use a clean facial brush or your fingertips to apply the mask evenly, avoiding the eye area and lips.
- Apply a thicker layer on areas prone to oiliness (forehead, nose, chin).
- Let the mask sit for 10–15 minutes. Avoid talking or smiling to prevent cracking.
- Rinse off with lukewarm water using a soft cloth, moving in gentle circular motions.
- Pat your skin dry and follow with a light moisturizer.
⏳ Timing tip: Don’t leave the mask on too long. Over-drying can lead to irritation, especially for sensitive skin.
Mistakes to Avoid
- Using cold water: It makes the clay harder to mix and less effective.
- Applying to broken or irritated skin: This can cause stinging or infection. Wait until skin heals.
- Over-mixing with too much water: Results in a runny mask that drips and doesn’t adhere properly.
- Skipping the patch test: Always test a small amount on your wrist or behind your ear 24 hours before full application.
- Reusing leftover mask: Mix only what you need. Stored masks can harbor bacteria.
- Using metal tools: Stir only with plastic, glass, or wooden utensils to prevent oxidation.
Pro Tips
1. Frequency: Use 1–2 times per week. Overuse can strip natural oils and lead to dryness or sensitivity.
2. Storage: If making a larger batch (for up to 2 uses), store unused paste in an airtight glass jar in the fridge for up to 3 days. Bring to room temperature before reapplying.
3. Boost with herbs: Add a pinch of dried chamomile, rose petals, or spirulina for added benefits and a spa-like feel.
4. Prep your skin: Steam your face for 2–3 minutes before applying the mask to open pores and enhance absorption.
5. Follow up: After rinsing, apply a hydrating serum or facial oil to replenish moisture, especially if you have dry skin.
6. Clean your tools: Wash your bowl and spoon immediately after use to prevent clay from hardening and damaging your utensils.
7. Know your skin type: Adjust ingredients accordingly: - Oily skin: bentonite + apple cider vinegar (diluted) - Dry skin: kaolin + honey + rose water - Combination skin: kaolin + aloe vera + green tea infusion
🌿 Bonus recipe: Brightening Turmeric Mask Mix 1 tbsp kaolin powder + 1 tsp honey + ½ tsp turmeric + 2 tsp rose water. Leave on for 10 minutes. Rinse and glow!
💡 Remember: Consistency is key. It may take 4–6 applications to see visible improvements in skin texture and clarity.
🛑 Avoid if you have severe acne, rosacea, or eczema without consulting a dermatologist, as clay masks can be too drying or irritating.
✨ Want more glow? Pair your clay mask with a gentle exfoliant 1–2 times a week for even better results.
Final reminder: Always listen to your skin. If it feels tight or red after rinsing, switch to a gentler formula or reduce application time.
With this simple, customizable clay mask, you can achieve salon-quality results at home — without the hefty price tag. Give your skin the deep cleanse it craves and enjoy a refreshed, radiant complexion every time.
Ready to glow? Grab your modeling powder and start mixing!
Have you tried DIY clay masks before? Share your favorite recipes in the comments below!