Hey there, HomeReadyHub family! Sara here, and today we're tackling a kitchen task that often gets overlooked but makes a huge difference: cleaning those hardworking gas stove burners. We all love the instant heat and precise control our gas stoves offer, but constant cooking inevitably leads to spills, splatters, and burnt-on grime that can clog burner holes, reduce efficiency, and frankly, make your kitchen look a bit tired. Don't let a greasy burner dim your kitchen's sparkle or your cooking prowess!
Cleaning gas stove burners might seem daunting, but I promise you, it's a straightforward process that yields incredibly satisfying results. Not only will your stove look brand new, but clean burners also ignite faster, distribute heat more evenly, and can even save you a bit on your energy bill by improving combustion efficiency. Plus, removing food debris and grease reduces the risk of flare-ups. Ready to transform your cooktop from grimy to gleaming? Let's dive into this ultimate guide!
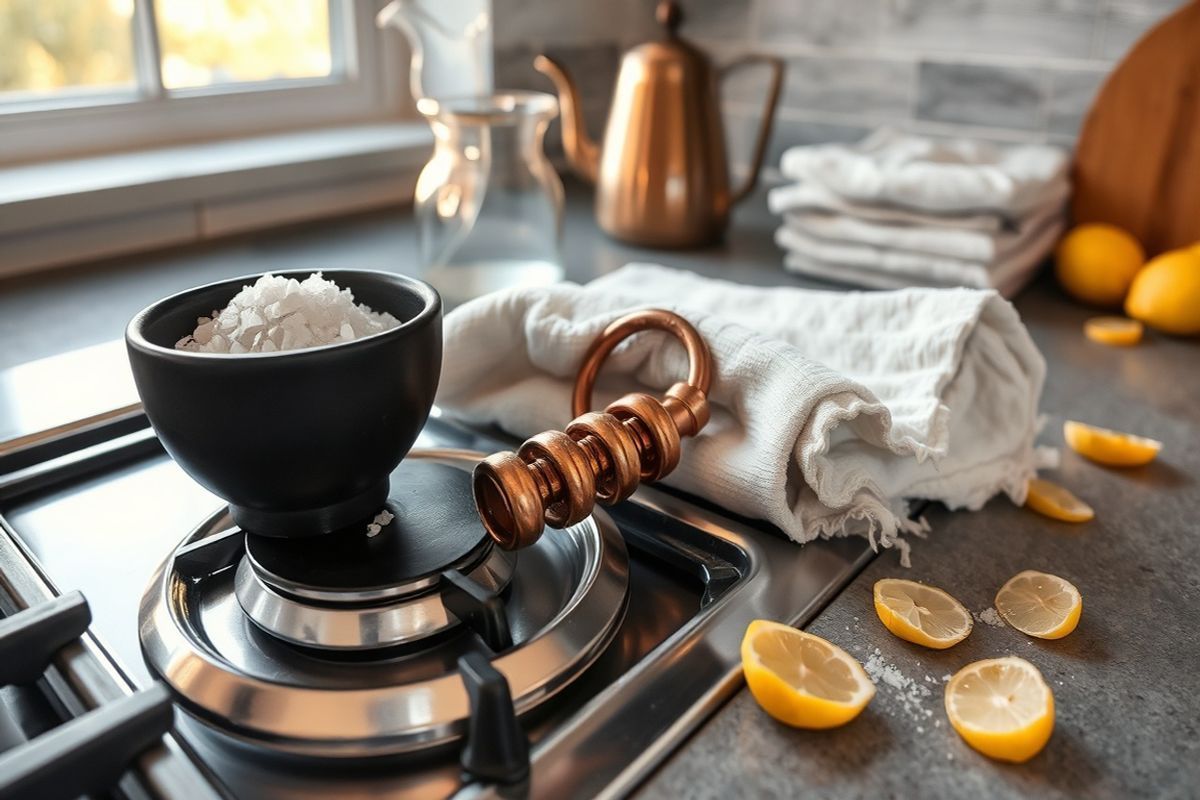
Materials Needed
Before we begin, gather your arsenal of cleaning supplies. Most of these you probably already have at home!
- Rubber gloves (to protect your hands from grime and cleaning agents)
- Dish soap (a good degreasing formula works best)
- Baking soda
- White vinegar
- Warm water
- Large bowl or sink for soaking
- Old toothbrush or small scrub brush
- Non-abrasive sponge or microfiber cloths
- Paper towels or old rags
- Toothpick, paperclip, or a thin piece of wire (for clearing clogged burner holes)
- Optional: Heavy-duty degreaser (for stubborn grease), ammonia (use with extreme caution and ventilation)
Preparation Steps
Step 1: Safety First & Disassembly
Your safety is paramount! Before you even think about touching those burners, ensure your gas stove is completely cool and, most importantly, turn off the gas supply to your stove. This usually involves turning a knob on the gas line behind the stove or turning off the main gas valve to your home if you can't locate the stove-specific one. If you have an electric igniter, it's also wise to unplug the stove from the power outlet.
Once you've confirmed the gas is off and the stove is cool to the touch, it's time to disassemble. Carefully remove the burner grates (the heavy metal supports that sit over the flames), followed by the burner caps (the flat, usually black, discs) and then the burner heads (the actual metal rings with holes where the gas comes out). Place these components aside. Some stoves also have an igniter electrode that you’ll need to be careful not to damage; it's usually a small, ceramic-tipped rod near the burner head.
While the burner parts are off, take a moment to wipe down the cooktop surface underneath with a damp cloth to remove any loose crumbs or spills. This makes the final clean-up much easier.
Step 2: Soaking the Components
This is where the magic really begins to happen, as soaking will loosen up most of the stubborn grime. Fill a large sink or a sturdy basin with very warm water and a generous squirt of dish soap. Submerge your burner grates, caps, and burner heads completely. For extra degreasing power, you can add about half a cup of white vinegar to the soaking solution.
For particularly tough, burnt-on food or grease, consider a baking soda paste. Mix baking soda with a little water to form a thick paste. Apply this paste directly to the heavily soiled areas of your burner caps and heads, letting it sit for at least 15-30 minutes before submerging them in the soapy water. The baking soda acts as a gentle abrasive and helps break down greasy deposits.
Let these components soak for at least 30 minutes, or even a few hours for extremely stubborn grime. The longer they soak, the less scrubbing you'll have to do later!
Assembly
Step 3: Scrubbing Away Grime
Once your burner components have had a good soak, it's time to put in a little elbow grease. Don your rubber gloves and retrieve one component at a time from the soaking solution.
-
Burner Grates: Use a stiff-bristled scrub brush or a heavy-duty sponge to scrub away the loosened food and grease. For really baked-on residue, the baking soda paste method (applied before soaking or now) can be very effective. Rinse thoroughly under warm running water.
-
Burner Caps and Heads: An old toothbrush is your best friend here! Its small bristles can get into all the nooks and crannies. Pay special attention to the small holes on the burner heads where the gas emits. These holes can become clogged with food particles, affecting flame distribution. Use a toothpick, paperclip, or a thin piece of wire to carefully poke through any visible clogs. Be gentle to avoid scratching or enlarging the holes. Scrub the caps and exterior of the heads until all grime is removed.
If you encounter extremely stubborn, carbonized gunk that won't budge with soap and baking soda, you might consider a heavy-duty degreaser designed for kitchen use. Always follow the product's instructions and ensure good ventilation. For the absolute toughest cases, some people use ammonia (in a sealed bag overnight with the components, *never* mixed with bleach or other cleaners!). If you choose this route, do so outdoors or in a very well-ventilated area, wear heavy-duty gloves, and avoid inhaling the fumes.
Step 4: Drying and Reassembly
This step is crucial! All burner components must be completely dry before reassembly to prevent rust and ensure proper ignition. Water in the burner holes can also cause sputtering or prevent the gas from lighting. Use a clean microfiber cloth or paper towels to thoroughly dry each grate, cap, and burner head. You can also let them air dry completely, perhaps overnight, to be absolutely sure. Placing them in a sunny spot can speed up the process.
Once everything is bone dry, it's time to reassemble your stove. Start by placing the burner heads back onto their respective positions, ensuring they sit flush and are correctly aligned with the gas inlet. Then, place the burner caps on top of the burner heads. They usually have an indent that fits over a raised part of the burner head, ensuring proper alignment. Finally, replace the burner grates.
After reassembly, turn your gas supply back on and test each burner to ensure they light properly and produce an even flame. If a burner isn't lighting or the flame looks uneven, double-check that the cap and head are correctly seated and that the burner holes are clear.
Mistakes to Avoid
To ensure a safe and effective cleaning experience, keep these common pitfalls in mind:
-
Forgetting to Turn Off the Gas: This is the most critical safety step. Never clean your stove's internal components without first shutting off the gas supply.
-
Using Abrasive Cleaners or Scouring Pads on Finishes: While burner grates are often durable, some burner caps and cooktop finishes can be scratched by steel wool or harsh abrasive cleaners. Stick to non-abrasive sponges and brushes, especially on decorative caps.
-
Not Drying Components Completely: Reassembling wet burner parts can lead to rust, poor ignition, and uneven flames. Always ensure everything is thoroughly dry.
-
Ignoring Clogged Burner Holes: These tiny holes are essential for proper gas flow and even flame distribution. Neglecting to clear them will result in inefficient cooking and potential safety hazards.
-
Improper Reassembly: Burner caps and heads need to be seated correctly. If they're askew, the gas won't flow properly, leading to an uneven flame or a burner that won't light.
-
Mixing Cleaning Chemicals: Never mix ammonia with bleach or any other household cleaners, as this can create dangerous, toxic fumes. Always use chemicals in a well-ventilated area and wear appropriate protective gear.
Pro Tips
-
Regular Maintenance is Key: Don't wait until grime is baked on! Wipe down your grates and burner caps after each use, or at least weekly, to prevent build-up. A quick wipe with a soapy sponge can save you a lot of scrubbing later.
-
Deep Clean Schedule: Aim for a deep clean of your gas stove burners every 1-3 months, depending on how frequently you cook. This prevents serious accumulation and keeps your stove running efficiently.
-
Dealing with Spills Immediately: If something boils over, let the burner cool, then clean it up as soon as possible. Fresh spills are much easier to remove than hardened, burnt-on messes.
-
Vacuum Under the Cooktop: While the burner components are removed, use a vacuum cleaner with a brush attachment to suck up any crumbs or debris that have fallen into the burner wells. This helps keep your stove clean internally and prevents potential fire hazards.
-
Check Your Igniters: If your burners are slow to ignite, it might not just be dirt on the burner head. Gently clean around the ceramic igniter electrode with a dry toothbrush or cotton swab to remove any grease or debris that might be interfering with the spark.
-
Consider a Degreasing Spray: For everyday grease on grates, a dedicated kitchen degreasing spray can be a quick and effective solution between deep cleans. Spray, let sit for a few minutes, then wipe clean.
There you have it! A comprehensive guide to getting your gas stove burners sparkling clean and functioning at their best. It might take a little time and effort, but the results are truly worth it. A clean stove isn't just about aesthetics; it's about efficiency, safety, and enjoying your cooking experience to the fullest. So go ahead, ignite the shine in your kitchen, and enjoy your beautifully maintained gas stove! Happy cooking!
