Introduction
As a parent, discovering baby vomit on your car seat can be distressing — especially when you're on the go. The good news? With the right tools and techniques, you can safely and effectively remove these stains before they set or leave lingering odors. In this guide, we’ll walk you through a simple, safe, and baby-friendly method to clean vomit from your child’s car seat using a homemade détachant (stain remover) made from everyday ingredients. No harsh chemicals needed — just gentle, natural cleaning that protects both your baby’s health and your car seat.
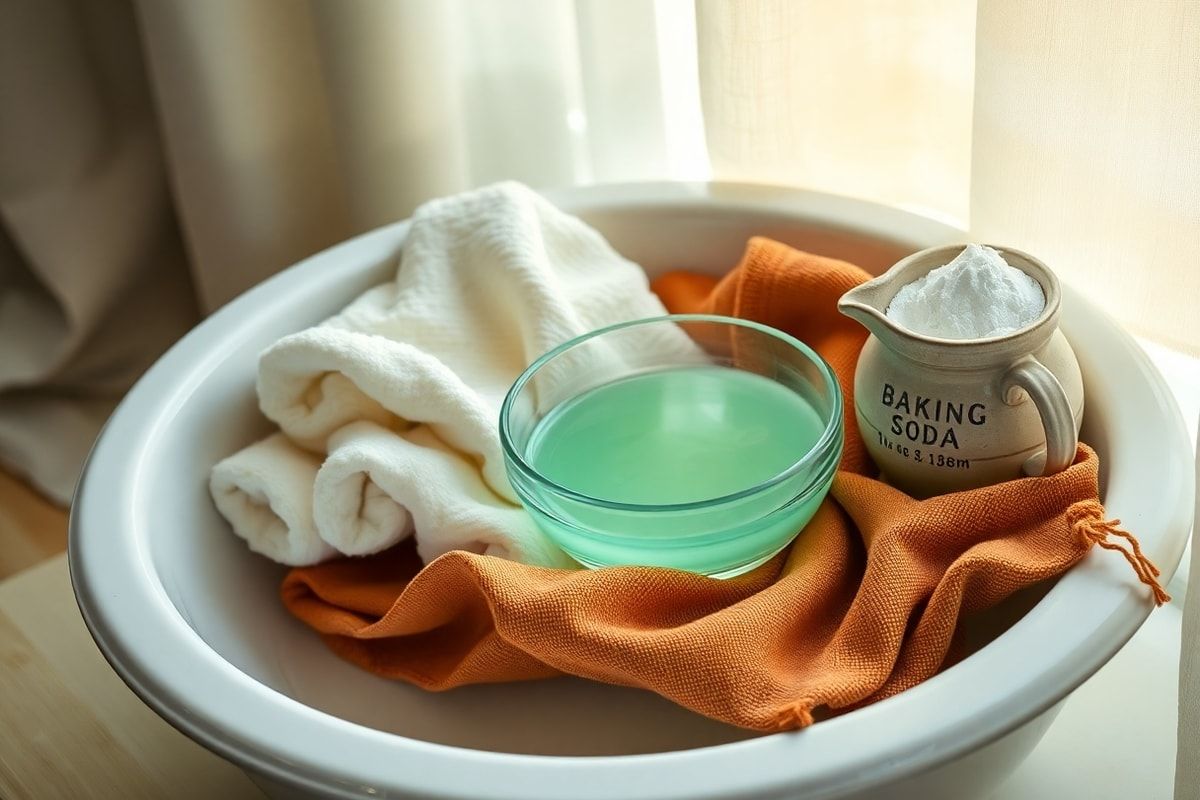
Materials needed
- White vinegar (natural disinfectant and odor neutralizer)
- Baking soda (deodorizer and mild abrasive for stain lifting)
- Mild dish soap (like Dawn, for cutting through grease and organic matter)
- Warm water
- Clean microfiber cloths or soft sponges (avoid paper towels, which can scratch or shred)
- Spray bottle (for mixing and applying the cleaning solution)
- Soft-bristled brush or clean toothbrush (for gentle scrubbing in seams)
- Vacuum cleaner with upholstery attachment (optional, for dried residue)
- Optional: Essential oils like lavender or tea tree (for scent, if desired)
Preparation steps
Before you begin cleaning, take a moment to prepare your workspace and protect your car seat from further damage. Here’s how:
Step 1: Remove any loose debris
Start by gently scraping off any solid vomit residue using a clean cloth or the edge of a spoon. Be careful not to push the vomit deeper into the fabric. If the vomit has dried, use a vacuum with a soft brush attachment to lift away crumbs or dried particles without damaging the upholstery.
Step 2: Test the cleaning solution
Always perform a patch test on a hidden area of the car seat (like under the seat or on the back) to ensure the cleaning solution won’t discolor or damage the fabric. Apply a small amount of the solution, wait a few minutes, then blot dry. If there’s no adverse reaction, you’re ready to proceed.
Assembly (Mixing the Cleaning Solution)
Step 3: Prepare the homemade détachant
In a spray bottle, mix the following ingredients to create a powerful yet gentle stain remover:
- 1 cup of warm water
- 1 tablespoon of white vinegar
- 1 teaspoon of mild dish soap
- 1 teaspoon of baking soda (add this last to avoid excessive fizzing)
Shake gently to combine. The vinegar will break down odors and bacteria, the dish soap will lift greasy residues, and the baking soda will deodorize and help lift stains.
Optional: Add 2–3 drops of lavender or tea tree essential oil for a fresh scent (ensure your baby isn’t sensitive to fragrances).
Step 4: Apply the solution to the stain
Spray the solution directly onto the vomit-stained area until lightly saturated — avoid over-wetting, as excess moisture can seep into padding or cause mold. Let it sit for 2–3 minutes to allow the ingredients to break down the stain and odor.
Cleaning Process
Now it’s time to lift the stain and neutralize the odor safely.
Step 5: Blot, don’t rub
Use a clean microfiber cloth to gently blot the stain from the outside in. Blotting helps lift the stain without pushing it deeper into the fabric. Continue blotting with fresh areas of the cloth until no more residue transfers.
Step 6: Scrub gently in seams and crevices
Use a soft-bristled brush or clean toothbrush to gently work the solution into stitching, seams, and tight areas where vomit may have settled. This ensures a thorough clean without damaging the fabric.
Step 7: Rinse and dry
Dampen a second clean cloth with warm water and blot the area to remove any soap residue. Avoid soaking the seat. Then, use a dry microfiber cloth to absorb moisture and speed up drying.
To aid drying, open car doors and windows, or use a fan on low to circulate air. Never use a hairdryer on high heat, as it can warp plastic components or damage fabric.
Mistakes to avoid
- Using bleach or ammonia-based cleaners: These can irritate your baby’s sensitive skin and damage car seat materials.
- Scrubbing aggressively: This can fray fabric and push stains deeper into the padding.
- Skipping the patch test: Always check for colorfastness first to avoid permanent damage.
- Letting stains sit too long: The sooner you treat vomit, the easier it is to remove.
- Using too much water: Over-saturating the seat can lead to mold or mildew in padding.
Pro tips
- Keep a travel cleaning kit: Store a small spray bottle with your homemade détachant, microfiber cloths, and a soft brush in your car. You’ll be ready for spills anytime, anywhere.
- Use a car seat cover: Consider using a removable, washable car seat cover for extra protection during feedings or car rides.
- Act fast: Fresh vomit is easier to remove than dried or set stains. Clean within 30 minutes if possible.
- Refresh with baking soda: After drying, sprinkle a small amount of baking soda on the seat, let sit for 15 minutes, then vacuum to absorb lingering odors.
- Rotate car seats: If your child frequently gets sick in the car, consider switching to a more upright or easily removable seat style for easier cleaning.
Conclusion
Cleaning baby vomit from a car seat doesn’t have to be a stressful or messy ordeal. With a simple homemade détachant made from vinegar, baking soda, and mild soap, you can safely lift stains, neutralize odors, and restore your child’s car seat to a clean, hygienic state — all without harsh chemicals. Remember: act quickly, blot gently, and always test your cleaning solution first. By keeping a cleaning kit in your car and following these steps, you can tackle spills with confidence and keep your little one’s travel space safe and comfortable.
With these tips, even the messiest baby moments can be cleaned up with ease — leaving you more time to focus on the joys of parenting.
