Transparent glycerin soap is a favorite among DIY enthusiasts and skincare lovers alike. Its glossy, jewel-like appearance makes it a stunning addition to any bathroom, and its gentle, moisturizing properties make it a treat for the skin. Whether you're looking to create personalized gifts, experiment with different shapes, or simply enjoy the satisfaction of crafting your own soap, homemade transparent glycerin soap is a perfect project. Unlike traditional melt-and-pour soap, which can be opaque, this recipe uses a special technique to achieve that sought-after clarity. In this comprehensive guide, we’ll walk you through every step of the process—from gathering your materials to troubleshooting common issues—so you can create your own crystal-clear glycerin soap with confidence.
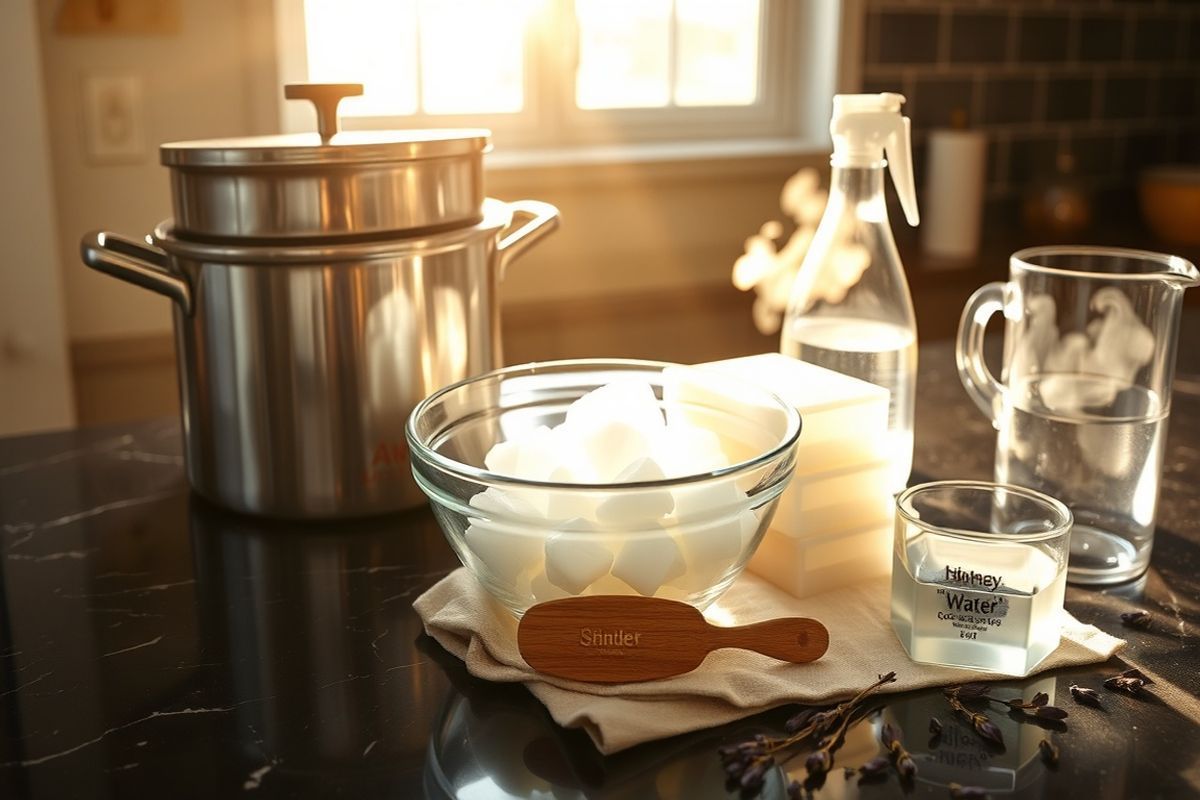
Materials Needed
- Glycerin soap base (clear, unscented, and preferably vegetable-based; available online or at craft stores)
- Distilled water (essential for clarity and preventing cloudiness)
- Rubbing alcohol (91% or higher) (used to remove bubbles and create a smooth surface)
- Essential oils or fragrance oils (optional, for scent; choose skin-safe options)
- Soap-safe colorants (liquid dyes, mica powders, or natural colorants like spirulina or turmeric; avoid oil-based colors)
- Silicone soap molds (flexible and easy to demold; shapes like flowers, rectangles, or geometric designs work well)
- Spray bottle (for applying rubbing alcohol)
- Heat-resistant glass or stainless-steel mixing bowl (for melting the soap base)
- Double boiler or microwave-safe bowl (to melt the soap base gently)
- Measuring cups and spoons
- Stirring utensils (wooden or silicone spoons)
- Glass dropper or pipette (for precise colorant and fragrance addition)
Preparation Steps
Step 1: Prepare Your Workspace
Begin by clearing a clean, flat surface and covering it with parchment paper or a silicone mat to protect against spills. Gather all your materials and arrange them within easy reach. It’s important to work quickly once the soap base is melted, so having everything prepped in advance will help streamline the process. Ensure your workspace is free from drafts, as rapid cooling can cause cloudiness in the final soap.
Step 2: Choose and Prep Your Mold
Select a silicone soap mold that suits your design preferences. Popular options include floral shapes, geometric patterns, or simple rectangles. Before pouring the soap mixture, lightly spray the inside of the mold with rubbing alcohol. This helps prevent bubbles from forming on the surface of the soap and ensures a smooth, glossy finish. Wipe away any excess alcohol with a clean paper towel.
Assembly
Step 3: Melt the Soap Base
Cut the glycerin soap base into small, even cubes to speed up the melting process. Place the cubes in a heat-resistant glass or stainless-steel bowl. You can melt the soap base using one of two methods:
Double Boiler Method: Fill a pot with about an inch of water and bring it to a gentle simmer. Place the bowl with the soap base over the pot, ensuring the bowl doesn’t touch the water. Stir occasionally until the soap base is completely melted and smooth.
Microwave Method: Heat the soap base in 30-second intervals, stirring between each interval, until fully melted. Be cautious not to overheat, as this can cause the soap to become too hot and lose its transparency.
Once melted, remove the soap base from the heat and allow it to cool slightly (about 1-2 minutes) to avoid damaging heat-sensitive additives like fragrance oils or natural colorants.
Step 4: Customize Your Soap
Now comes the fun part—personalizing your soap! Here’s how to add color and scent while maintaining clarity:
Adding Color: Use a glass dropper to add liquid soap-safe dyes or a small amount of mica powder mixed with distilled water to the melted soap base. Stir gently but thoroughly to distribute the color evenly. Avoid adding too much colorant, as this can cloud the soap. A few drops or a pinch should suffice for most molds.
Adding Fragrance: Stir in 5-10 drops of essential oil or fragrance oil per pound of soap base. Popular choices include lavender, citrus, vanilla, or eucalyptus. Always opt for high-quality, skin-safe oils to avoid irritation. Stir well to ensure the fragrance is evenly distributed.
Pouring the Soap: Carefully pour the customized soap mixture into the prepared mold, filling each cavity about 90% full to allow room for any adjustments. Tap the mold gently on the counter a few times to release any large air bubbles.
Immediately after pouring, use a spray bottle filled with rubbing alcohol to lightly mist the surface of the soap. This helps to pop any remaining bubbles and creates a smooth, glass-like finish. Be generous but not soaking—just enough to cover the surface evenly.
Mistakes to Avoid
- Using tap water: Always use distilled water in your soap mixture. Tap water contains minerals that can cause cloudiness and reduce transparency.
- Overheating the soap base: Melting the soap base at too high a temperature can cause it to become cloudy or even separate. Keep the heat low and stir frequently.
- Adding too much colorant or fragrance: Both can disrupt the clarity of the soap if overused. Stick to small amounts and build up gradually.
- Skipping the alcohol spray: Rubbing alcohol is key to achieving a bubble-free, glossy finish. Don’t skip this step!
- Pouring too quickly: Pouring the soap mixture too quickly can trap air bubbles. Pour slowly and tap the mold gently to release bubbles.
Pro Tips
- Experiment with layers: Create stunning multi-layered soaps by pouring a thin layer of soap into the mold, allowing it to set slightly (about 10-15 minutes), and then adding another layer with a different color or fragrance.
- Embed objects: Add dried flowers, herbs, or biodegradable glitter to the soap for a decorative touch. Press them gently into the soap after pouring but before the surface hardens.
- Use a thermometer: To maintain transparency, keep the melted soap base between 140°F and 160°F (60°C and 71°C). This range ensures the soap remains clear while still being pourable.
- Store your soap properly: Once unmolded, wrap your transparent glycerin soap in plastic wrap or place it in an airtight container to preserve its clarity and prevent dust from sticking to the surface.
- Try natural colorants: For a more organic look, experiment with natural colorants like matcha powder (green), beetroot powder (pink), or activated charcoal (black). Mix them with a small amount of distilled water to create a paste before adding to the soap base.
With these tips and tricks, you’ll be well on your way to creating beautiful, crystal-clear glycerin soap that rivals store-bought varieties. Don’t be discouraged if your first few attempts aren’t perfect—soap making is as much an art as it is a science, and practice makes perfect!
Whether you’re making soap for personal use, as gifts for friends and family, or even to sell at local markets, transparent glycerin soap is a rewarding project that’s sure to impress. So gather your materials, follow the steps carefully, and enjoy the process of creating something both functional and beautiful. Happy crafting!