Introduction
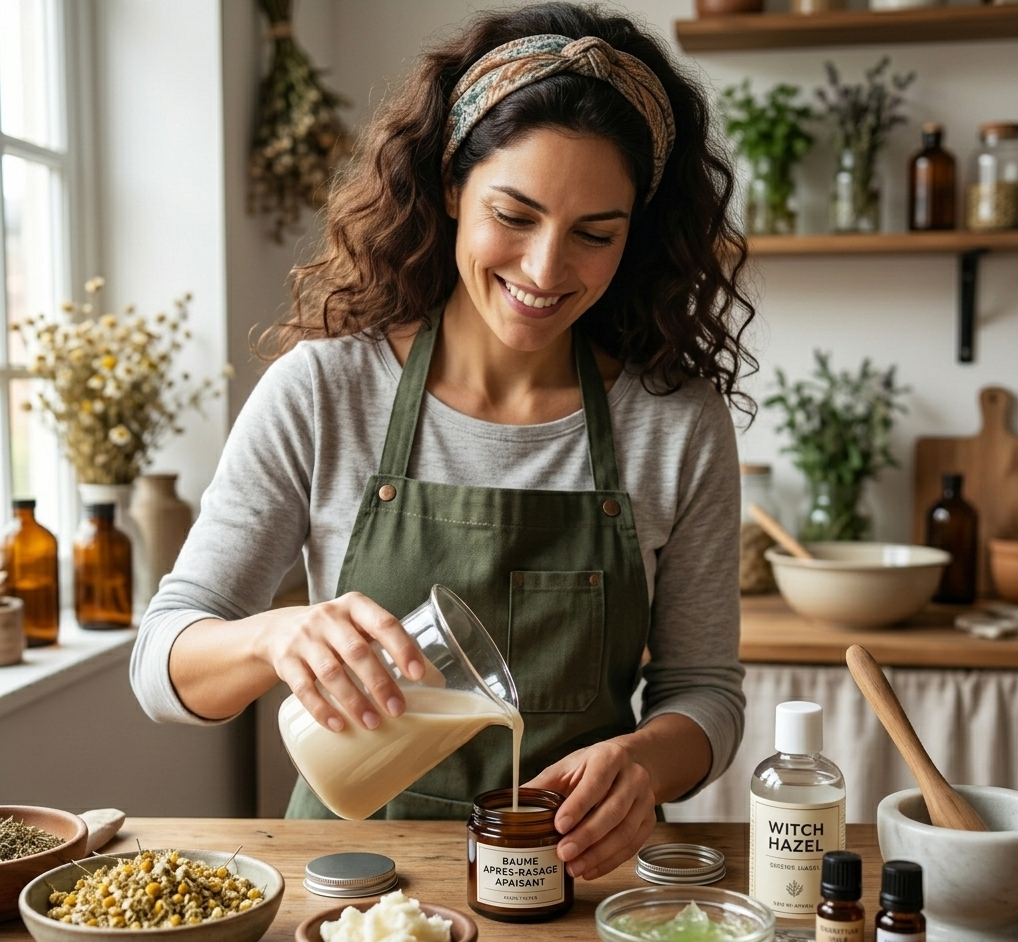
Aftershave balm is a must-have for anyone who shaves regularly. It helps soothe razor burn, reduce irritation, and keep your skin hydrated. Store-bought options can be expensive and often contain harsh chemicals. Making your own aftershave balm at home is not only cost-effective but also allows you to customize it to your skin’s needs. In this tutorial, we’ll guide you through creating a natural, soothing aftershave balm using simple ingredients. By the end, you’ll have a luxurious, skin-friendly product that feels amazing and smells great!
Materials Needed
- Aloe vera gel (1/4 cup)
- Jojoba oil (2 tablespoons)
- Witch hazel (1 tablespoon)
- Essential oils (e.g., lavender, tea tree, or chamomile – 10-15 drops)
- Distilled water (1 tablespoon)
- Beeswax pellets (1 tablespoon)
- A small saucepan or double boiler
- A mixing bowl
- A whisk or spoon
- A clean, airtight container or jar for storage
Preparation Steps
Step 1: Gather and Prepare Ingredients
Before you begin, ensure all your ingredients are ready. Measure out the aloe vera gel, jojoba oil, witch hazel, distilled water, and beeswax pellets. Choose essential oils based on your preference—lavender is great for relaxation, while tea tree oil has antibacterial properties. If you have sensitive skin, opt for chamomile for its calming effects.
Step 2: Sterilize Your Equipment
Cleanliness is key when making skincare products. Wash your mixing bowl, whisk, and container thoroughly with hot, soapy water. Rinse and dry them completely to prevent any contamination.
Assembly
Step 3: Melt the Beeswax
In a small saucepan or double boiler, gently melt the beeswax pellets over low heat. Stir occasionally until fully melted. Beeswax helps thicken the balm and provides a protective barrier for your skin.
Step 4: Combine Ingredients
Once the beeswax is melted, remove the saucepan from heat and let it cool slightly. In a separate bowl, mix the aloe vera gel, jojoba oil, witch hazel, and distilled water. Slowly pour the melted beeswax into the mixture while stirring continuously. Add your chosen essential oils and mix well until the texture is smooth and creamy.
Mistakes to Avoid
1. Using too much beeswax: This can make the balm too thick and difficult to apply. Stick to the recommended amount.
2. Skipping the cooling step: Adding the beeswax to the mixture while it’s too hot can cause the aloe vera gel to break down. Let it cool slightly first.
3. Using low-quality oils: Always opt for pure, high-quality oils to avoid irritation.
Pro Tips
1. Customize the scent: Experiment with different essential oil blends to find your favorite. Citrus oils like orange or bergamot can add a refreshing touch.
2. Store properly: Keep your aftershave balm in an airtight container in a cool, dark place to extend its shelf life.
3. Patch test first: Before applying the balm to your face, test a small amount on your arm to check for any adverse reactions.
Conclusion
Making your own aftershave balm is a rewarding and practical DIY project. Not only do you get a product tailored to your skin’s needs, but you also avoid harmful chemicals found in commercial products. With just a few simple ingredients and steps, you can create a soothing, natural aftershave balm that leaves your skin feeling refreshed and nourished. Give it a try and enjoy the benefits of homemade skincare!