Exfoliation is the secret to silky-smooth, radiant skin, and what better way to achieve it than with a homemade sea salt body scrub? Packed with minerals and natural exfoliants, sea salt scrubs not only buff away dead skin cells but also nourish and hydrate your skin. Whether you're prepping for a sun-kissed glow or simply want to pamper yourself, this DIY sea salt body scrub is a game-changer. Best of all, it’s customizable—you can adjust the ingredients to suit your skin type and scent preferences. Let’s dive into this simple yet transformative skincare ritual!
Materials Needed
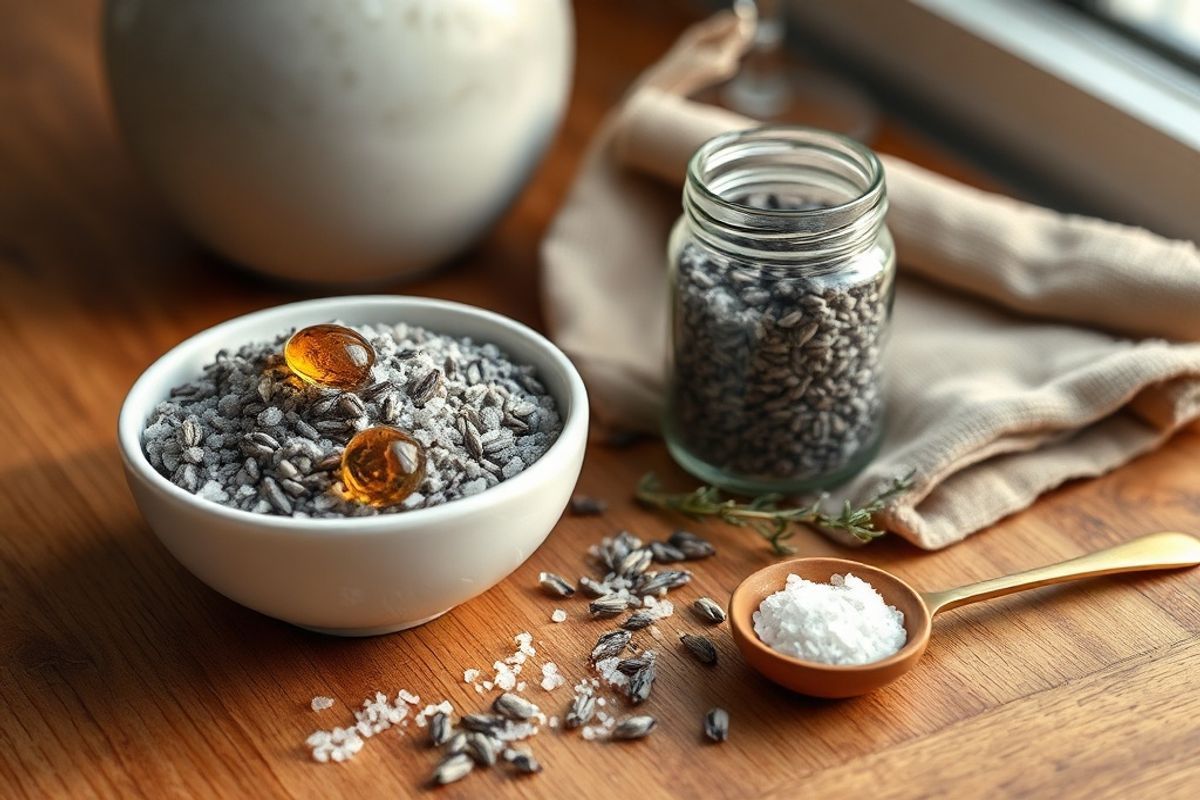
- 1 cup fine sea salt – Choose a grade suitable for body exfoliation (avoid coarse salt, which can be too abrasive).
- ½ cup carrier oil – Opt for nourishing oils like coconut oil, sweet almond oil, jojoba oil, or olive oil. For dry skin, coconut oil is ideal; for oily skin, jojoba oil works best.
- Optional additives for extra benefits:
- 5-10 drops of essential oils (e.g., lavender for relaxation, peppermint for invigoration, or tea tree for antibacterial properties).
- 1-2 tablespoons of honey or aloe vera gel for added moisture.
- Dried herbs like rose petals or lavender buds for a spa-like touch.
- Airtight glass jar (8-12 oz) – For storing your scrub. Avoid plastic to prevent contamination and odor retention.
- Mixing bowl and spoon – A wooden or silicone spoon works best to avoid metal oxidation.
- Measuring cups and spoons – For precise ingredient ratios.
Preparation Steps
Step 1: Choose Your Base Oil
Select a carrier oil based on your skin type. Coconut oil is excellent for dry skin due to its deep moisturizing properties, while jojoba oil closely mimics the skin’s natural sebum, making it ideal for oily or combination skin. If you have sensitive skin, opt for almond oil or grapeseed oil, which are gentle and non-comedogenic. Warm the oil slightly by placing the bottle in warm water for a few minutes—this helps it blend smoothly with the salt.
Step 2: Select Your Exfoliant
Fine sea salt is the star of this scrub, but the texture matters. Avoid coarse sea salt, as it can create micro-tears in the skin. Instead, look for finely ground sea salt or even ultra-fine salt labeled for culinary use (as long as it’s not iodized, which can irritate the skin). If you prefer a gentler exfoliant, you can mix half sea salt with half brown sugar for a softer scrub.
Assembly
Step 3: Mix the Dry Ingredients
In a clean mixing bowl, combine 1 cup of fine sea salt with any optional dry additives like dried herbs or powdered ingredients (e.g., matcha for antioxidant benefits). Stir well to distribute evenly. If you’re adding honey or aloe vera gel, set them aside for the next step.
Step 4: Combine with the Wet Ingredients
Slowly pour the warmed carrier oil into the bowl of dry ingredients while stirring continuously. Aim for a consistency that’s thick but spreadable—think wet sand rather than soupy. If the mixture is too dry, add more oil a teaspoon at a time. If it’s too oily, add a bit more salt. Next, incorporate 5-10 drops of your chosen essential oil (if using) and any additional moisturizing agents like honey or aloe vera. Stir until everything is evenly blended.
For a sensory experience, add a few drops of food coloring (natural options like beetroot powder or turmeric work) to give your scrub a subtle tint. However, this is purely optional.
Storage and Shelf Life
Transfer your sea salt scrub to an airtight glass jar. Store it in a cool, dry place away from direct sunlight. The scrub will last for about 1-2 months. Since it’s made with natural ingredients, it’s best to use it within this timeframe to prevent bacterial growth. If you notice any changes in color, smell, or texture, discard it immediately.
Mistakes to Avoid
- Using coarse salt: Coarse salt can be too harsh, leading to skin irritation or micro-abrasions. Always opt for finely ground sea salt.
- Over-exfoliating: Scrubbing too vigorously or too often (more than 2-3 times a week) can damage your skin’s protective barrier. Always use gentle, circular motions.
- Skipping patch tests: Essential oils and some carrier oils can cause allergic reactions. Always do a patch test on a small area of skin before full-body use.
- Using plastic containers: Plastic can harbor bacteria and may react with the oils, altering the scrub’s scent and efficacy. Stick to glass jars.
- Adding water or citrus juices: Water can introduce bacteria, and citrus juices can cause photosensitivity when exposed to the sun. Keep your scrub water-free.
Pro Tips
- Customize for your skin type: For acne-prone skin, add tea tree or neem oil for their antibacterial properties. For mature skin, mix in a few drops of rosehip oil for collagen support.
- Enhance the experience: Use your scrub in the shower after your skin has softened from warm water. This maximizes exfoliation and absorption of the oils.
- Double the recipe: If you plan to gift your scrub or use it frequently, double the recipe and store half in the freezer for longer shelf life.
- Scent combinations: Try citrus (lemon + orange) for an energizing scrub or vanilla + lavender for a calming effect.
- Exfoliate before shaving: Use this scrub before shaving to prevent ingrown hairs and achieve a closer shave.
- DIY sugar scrub alternative: Swap sea salt for fine sugar if you prefer a gentler exfoliant. Brown sugar is especially great for dry, sensitive areas like elbows and knees.
Using your sea salt body scrub is a delightful way to indulge in self-care. Start by applying a small amount to damp skin, using gentle circular motions. Focus on rough areas like knees, elbows, and feet, but avoid sensitive areas like the face (unless you’re using a face-specific scrub with finer grains). Rinse thoroughly with warm water, then pat dry and follow up with a moisturizer to lock in hydration. For an extra spa-like experience, wrap yourself in a warm towel after your shower to allow the oils to penetrate deeply.
Remember, consistency is key. Incorporate this scrub into your weekly routine, and you’ll notice a remarkable difference in your skin’s texture and radiance. Plus, the aromatic benefits of essential oils can elevate your mood, turning a simple shower into a therapeutic ritual.
Ready to transform your skincare routine? Gather your ingredients and get started on this easy, rewarding DIY project. Your skin will thank you!