Introduction
Heat styling tools like blow dryers, straighteners, and curling irons can leave your hair dry, brittle, and prone to breakage. A heat-protective hair oil acts as a barrier, locking in moisture and preventing heat damage. While store-bought options are available, making your own at home ensures you know exactly what’s going into your hair care routine. This DIY heat-protective hair oil is easy to prepare, affordable, and packed with nourishing ingredients that strengthen and protect your hair.
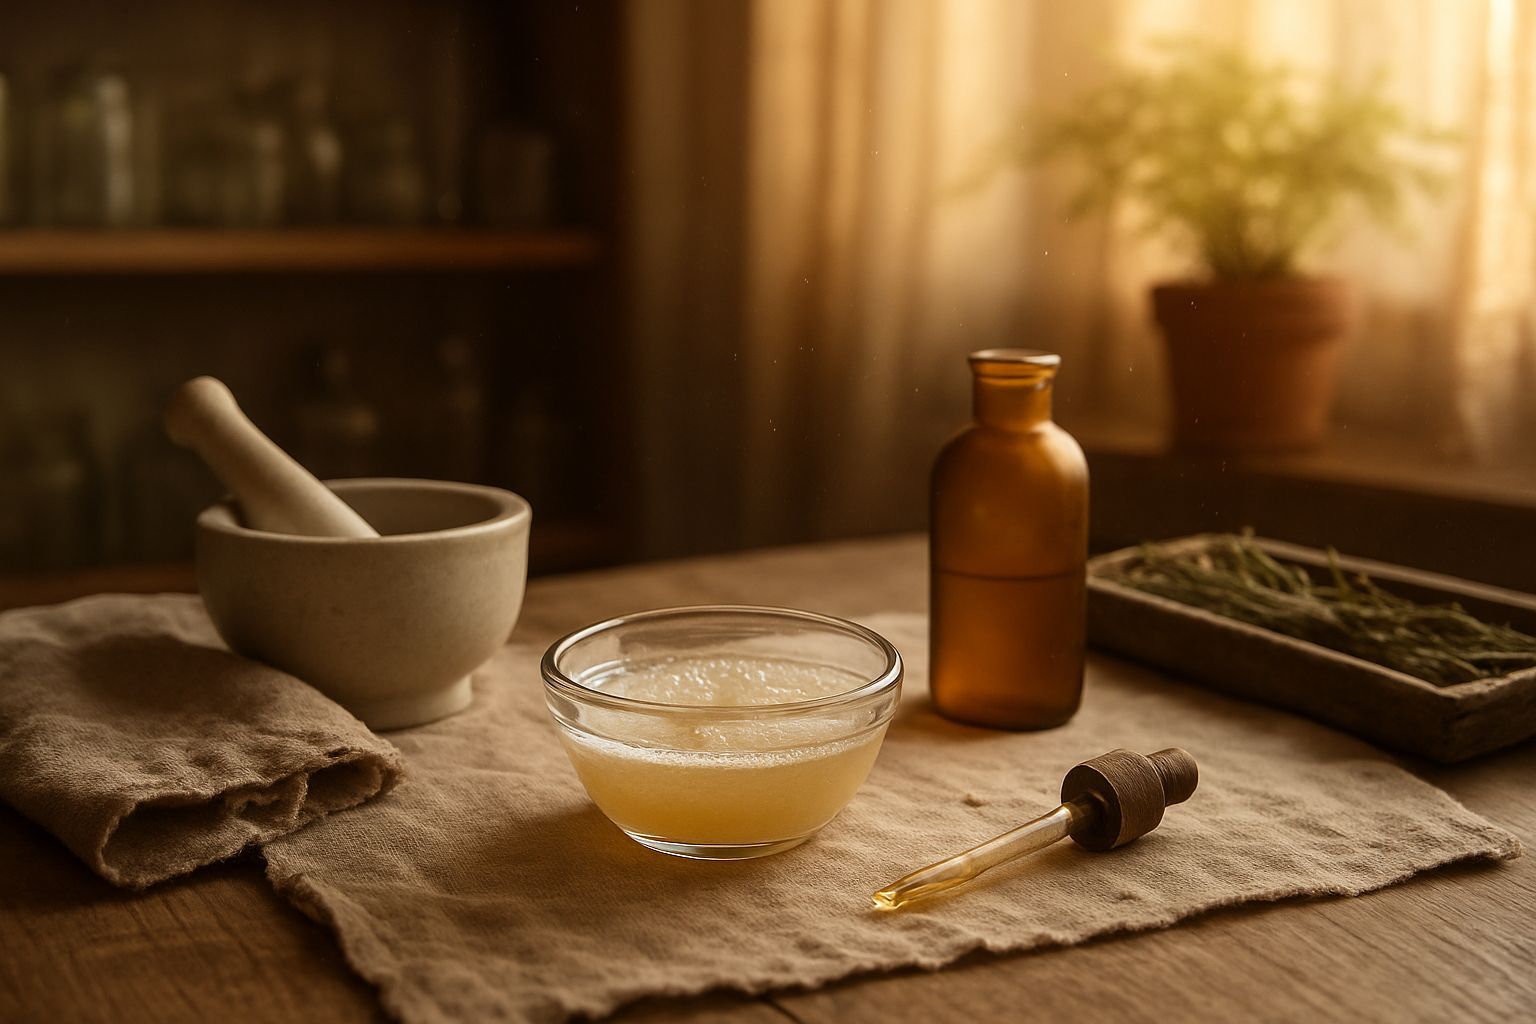
Materials Needed
- A small glass bottle or dropper bottle (preferably dark glass to protect from light)
- 1 tablespoon of argan oil (or jojoba oil as an alternative)
- 1 tablespoon of coconut oil (solid at room temperature)
- 1 tablespoon of sweet almond oil
- 5-7 drops of essential oil (optional, such as lavender or rosemary for added benefits)
- A small saucepan or double boiler
- A funnel (for easy pouring)
- Measuring spoons
Preparation Steps
Step 1: Melt the Coconut Oil
Since coconut oil is solid at room temperature, you’ll need to melt it before mixing. Use a small saucepan or double boiler to gently heat the coconut oil until it liquefies. Be careful not to overheat it, as high temperatures can degrade its beneficial properties.
Step 2: Combine the Oils
Once the coconut oil is melted, remove it from the heat and let it cool slightly. In a clean bowl, combine the melted coconut oil with the argan oil and sweet almond oil. Stir gently to ensure they blend well. If you’re using essential oils, add them now and mix thoroughly.
Assembly
Step 3: Transfer to a Bottle
Using a funnel, carefully pour the oil mixture into your chosen bottle. A dropper bottle is ideal for easy application. If you don’t have a funnel, pour slowly to avoid spills. Seal the bottle tightly.
Step 4: Store Properly
Store your heat-protective hair oil in a cool, dark place to preserve its potency. If you used a clear bottle, keep it away from direct sunlight to prevent oxidation. This oil should last for several months if stored correctly.Mistakes to Avoid
1. Using low-quality oils: Always opt for cold-pressed, organic oils for the best results. Cheap or processed oils may not provide the same protective benefits.
2. Overheating the oils: High heat can destroy the beneficial properties of the oils, so keep the temperature low when melting the coconut oil.
3. Skipping the cooling step: Allow the melted coconut oil to cool slightly before mixing with other oils to prevent separation.
4. Not storing properly: Exposure to light and air can degrade the oils, so always use a dark glass bottle and store it in a cool place.
Pro Tips
1. Customize your blend: Adjust the oil ratios based on your hair type. For fine hair, use more argan oil; for thick, coarse hair, increase the coconut oil.
2. Apply before heat styling: Use a small amount (3-4 drops) on damp hair before blow-drying or straightening to create a protective barrier.
3. Use as a leave-in treatment: Apply a few drops to the ends of your hair after washing to add shine and prevent split ends.
4. Add vitamin E oil: A few drops of vitamin E oil can enhance the protective properties and extend the shelf life of your mixture.
Conclusion
Creating your own heat-protective hair oil is a simple, cost-effective way to keep your hair healthy and shiny. By using natural, nourishing ingredients, you can protect your locks from heat damage while adding moisture and strength. Whether you’re a frequent heat stylist or just want to maintain your hair’s health, this DIY oil is a game-changer. Give it a try and enjoy the benefits of salon-quality protection at home!