Introduction
A rustic hanging rope shelf adds a touch of warmth and charm to any space. Whether you're looking to display plants, books, or decorative items, this DIY project is both practical and aesthetically pleasing. In this tutorial, we'll guide you through the process of creating your own hanging rope shelf, from gathering materials to final assembly. By the end, you'll have a beautiful, handmade piece that enhances your home's decor.
Materials Needed
- Wooden plank (preferably reclaimed or unfinished)
- Jute or cotton rope (3/4-inch to 1-inch thick)
- Drill with drill bits
- Screws or nails
- Sandpaper (medium and fine grit)
- Wood stain or paint (optional)
- Measuring tape
- Pencil
- Scissors or a utility knife
- Level (optional, for ensuring even hanging)
Preparation Steps
Step 1: Choose and Prepare the Wood
Select a wooden plank that suits your style. Reclaimed wood or unfinished pine works well for a rustic look. Measure and cut the wood to your desired length. Sand the plank thoroughly to remove any splinters or rough edges, starting with medium-grit sandpaper and finishing with fine-grit for a smooth surface.
Step 2: Stain or Paint the Wood (Optional)
If you want to add color to your shelf, apply a wood stain or paint. Let it dry completely before moving to the next step. This step is optional but can enhance the rustic aesthetic.
Assembly
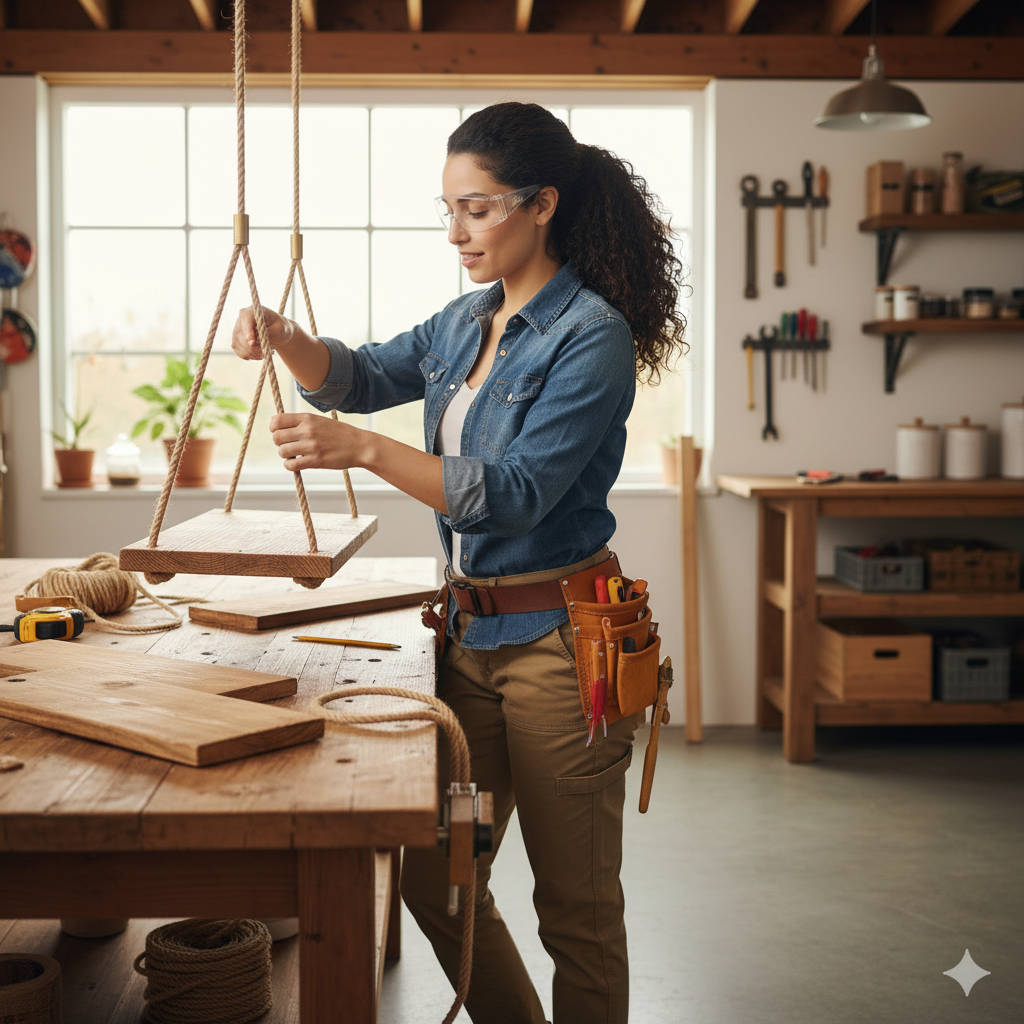
Step 3: Create the Rope Hanging Mechanism
Lay the wooden plank on a flat surface. Measure and mark two points near each end of the plank where you'll attach the rope. These points should be about 2-3 inches from the edges. Drill holes through the plank at these marks, ensuring they are large enough to thread the rope through.
Step 4: Attach the Rope
Cut four pieces of rope, each about twice the length of the distance from the wall to the shelf plus extra for tying knots. Thread one end of each rope through a hole from the top side of the plank and pull it through until the loop is flush with the wood. Repeat for all four holes. Tie secure knots on the underside of the plank to prevent the rope from slipping. Adjust the length of the ropes so the shelf hangs level, then tie the other ends into loops for hanging on hooks or nails in the wall.
Mistakes to Avoid
1. Uneven Rope Lengths: Ensure all ropes are the same length to prevent the shelf from tilting. Use a level to check alignment before securing the final knots.
2. Weak Knots: Use strong, secure knots like square knots or bowline knots to support the shelf's weight.
3. Overloading the Shelf: Be mindful of the weight capacity. Test the shelf with light items first to ensure stability.
Pro Tips
1. Add Decorative Touches: Wrap the rope around the plank edges for a more rustic look or add tassels to the ends of the ropes.
2. Use Reclaimed Materials: For an authentic rustic feel, use reclaimed wood and natural jute rope.
3. Customize the Length: Adjust the rope length to suit your space, whether hanging low for a cozy nook or higher for a statement piece.
Conclusion
Creating a rustic hanging rope shelf is a rewarding DIY project that adds character to any room. With just a few materials and some basic tools, you can craft a functional and stylish piece that reflects your personal taste. Follow these steps carefully, and soon you'll have a beautiful shelf that's ready to hold your favorite items. Happy crafting!