Cooking in the kitchen should be a joy, not a chore. Yet, nothing disrupts the flow of meal prep like a cluttered countertop—especially when you’re constantly unrolling cling film or parchment paper. That’s where a wall-mounted cooking paper holder comes in. It keeps essentials within reach, saves space, and makes your cooking process smoother and more efficient.
Materials needed
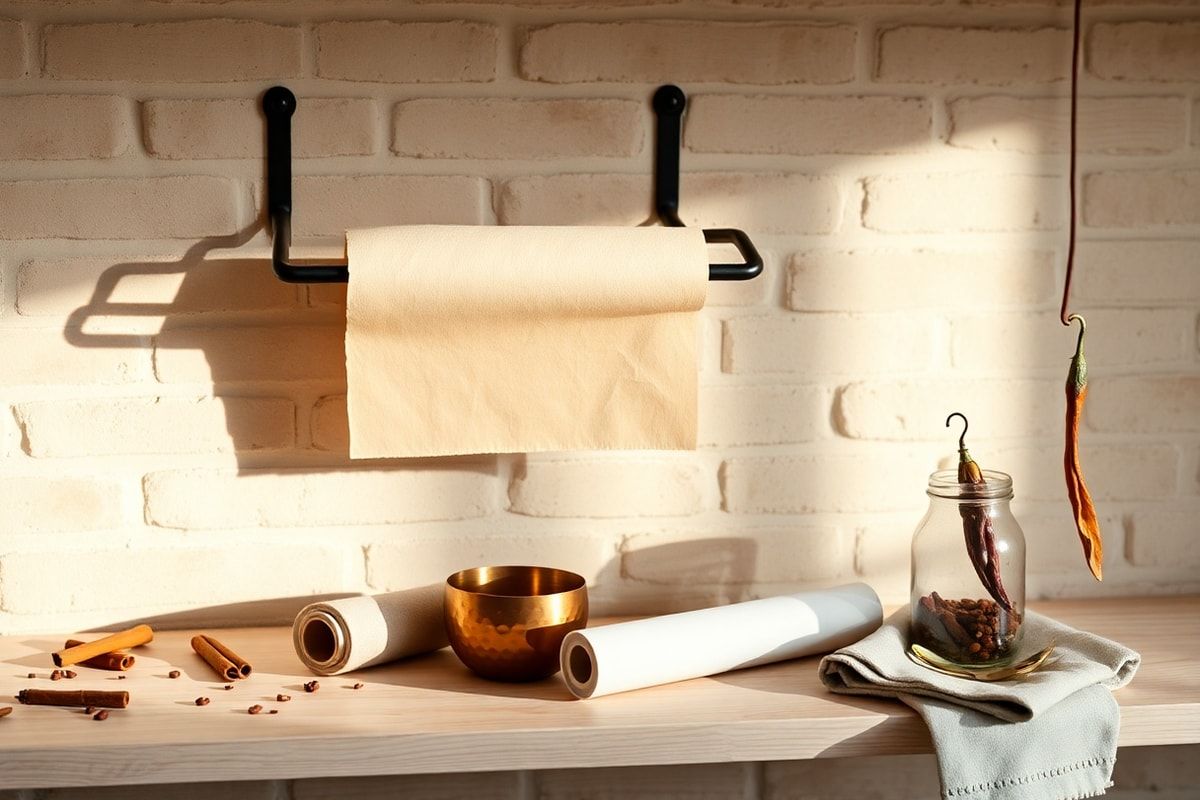
- A wall-mounted cooking paper holder (metal or acrylic, depending on your preference)
- Measuring tape
- Pencil
- Drill
- Wall anchors (if needed, for drywall or hollow walls)
- Screwdriver or drill bit set
- Level
- Stud finder (optional but recommended for heavy holders)
Preparation steps
Step 1: Choose the right location
Select a spot on your kitchen wall that is easily accessible from your cooking area but out of the way of high-traffic zones. The ideal height is typically between 36 and 48 inches from the floor—high enough to avoid splashes but low enough to reach comfortably while cooking.
Consider placing the holder near your stove, countertop, or prep station. Avoid areas behind cabinets or near the sink, where moisture can damage the holder over time.
Step 2: Check for studs (if mounting on drywall)
Use a stud finder to locate wall studs behind your chosen location. If you don’t have a stud finder, tap the wall lightly—solid sounds indicate wood studs; hollow sounds mean empty space.
If studs are present, plan to mount the holder directly into them for maximum stability. If no studs are available in your desired location, use wall anchors (plastic or toggle bolts) rated for the weight of your holder. Most wall-mounted paper holders weigh between 1 and 3 pounds, but always check the manufacturer’s specifications.
Assembly
Step 3: Mark the mounting points
Hold the paper holder against the wall in your chosen position. Use a level to ensure it’s straight—this prevents the roll from unrolling unevenly or the holder from looking crooked.
With the level in place, mark the screw holes with a pencil. Double-check the spacing between the marks to ensure they match the holder’s design. If the holder has a single mounting bracket, mark just one point.
Step 4: Drill and secure the holder
If mounting into a stud, drill a pilot hole slightly smaller than your screw. Insert the screw and tighten it into the stud, but don’t fully tighten yet—you may need to adjust the level one last time.
If using wall anchors, drill a hole the same size as the anchor. Insert the anchor into the hole and tap it gently with a hammer until it’s flush with the wall. Then, insert the screw into the anchor and tighten it, but leave it slightly loose for fine-tuning.
Attach the paper holder to the wall by aligning the mounting holes with the screws. Once the holder is level and secure, fully tighten all screws using a screwdriver or drill. Wiggle the holder gently to test its stability—it should not move.
Mistakes to avoid
- Skipping the level: Always use a level. A crooked holder makes unrolling paper difficult and looks unprofessional.
- Ignoring studs: Mounting into drywall without anchors can lead to the holder pulling out over time, especially if it’s frequently used.
- Choosing the wrong size roll: Ensure your holder is compatible with standard parchment paper (12–15 inches wide) or cling film rolls. Some holders are adjustable, but others are designed for specific sizes.
- Mounting too high or too low: Test the height by reaching for the roll while cooking. If you have to stretch or bend uncomfortably, adjust the position.
- Over-tightening screws: This can strip the wall or damage the holder. Tighten just enough to hold firmly.
Pro tips
- Use a double-roll holder: These are ideal for kitchens where both parchment paper and cling film are used frequently. They keep both rolls accessible and save space.
- Opt for a rust-resistant finish: If you cook often or live in a humid climate, choose a stainless steel or coated metal holder to prevent rust.
- Add a small shelf below: Install a narrow shelf beneath the holder to store extra rolls, scissors, or tape, keeping everything organized.
- Consider a magnetic or suction cup version: If you rent or can’t drill into walls, magnetic holders (for metal surfaces) or suction cup models (for tiles) are great alternatives.
- Clean regularly: Wipe down the holder periodically to remove grease and food splatters, especially if it’s near the stove.
With your wall-mounted cooking paper holder securely installed, you’ll enjoy a cleaner, more organized kitchen. No more fumbling for a roll mid-recipe or dealing with cluttered drawers. Plus, it adds a touch of modern convenience to your cooking space.
Ready to upgrade your kitchen workflow? Follow these steps and enjoy effortless access to your cooking essentials—every time.
