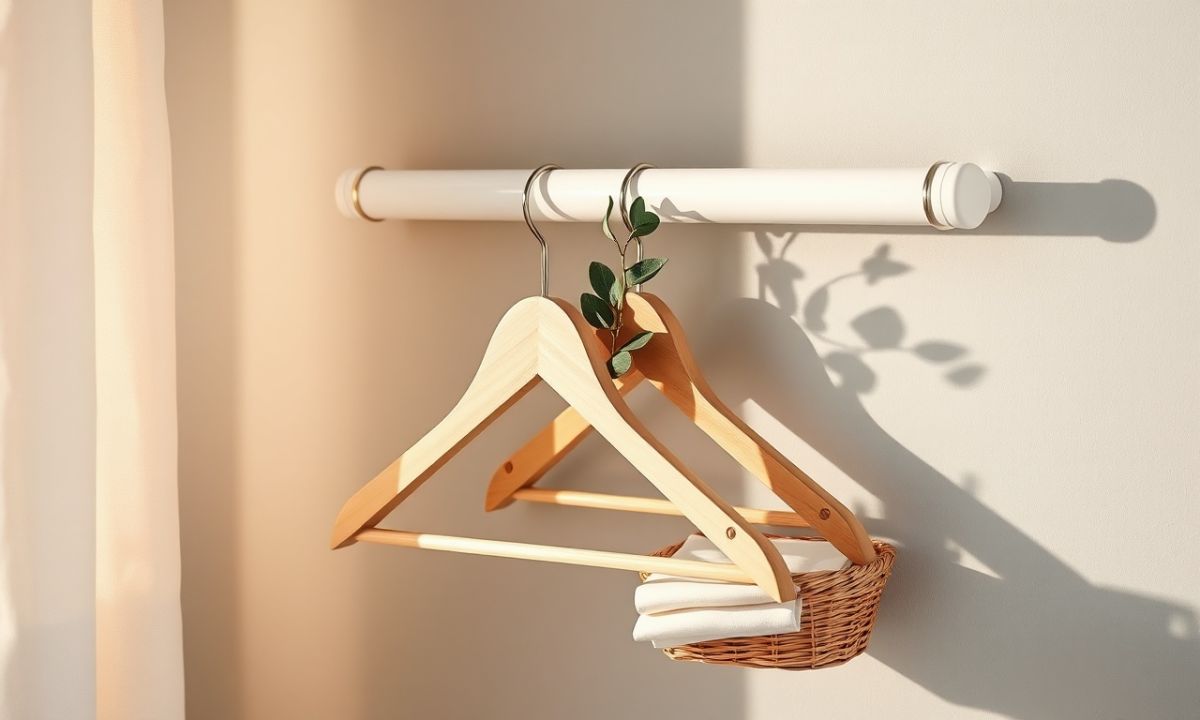
Are you tired of cluttered closets where clothes, shoes, and accessories are strewn about in disarray? A telescopic closet shelf organizer can transform your closet into an efficient, well-organized space. These adjustable, modular systems allow you to customize shelf heights, maximizing vertical space and keeping everything accessible. Whether you’re a minimalist or a fashion enthusiast, this guide will walk you through the process of installing a telescopic closet shelf organizer with ease.
Materials Needed
Before you begin, gather the following tools and materials to ensure a smooth installation:
- Telescopic closet shelf kit – Choose one that fits your closet dimensions (typically available in widths of 36 to 72 inches).
- Measuring tape – For accurate measurements.
- Level – Ensures shelves are installed straight.
- Pencil – For marking screw holes.
- Screwdriver (manual or electric) – Depending on your wall anchors.
- Drill with appropriate bits – If mounting into drywall or wood.
- Wall anchors (plastic or metal) – For secure installation into drywall or hollow walls.
- Stud finder (optional) – Helps locate wall studs for extra stability.
- Safety glasses – Always protect your eyes when drilling.
Preparation Steps
Proper preparation is key to a successful installation. Follow these steps before mounting your organizer.
Step 1: Measure Your Closet
Start by measuring the width, depth, and height of your closet space. Most telescopic shelf kits are designed to fit standard closet widths, but double-check your measurements to avoid purchasing the wrong size. Use the measuring tape to record:
- Width between the side walls or uprights.
- Height from floor to ceiling or top shelf position.
- Depth of the closet (usually 24 inches for most homes).
If your closet has an irregular shape, consider using a flexible or adjustable kit to accommodate curves or sloped ceilings.
Step 2: Clear and Clean the Space
Remove all items from your closet and give the walls and floor a thorough cleaning. Dust, dirt, and debris can interfere with the proper adhesion of mounting hardware. Wipe down the walls with a damp cloth and allow them to dry completely. This ensures a clean surface for drilling and attaching brackets.
Assembly
Now comes the fun part—putting it all together. Most telescopic shelf organizers come with pre-drilled holes and easy-to-follow instructions. Here’s how to assemble yours correctly.
Step 3: Mark Drill Points
Position the first bracket at your desired height. Use a level to ensure it’s straight, then mark the screw hole locations with a pencil. If your closet has studs, align one bracket hole with a stud for maximum support. Repeat for the opposite bracket on the other side wall.
For ceilings or upper shelves, mark points carefully and use a stud finder to avoid drilling into electrical wiring or pipes.
Step 4: Install Brackets and Supports
Drill pilot holes at your marked points. For drywall, insert wall anchors into the holes before screwing in the brackets. Tighten the screws firmly but avoid over-tightening, as this can strip the holes or bend the metal.
Attach the horizontal support bars or telescoping arms according to the manufacturer’s layout. Most systems have adjustable arms that slide into the brackets and lock into place. Slide the shelf onto the supports, ensuring it’s level and evenly spaced.
Repeat this process for additional shelves, adjusting the height based on what you plan to store—higher shelves for less frequently used items, lower shelves for everyday essentials.
Mistakes to Avoid
Installing a telescoping shelf system is straightforward, but small errors can lead to instability or misalignment. Here are common pitfalls to steer clear of:
- Ignoring level measurements – Always use a level to prevent shelves from sloping, which can cause items to slide off.
- Skipping wall anchors – Never mount brackets directly into drywall without anchors. This can lead to sagging or damage over time.
- Overloading shelves – Even with sturdy installation, avoid placing excessive weight on upper shelves, especially if they’re not anchored to studs.
- Rushing assembly – Take your time aligning brackets and supports. Misalignment can make the system unstable.
- Neglecting ceiling clearance – If extending shelves upward, ensure there’s enough room for doors to open fully without hitting the shelves.
Pro Tips
Want to get the most out of your new closet organization system? Consider these expert tips:
- Use double-sided hooks or small bins on the underside of shelves to maximize space for belts, scarves, or jewelry.
- Label shelves using chalkboard tags or small signs, especially if storing seasonal items like winter coats or holiday decorations.
- Add LED strip lighting under shelves for better visibility without taking up space.
- Group similar items together – shoes on lower shelves, folded clothes above, and accessories on hooks.
- Check stability periodically – Over time, screws may loosen. Tighten them as needed to maintain safety.
- Consider a modular system if you plan to expand or reconfigure your closet in the future.
With a bit of planning and care, your telescopic closet shelf organizer will keep your space tidy and functional for years to come.
A well-organized closet isn’t just about aesthetics—it simplifies your daily routine and helps you find what you need in seconds. By installing a telescopic shelf system, you’re not just adding storage; you’re creating a system that adapts to your lifestyle. Whether you’re storing shoes, handbags, or seasonal wear, this DIY solution offers flexibility and efficiency without the need for permanent construction.
Take your time during installation, follow the manufacturer’s instructions, and don’t be afraid to customize the layout to suit your needs. In no time, you’ll enjoy a clutter-free closet that makes getting dressed a breeze. Ready to transform your space? Start measuring, gather your tools, and build your dream closet today!