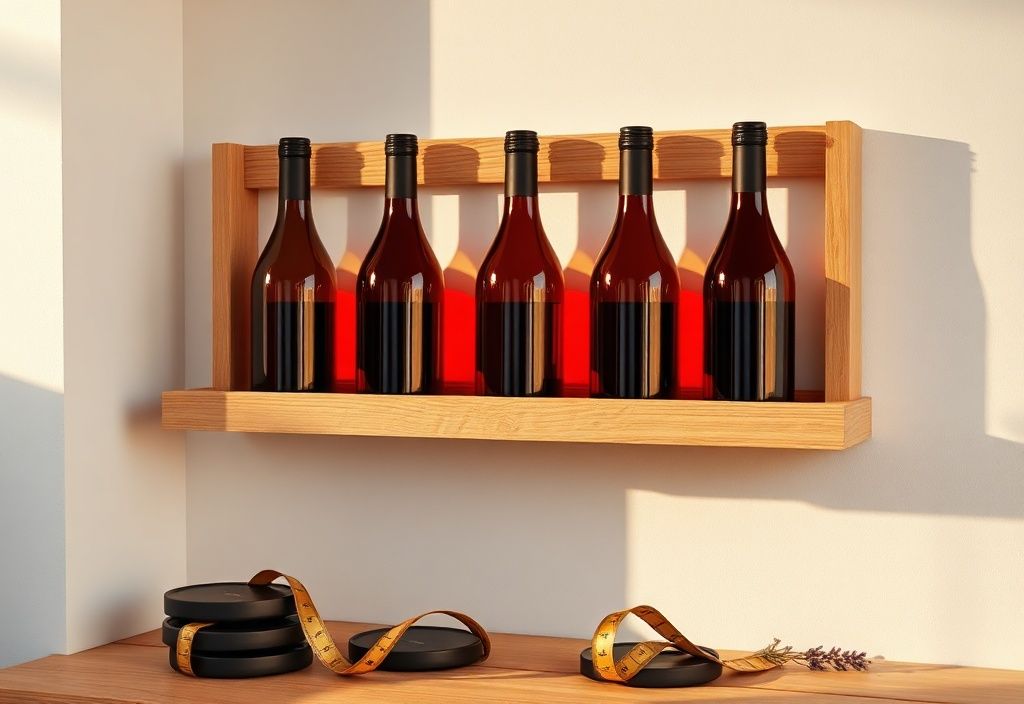
Welcome to HomeReadyHub! If you're a wine lover looking to add a touch of elegance to your home while keeping your bottles organized, a horizontal wine bottle rack mounted on the wall is the perfect solution. Not only does it save space, but it also turns your wine collection into a stylish display piece. Whether you're a DIY enthusiast or a beginner, this guide will walk you through the entire process—from choosing materials to mounting the rack securely. By the end, you’ll have a sleek, functional wine display that enhances your home’s ambiance.
Materials Needed
- Horizontal wine bottle rack kit: Choose one that matches your wall color and décor. Kits typically include brackets, screws, and the rack itself. Popular materials include wood, metal, or acrylic.
- Stud finder: Essential for locating wall studs to ensure the rack is mounted securely.
- Drill and drill bits: For pre-drilling holes and attaching the rack to the wall.
- Level: To ensure the rack is perfectly straight before securing it.
- Screwdriver (manual or electric): For tightening screws and assembling the rack.
- Measuring tape: To mark accurate placement points on the wall.
- Pencil: For marking drill and screw locations.
- Wall anchors (if needed): Only required if you’re not mounting into a stud. Choose anchors rated for the weight of your wine bottles.
- Sandpaper (optional): If your rack requires assembly and has rough edges.
- Paint or stain (optional): To customize the rack to match your room’s color scheme.
Preparation Steps
Step 1: Choose the Right Location
Select a wall in a cool, dark, and stable environment—ideally away from direct sunlight, heat sources, and high-traffic areas where bottles could be knocked over. A dining room, kitchen, or wine cellar is ideal. Make sure the wall is sturdy enough to support the weight of your bottles (typically 10–20 lbs per bottle).
Measure the length of the rack and decide how many bottles you want to display. Keep in mind that horizontal racks are best for medium to long-term storage (not for daily access). Plan for at least 3–4 inches of clearance on either side of each bottle to prevent crowding.
Step 2: Locate Wall Studs or Use Anchors
Use a stud finder to locate the vertical wooden beams behind your drywall. Mark the stud locations with a pencil. If you can’t find studs in your desired location, use heavy-duty wall anchors rated for at least 50 lbs per anchor. Never mount the rack into drywall alone—it won’t support the weight.
For most horizontal wine racks, you’ll need to mount the brackets into studs. If your rack spans multiple studs, ensure they’re spaced appropriately (typically 16 or 24 inches apart).
Assembly
Step 3: Assemble the Rack (If Required)
If your wine rack comes disassembled, follow the manufacturer’s instructions to put it together. Most kits include:
- Two or more horizontal support bars or rails
- Side brackets or mounting plates
- Screws and mounting hardware
Assemble the rack on the floor first to ensure all parts fit correctly. Lightly sand any rough edges if necessary, and apply paint or stain if you’re customizing the look. Let it dry completely before mounting.
Step 4: Mount the Rack to the Wall
- Mark the mounting points: Hold the assembled rack against the wall at your desired height (typically eye level or just below). Use a level to ensure it’s perfectly horizontal. Mark the screw or anchor locations through the bracket holes with a pencil.
- Pre-drill pilot holes: Using a drill bit slightly smaller than your screws, drill pilot holes at each marked location. This prevents the wood or drywall from splitting.
- Insert anchors (if not using studs): If you’re not screwing into a stud, insert the appropriate wall anchors into the pilot holes. Tap them gently with a hammer until flush with the wall.
- Attach the brackets: Align the rack’s brackets with the pilot holes or anchors. Insert screws through the brackets and into the studs or anchors. Use a screwdriver to tighten them securely. Do not overtighten—just snug enough to hold firm.
- Double-check the level: Before fully tightening, recheck that the rack is level. Adjust if needed.
- Install the rack rails (if separate): Some horizontal racks have removable rails that slide into the brackets. Insert them now and secure according to the instructions.
- Test the stability: Gently tug on the rack to ensure it’s firmly attached. If it wobbles, add more screws or use larger anchors.
Mistakes to Avoid
- Skipping the stud finder: Mounting into drywall alone can cause the rack to pull out under the weight of bottles, leading to damage or injury.
- Ignoring weight limits: Always check the rack’s weight capacity. Overloading it can warp the wood or bend metal brackets.
- Mounting in a hot or sunny spot: Heat and UV rays can damage wine labels and affect aging. Choose a cool, shaded wall.
- Using the wrong screws or anchors: Always use hardware that matches the rack’s material and wall type. Stainless steel screws are ideal for outdoor or humid areas.
- Not leveling the rack: A crooked rack looks unprofessional and can cause bottles to roll out. Always use a level.
Pro Tips
- Add LED lighting: Install small battery-operated LED strip lights above or below the rack to highlight your wine collection and create a warm ambiance.
- Label your bottles: Use a chalkboard label or digital tag to track wine names, vintages, and drinking windows. It adds a personal touch and makes selection easier.
- Group by type or region: Organize bottles by red, white, sparkling, or by region (Bordeaux, Burgundy, etc.) for a curated look.
- Keep a small counter below: Place a small table or shelf beneath the rack to hold glasses, a corkscrew, or a wine opener for convenience.
- Rotate bottles occasionally: To prevent sediment buildup, gently rotate bottles every few months if storing them long-term.
- Consider a floating shelf alternative: If you prefer minimalism, use floating shelves at a slight angle to hold bottles horizontally. Ensure they’re rated for the weight.
- Use removable adhesive hooks: For temporary setups (like rentals), use heavy-duty hooks with adhesive backing designed for large loads.
With your horizontal wine rack securely mounted and beautifully displayed, you now have a functional and decorative addition to your home. Whether you’re storing bottles for a special occasion or showcasing your collection, this setup not only saves space but also turns your wine into a conversation starter. Remember to maintain a stable environment and check the rack’s stability periodically.
Thank you for reading! If you found this guide helpful, share it with fellow wine enthusiasts or check out our other DIY home organization projects on HomeReadyHub. Cheers to stylish storage and great wine!
